
I drive a small Mini Cooper. I admit, it doesn’t work well with woodworking specially when buying new material I want to work with. I discovered how easy it was to rent a van from Home Depot but I try to make sure I’m getting my money’s worth when paying for a rental van so I tend to buy extras. For my cornhole boards that I built recently for example, it was cheaper to buy a full size sheet of plywood which is 4×8′ (I can always use more plywood) and of course the problem presented itself after I’ve returned the rental van. This led me to come up with a solution to a problem that didn’t initially occur to me.
What I, as a beginner, failed to realize is that even if you have a table saw, not all of them will let you cut down a whole sheet this big.
Why make a saw guide?
This saves money because not everyone owns a table saw, time, and you end up with a nice jig that you can keep around for years if you are planning on cutting down a lot of plywood in your lifetime. Cutting down plywood seems so easy but when you have it all in front of you, the approach is not that obvious. I did what I thought made sense, I used another piece of plywood to draw my line across and then I followed that with a circular saw. It did turn out okay, but it was a fluke for sure. I was never confident about that method and I can tell the next one, I will not be as lucky. Another thing is, what I as a beginner failed to realize is, that even if you have a table saw, not all of them will let you cut down a whole sheet this big. While I don’t have the cheapest table saw, it has a max capacity of 12″ rip cuts, that means I can only safely rip cut up to 12″. Anything past that width, you are risking messing up the cut completely or worse, personal injury for obvious reasons. The next option after is just spending a ton more money for a bigger table saw and that’s just not ideal for everyone.
Why not just buy a saw guide?
Chances are, you probably are interested in saving some cash and your google search landed you to this humble site to find that solution. If you aren’t looking to save money, that’s perfectly fine too. Just to throw this at you, though: How much 8′ premium 2×4 studs can you get with $60? At current prices near me, you can get about 8 at $7.32 each at home depot (The prices are inflated right now). How long do those manufactured things last? How reliable are they really? When they break, bend, lose tension, a small piece break off, are you going to buy another one? Or is it easier to just make one?
The how to (finally)
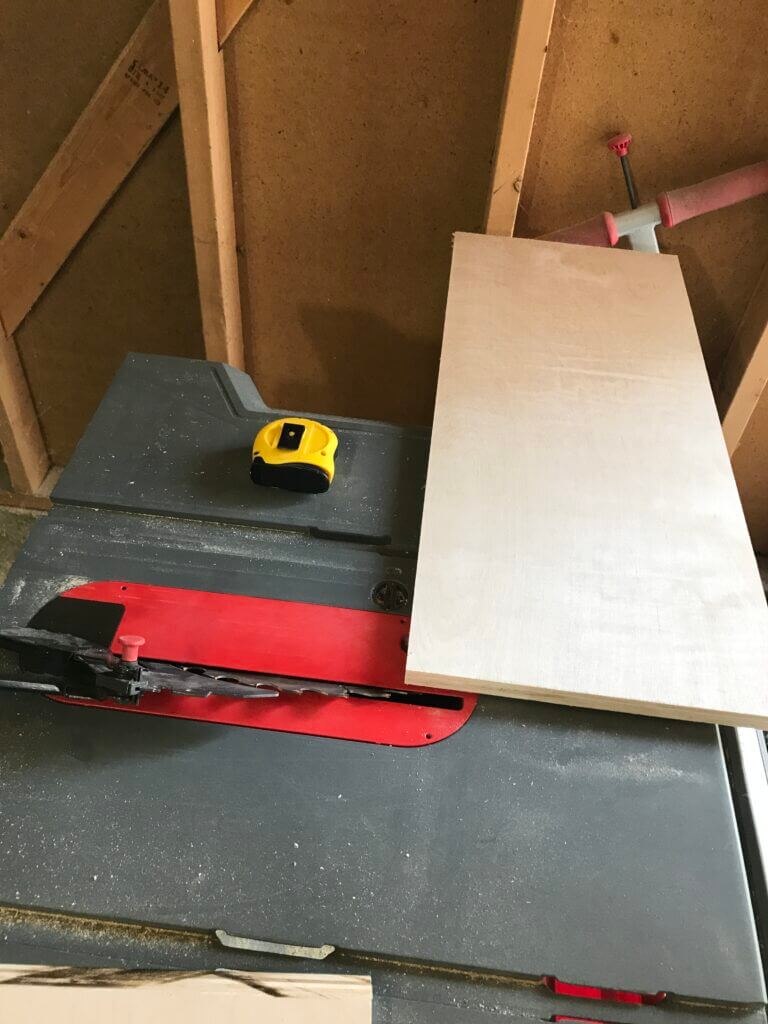
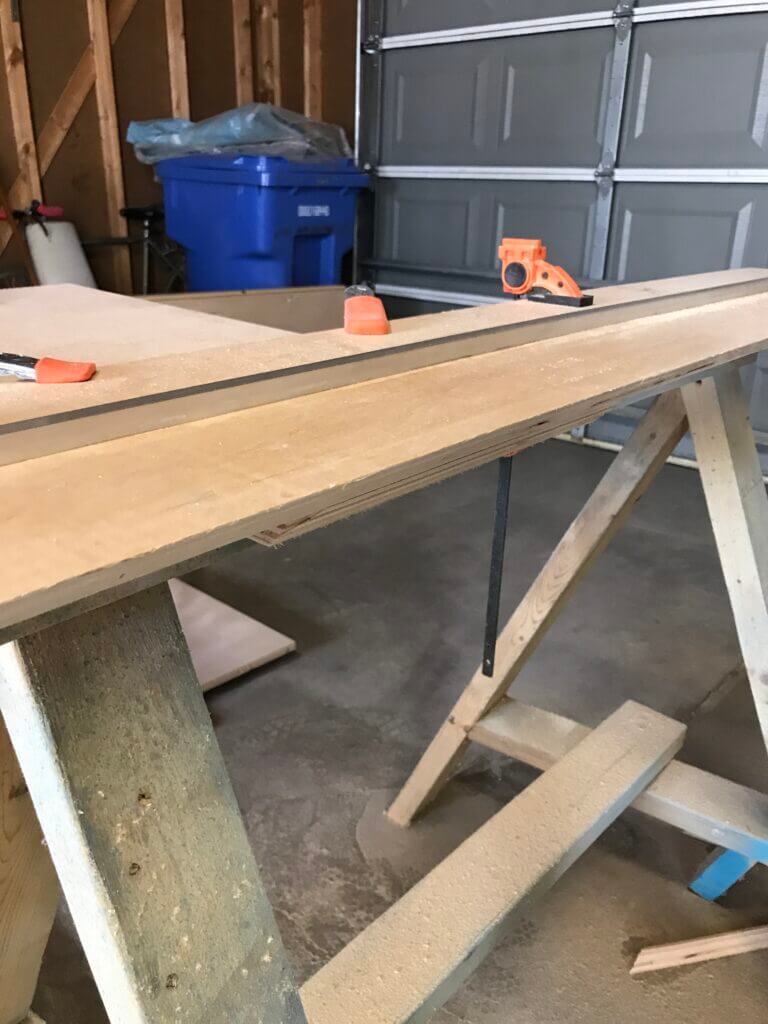
1. Attach an aluminum channel to plywood or any material that is the correct length for your purpose.
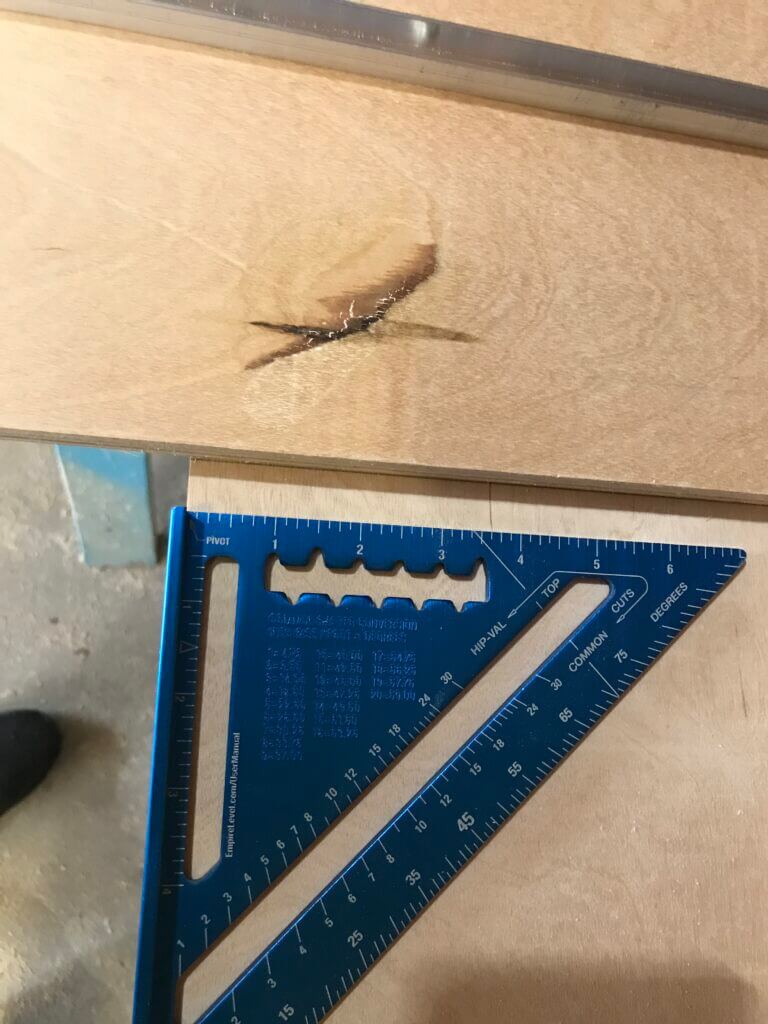
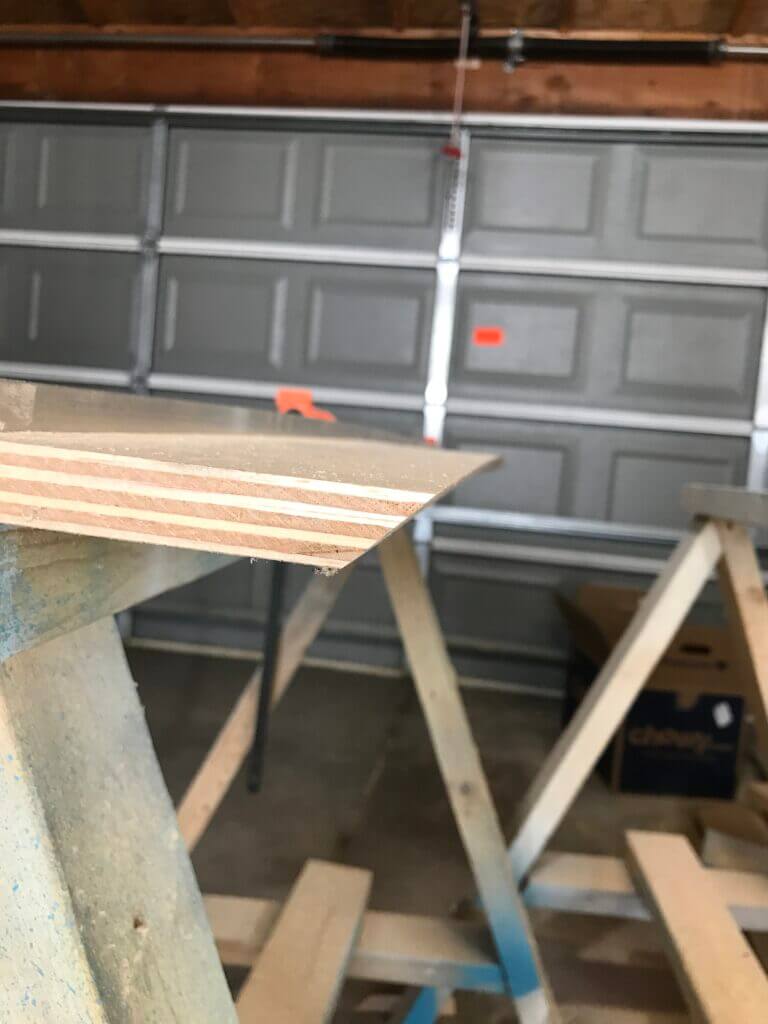
I am using my scrap piece of plywood I had from when I made a mistake with one of my cornhole boards. You’ll see that there is a notch that looks like it’s meant to be a handle – it wasn’t. The width doesn’t matter yet because in step two, you will cut this piece to size. It does help if you make doubly sure that the aluminum channel is as square as possible and that it runs along the wood grain though.
I looked for an aluminum angle but I saw this c-channel type right next to it at my local hardware store instead and decided to try it. I figured two angles should be stronger than just one so it should stay straight and keep the plywood rigid.
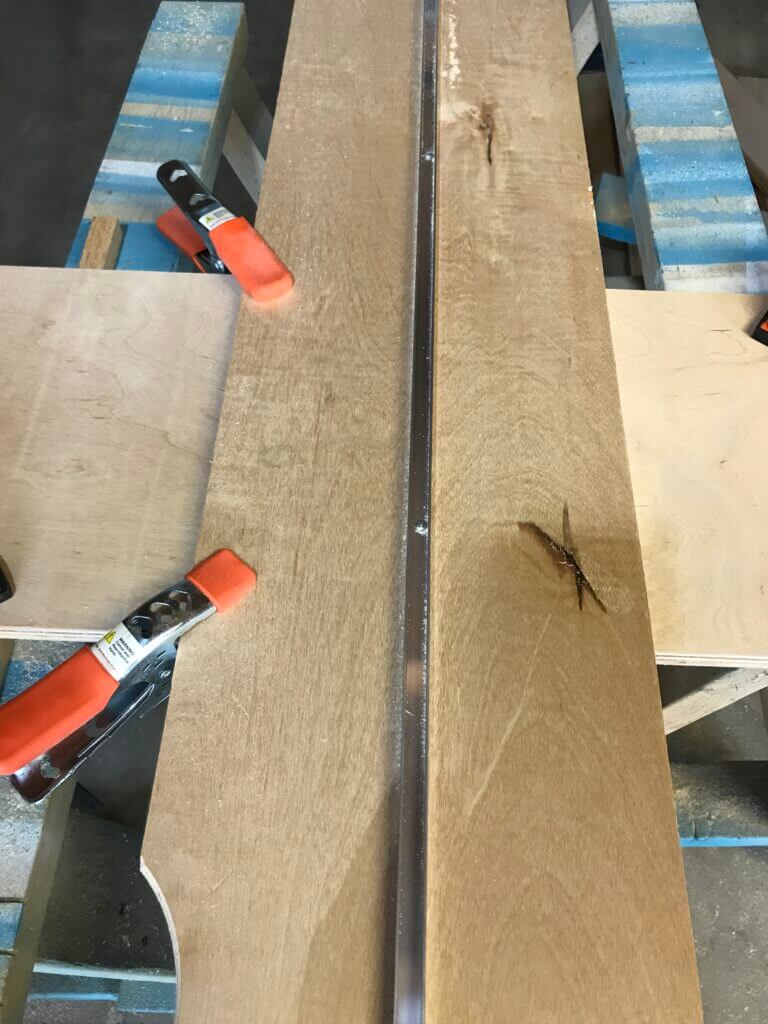
You will need 3-5 short screws for this, depending on how much flex you want to eliminate. I was noticing some flex happening during my stress tests so I used 5. I also ended up finding some screws laying around the house that came from old window shades that happen to be the perfect size so I didn’t have to buy new ones. If you do, make sure they’re short enough that it doesn’t go all the way through the other side of the material.
If you’ve never done it before, pre-drill holes in the aluminum first prior to attaching it with your short screws. Any standard drill bit should do fine going through aluminum, despite its rigidity it is still a soft metal.
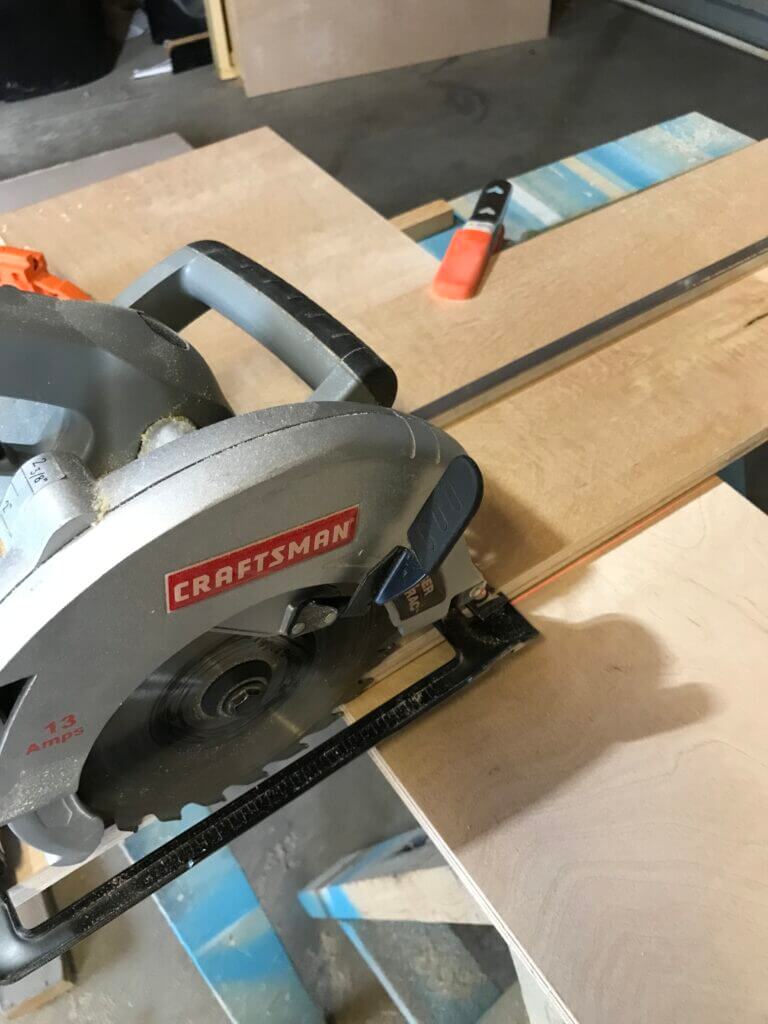
2. Run your circular saw through once on each side.
Once you’ve attached the aluminum fence, it’s time to run the saw while keeping a slight pressure against it. You don’t have to push too hard on it as I mentioned before, the aluminum is a soft metal and will have some flex no matter what. The point of having it as a fence is to keep the saw running true.
After you do this, you officially have a saw guide and you can stop there if you don’t need the other side for bevel cuts.
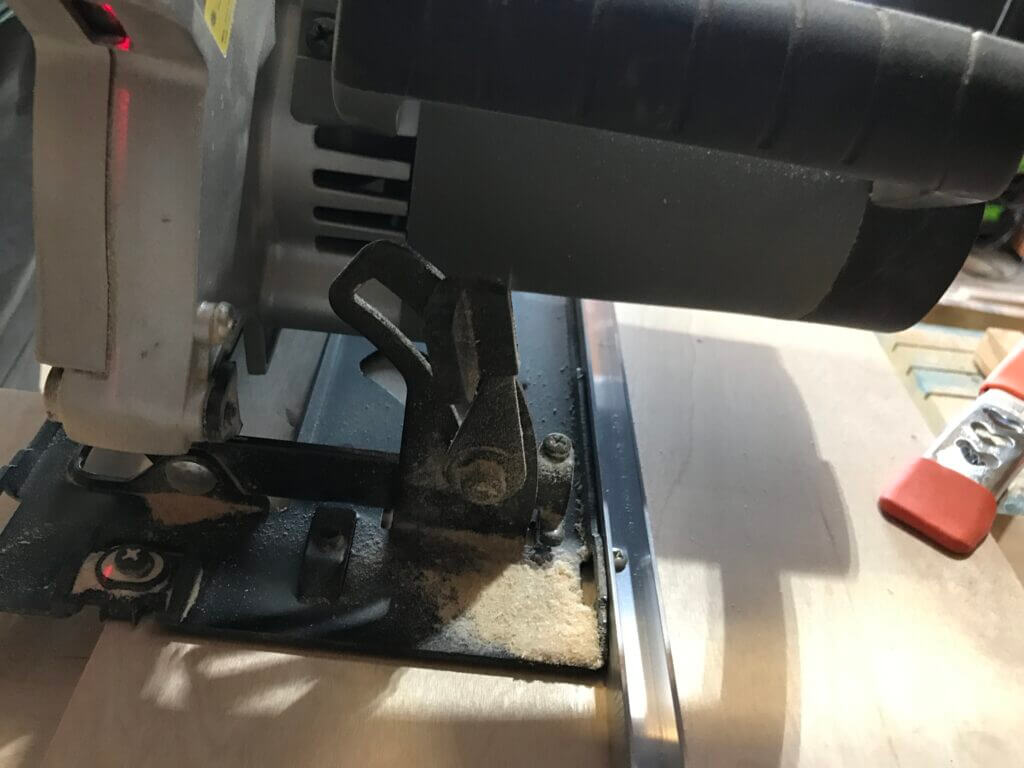
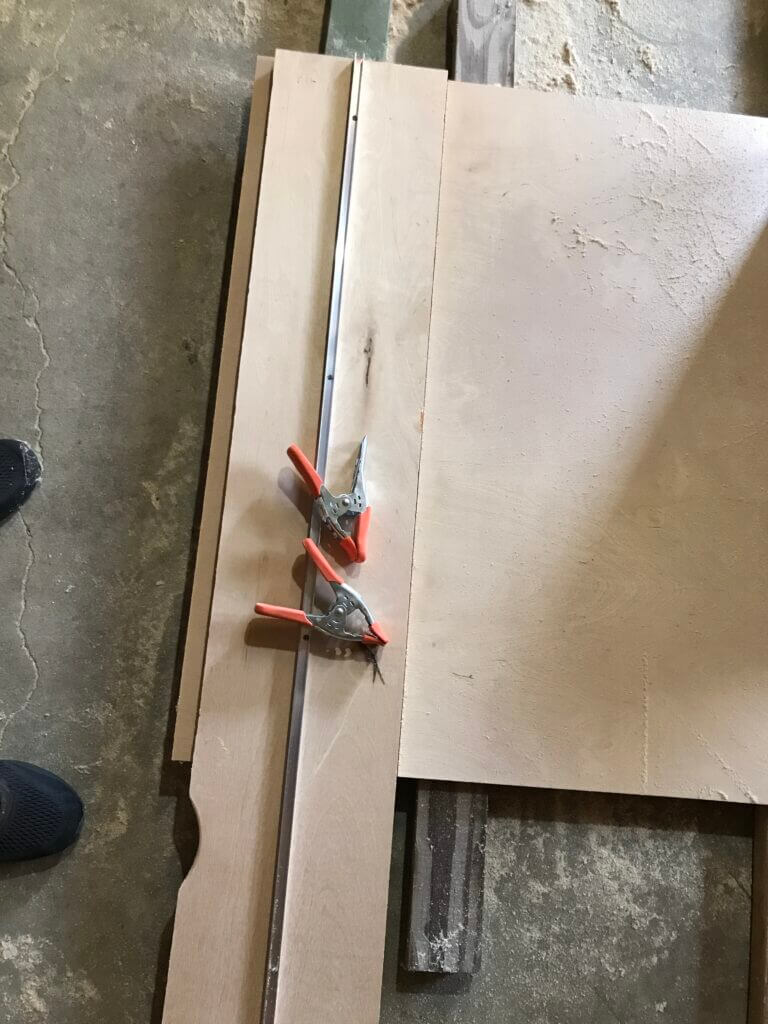
To use your new saw guide, measure and draw your cut line on a material, line up your newly cut edge right on that line, clamp it down so it won’t budge and then run the saw with the blade depth setting at the appropriate level so that it makes up for the depth of both the guide and the material below.
It helps to manually open up the blade guard and keep it up either with your free hand or a spare clip before running it to ensure a nice, clean cut.
3. Optional: Run one side at a 45º bevel and you have a bevel cross-cut / rip-cut jig combo.
I think it’s called a bevel when it’s a cross-cut and a miter when it’s a rip-cut. I’m gonna go with that. I ran my saw with an angle on the other side so I can also use it for bevel cuts.
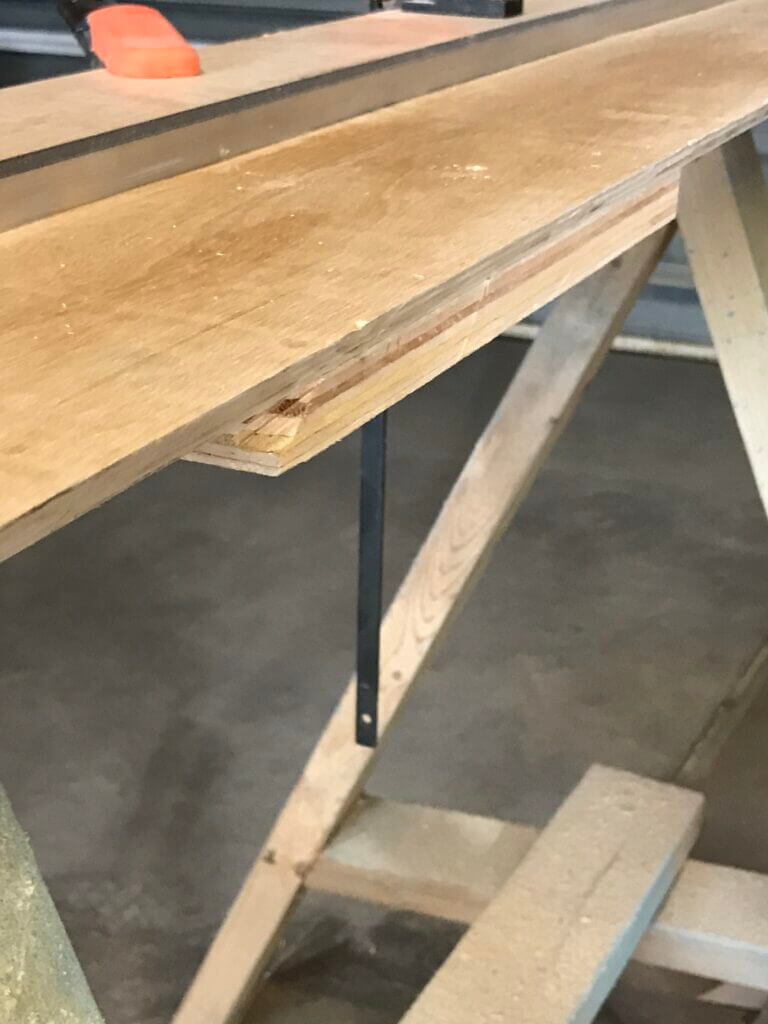
The idea for using it is the same as a regular cut, only this time it’s just slightly offset. Line up the edge just as you would a regular edge, and it’s done!
Just look at that clean 45º bevel! Do they even make saw guides that can do that? (don’t answer it, I don’t want to know)
Safety tips:
- I always use PPE (personal protective equipment, should know that in the time of covid). That means goggles, respirator, hearing protection.
- I always do a dry run before the final cut. With the saw unplugged, I will go through some of the motions to see if I will get caught, snag on something, if I have to overreach or if I will get the cord cut on my corded saw. Dry runs are good indicators of any flaws in my system. It’s how I know that my clamps are too tall sometimes and will get in the way when I’m cutting.
- Get low profile clamps.