I wanted to share how I made a really simple router table. I love my Skil router and have been looking for more reasons to use it on all my projects. I started out using my Skil router to round out edges, all the while knowing that I can use it for something more. It’s like being Clark Kent and having to hide its powers from the world but when paired with a red cape, Clark Kent can use all of his powers to their full potential. The router table is the router’s red cape.
A router is a handy part of any woodworker’s arsenal of tools and not just for rounding out sharp edges. When attached to a router table, a router is able to do much more and makes the tool a lot more accurate. Having a table for your router will allow to bring the material to the spinning bit, not the other way around. This is a lot safer, for one, and the cuts will be easier to keep straight. Having a dedicated table will allow for more jigs for the future too! I might even start making box joints before fall season is over. Let get at it, hero!
The surface
- Choose a good surface material.
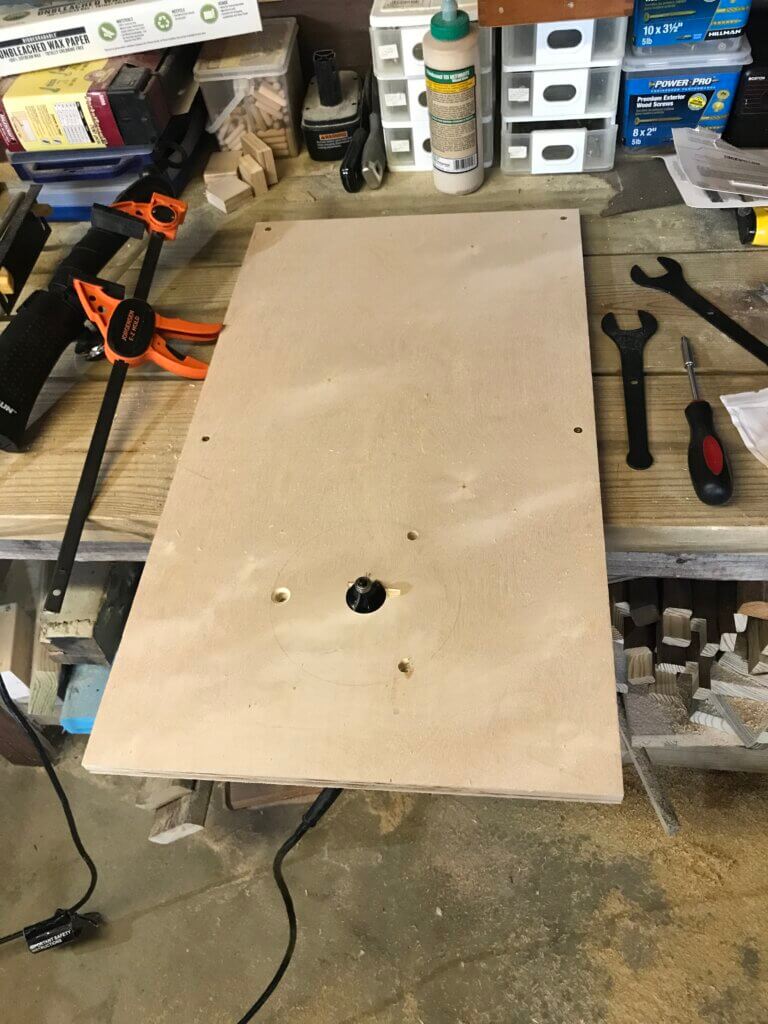
Find a medium size birch plywood or whatever you have on hand and mark one side that will be used as the surface of the table portion. Make absolutely sure that the edges are 100% square. - Mark the holes.
Use the base plate as a guide template to mark where the center hole and the screws will go.
- Drill the screw holes.
You will have to either get a longer set of screws that matches the thread and head size or just drill down just enough to account for the thickness of the surface.
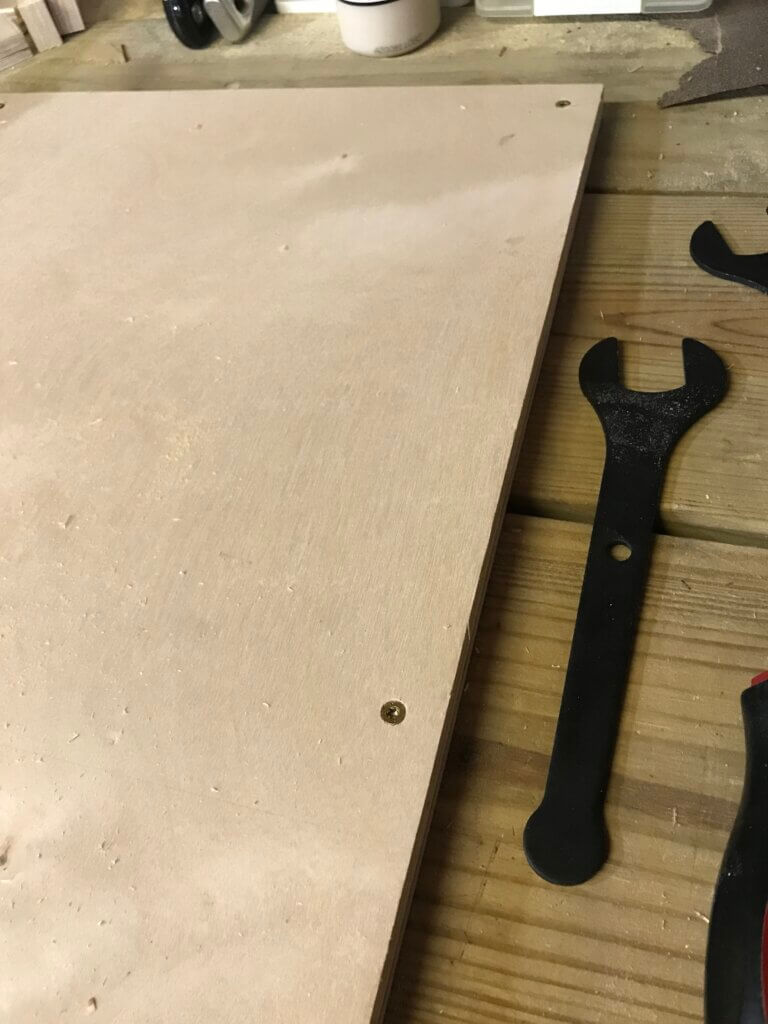
My surface happens to be 3/4″ thick so I used drill bits of different sizes. Drill the first hole and test that before creating the rest to ensure you have the correct alignment the first time. You just made a two-bit hole.
- Mount the new surface to a workbench or table.
Using your favorite wood screws, you can mount the plywood onto any table or workhorse to stabilize it semi-permanently. This will be the location of the router table whenever it is being used. That is my workaround to avoid having to create table legs.
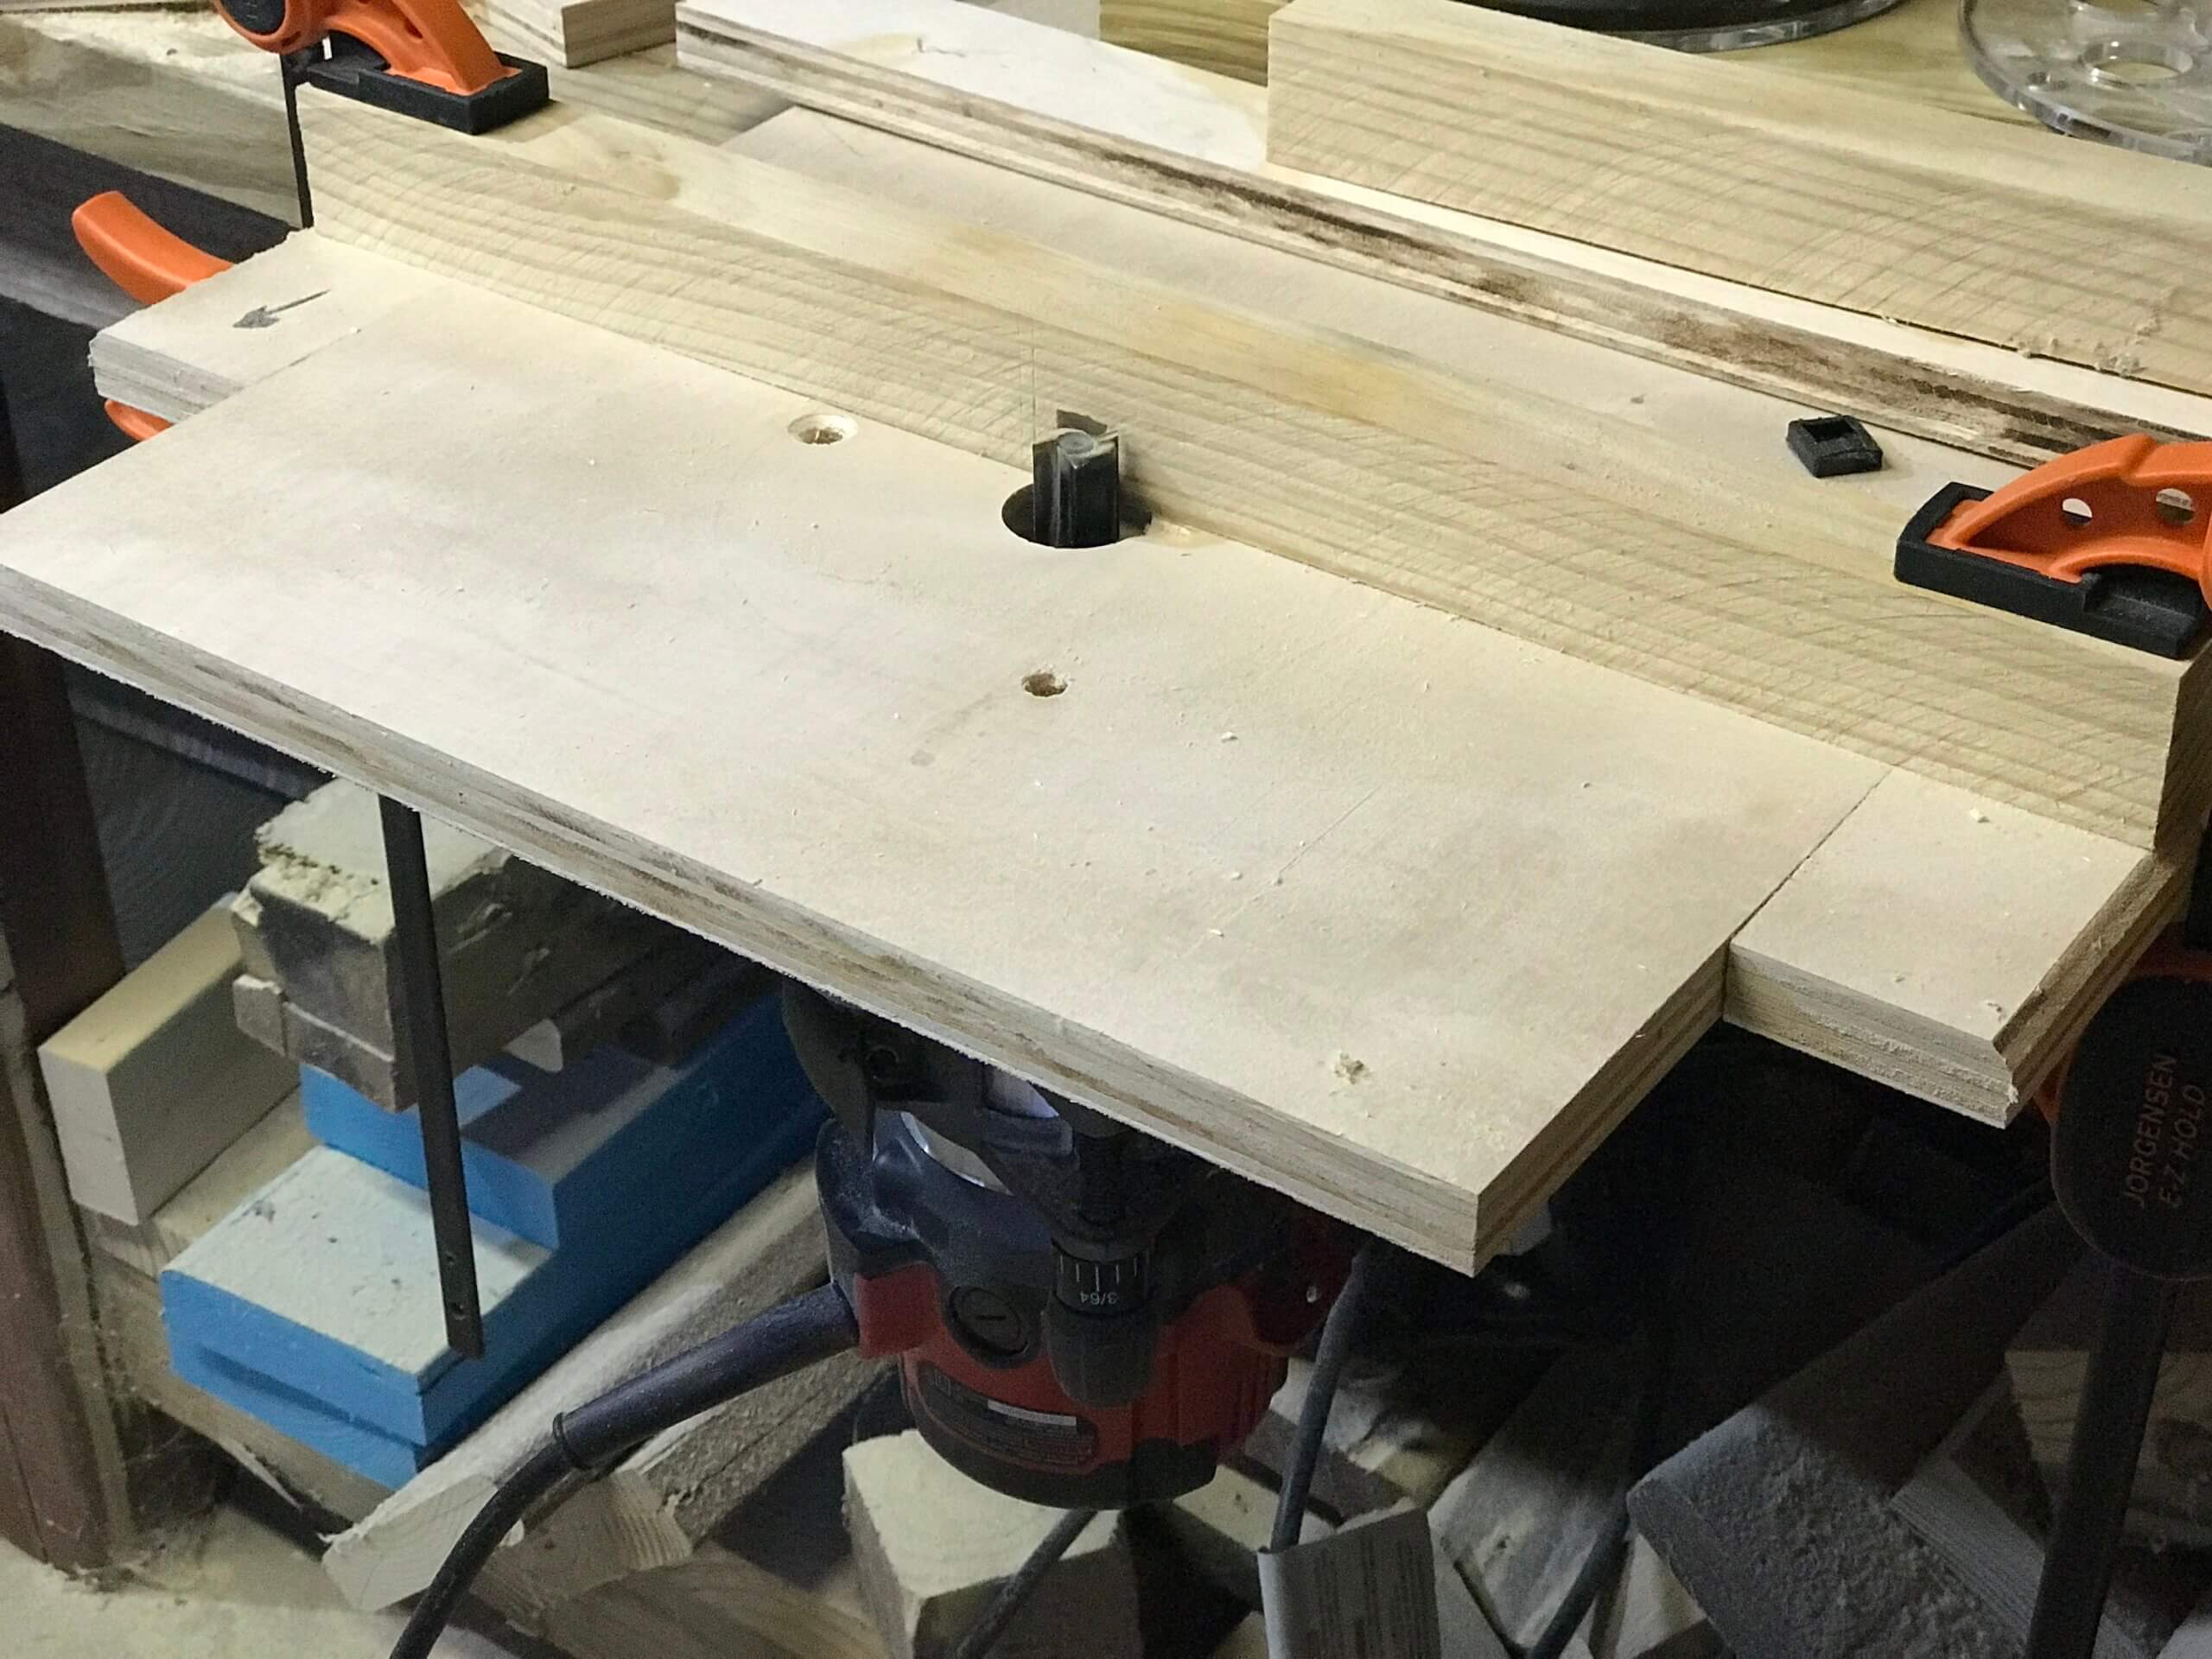
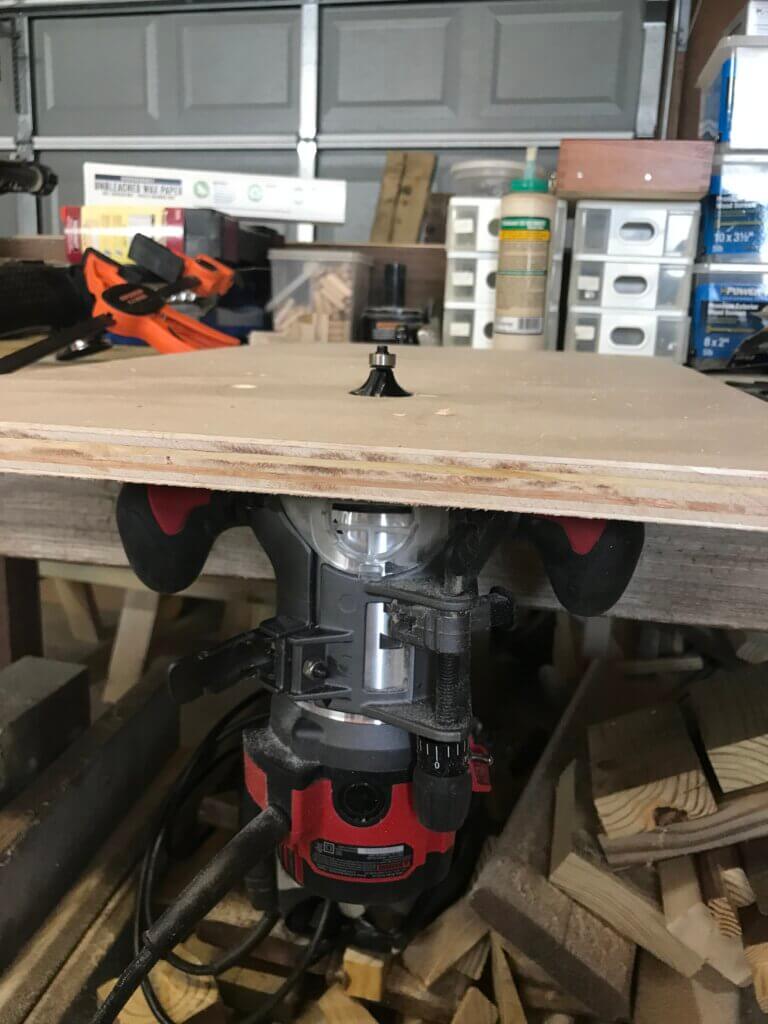
- Make the hole bigger.
With the surface now secured, you can start mounting the router base (I’m trying so hard not to tell dirty puns to keep this a family friendly post). If you drilled a pilot hole for the router bit, you’re a step ahead.
Pick a router bit that will enlarge the original hole. I chose the largest bit I own from my kit which was a round over bit and slowly opened up the hole to 1/2 inch by gradually raising the router through. Whew, we both made it to the end, now just the fence is next.
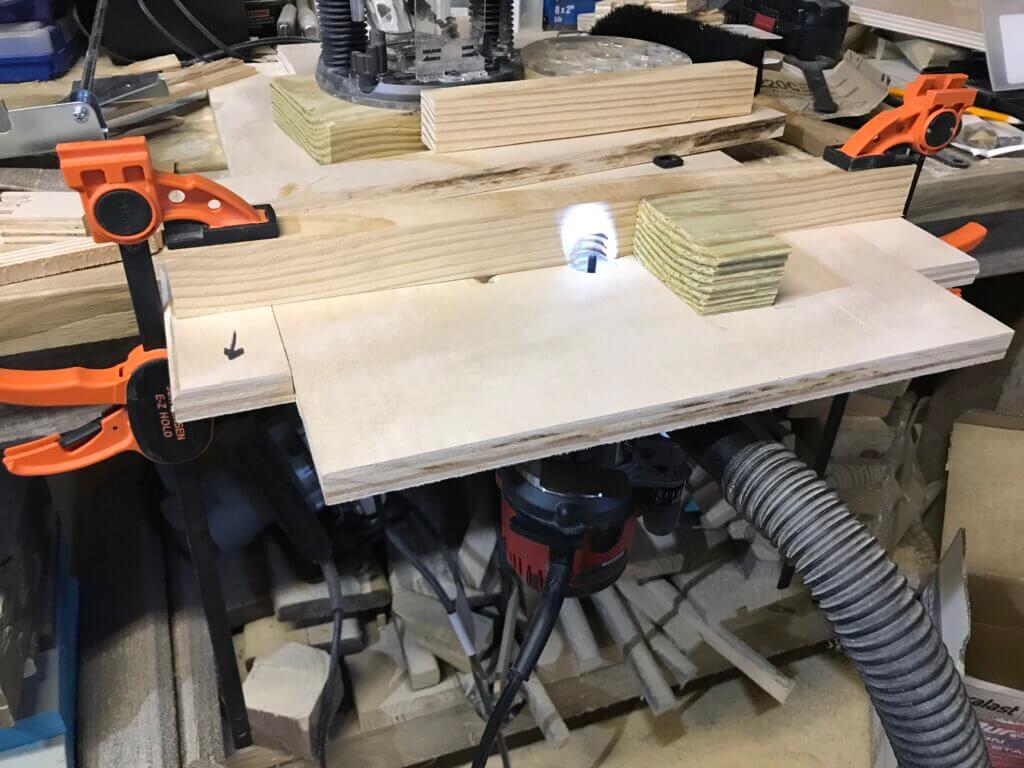
The fence
- Find a long piece to use as a fence.
Hopefully, the edges are 100% squared as mentioned in previous steps, it will be crucial in this step.
- Make an H.
Attach shorter pieces that will keep the fence centered on the surface. I used wood glue but you can use any method you’re comfortable with that will not mess up the squareness.