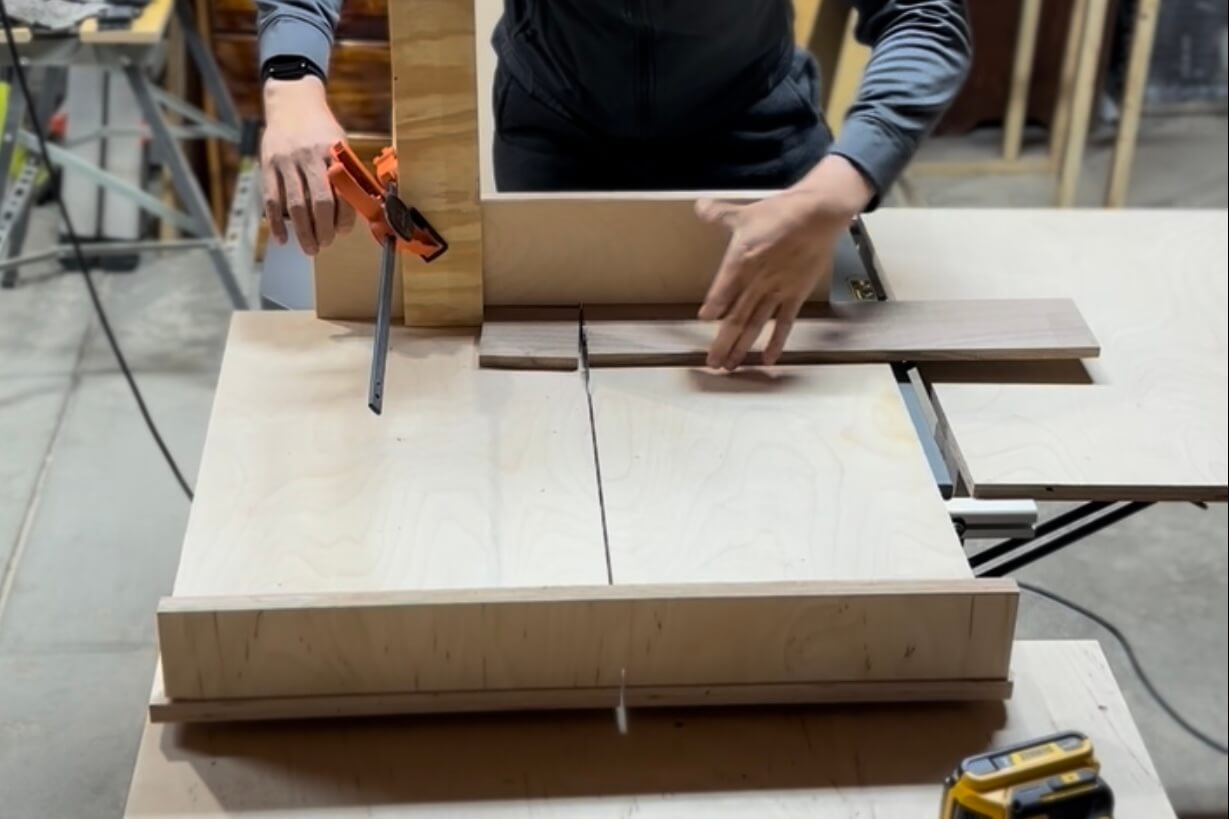
It’s something I needed to have to make cuts repeatable and safe. It’s something that is easy and makes my life easier so I can focus on building more. I also wrote up the steps just in case you like to read more than watch.
The how-to part in text form
I’m assuming you already know how to make some guides that fit your miter tracks so I’m going to skip that as it is pretty self explanatory. After I had my guides, I placed some pennies in the miter tracks to use as spacers. You can also use washers if you have them.
Using regular wood glue, run a bead along the guides while they are in the tracks. If you have CA glue like I do in the video, you can use that to speed up the process. Place your sled base on top. Once the glue has dried, you can move on.
Attach the back fence to the base using screws. This is easier if you have clamps you can use to hold it in place while you screw it down. Make sure you don’t place a screw where the blade will cut into in the next steps.
Place the sled on the tracks and run the saw but do not cut all the way through.
Take you carpenter’s square, or your combination square, or whatever you use, to check for squareness and line up the front fence to ensure it is 90º against the blade and 90º against the base. Think in 3D here. Clamp it down and attach with screws.
BAM! You now have a crosscut sled. The end.
Let me know if you make one of these. I’m also interested in seeing what you make using your new crosscut sled.
