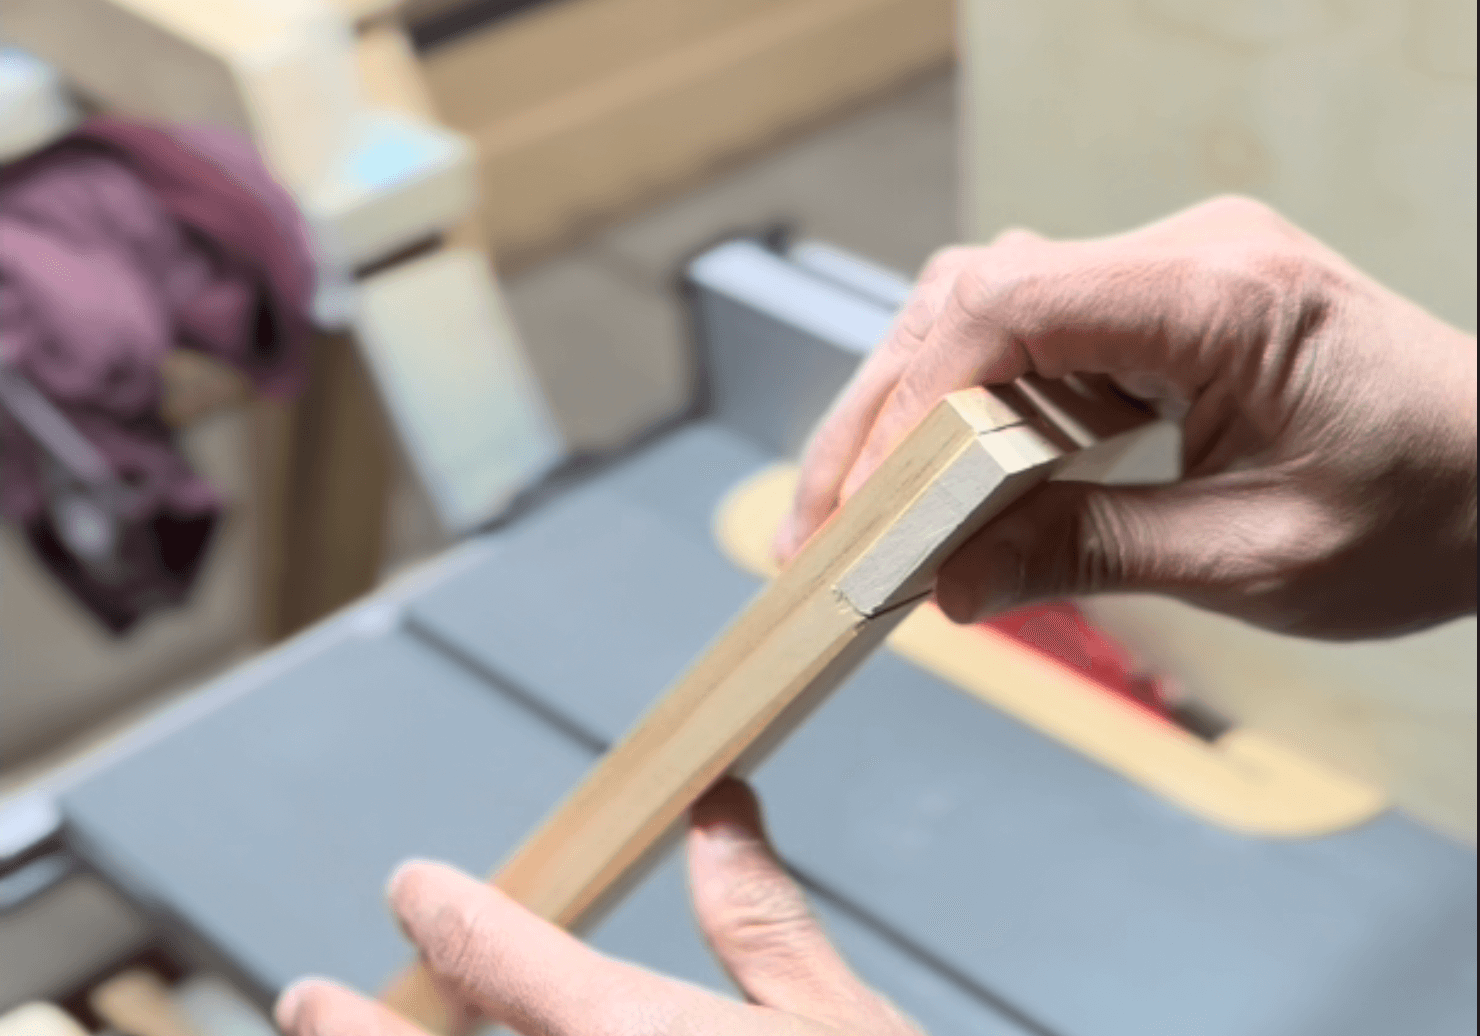
Having the ability to find the center line of anything is a good skill to have for anything. This is especially true if you are getting into woodworking in general. Almost anything in woodworking requires you to find dead center in order for the rest of your build to fall into place.
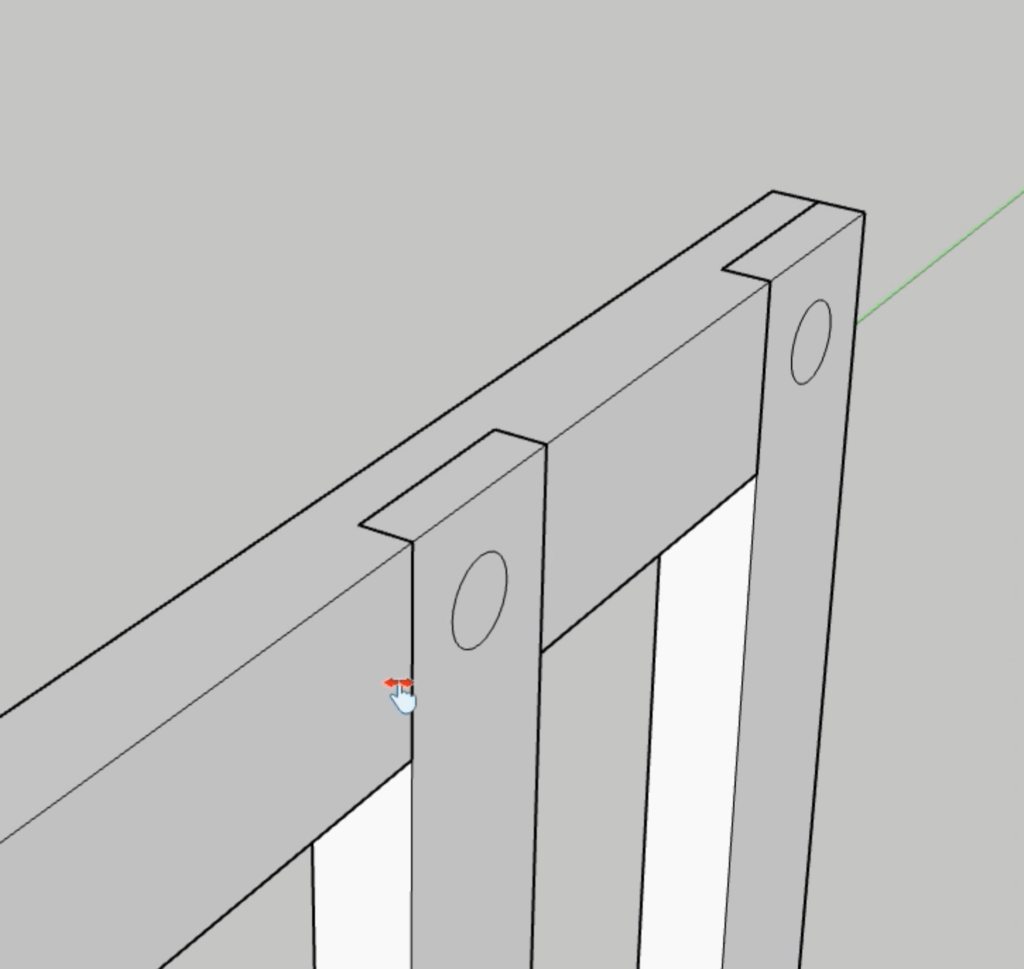
In this post, I’m using the technique to find the center line of this 1×2 board’s edge to create a half lap joint. You can use a table saw or a router to make the cut.
X Marks the Spot
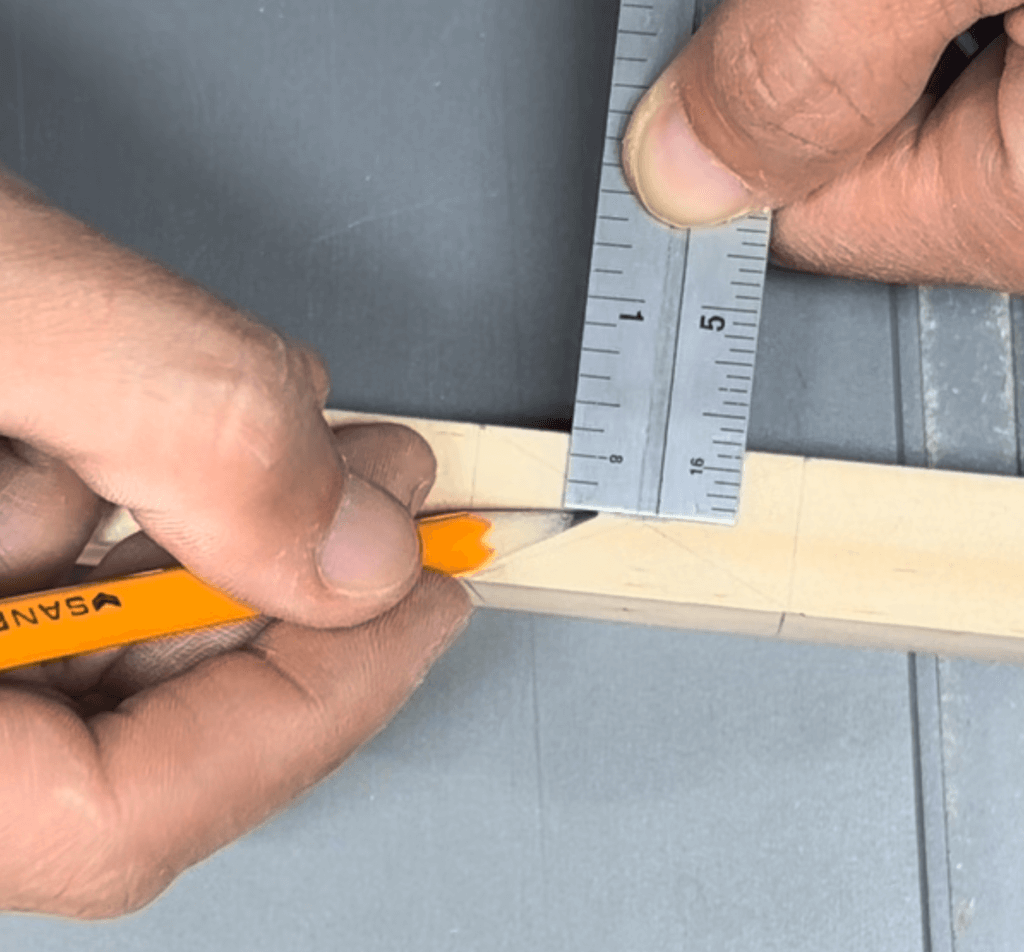
So how do you do it? A simple way I’ve been able to find the center of a board is by drawing an X between two reference lines. The reference line could be anything on the board as long as the are parallel. Since I intend to make a half lap joint, I placed on top of where I want the second board to land on the first board and marked both sides. Then I used a straight edge to make the X. The x makes it easy to see where the middle will be, it’s literally marked for you.
Making the Cut
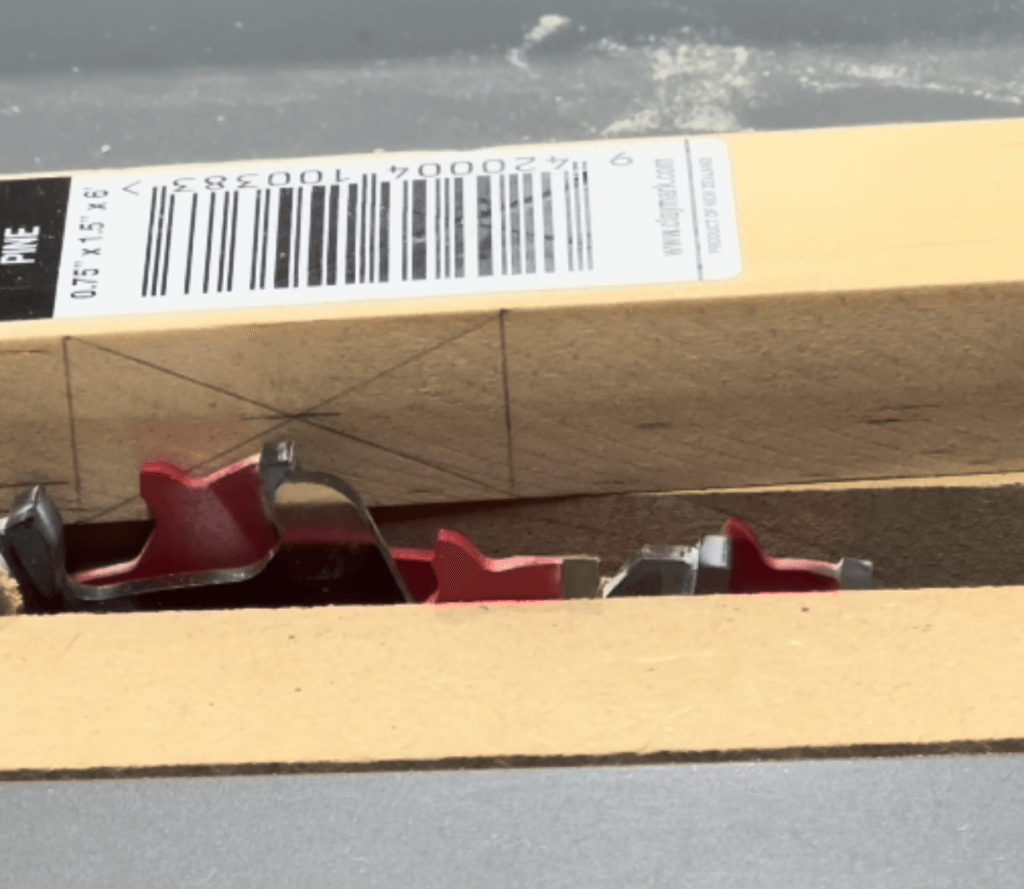
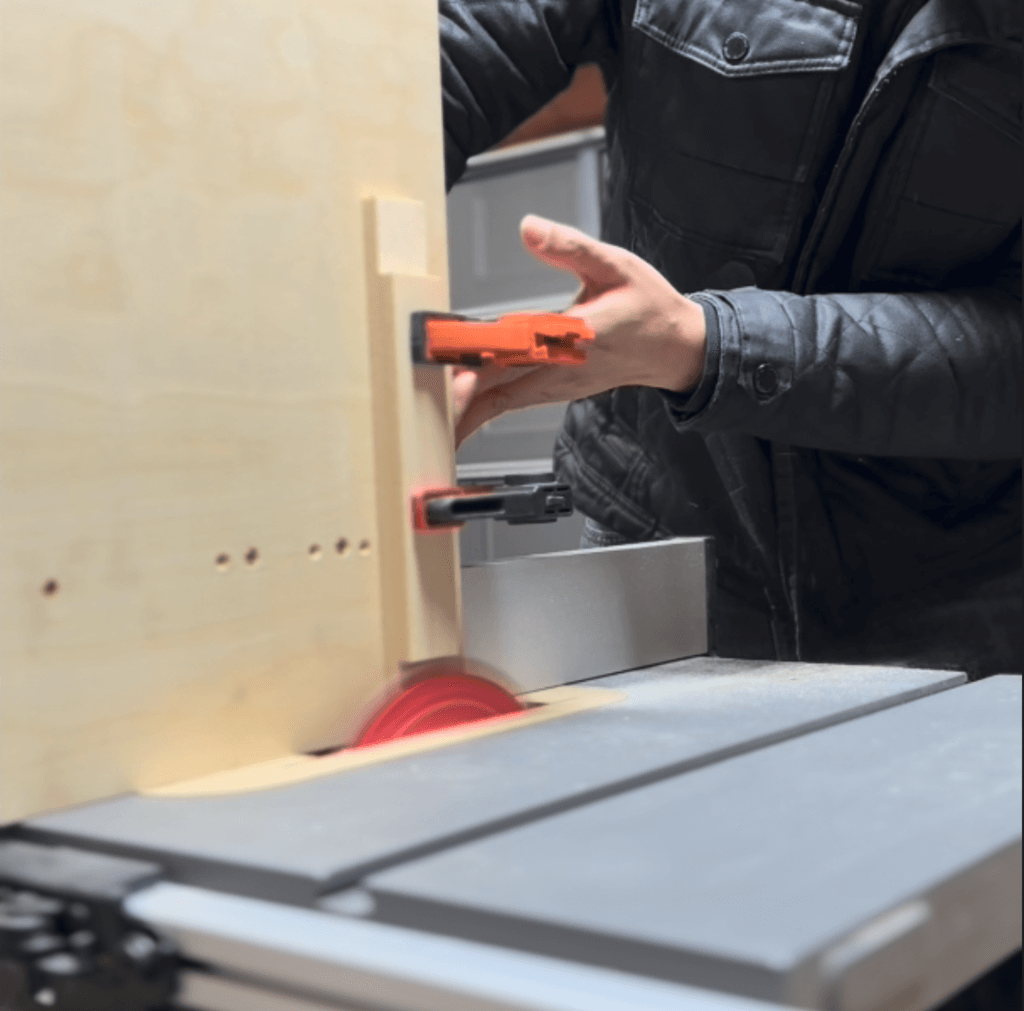
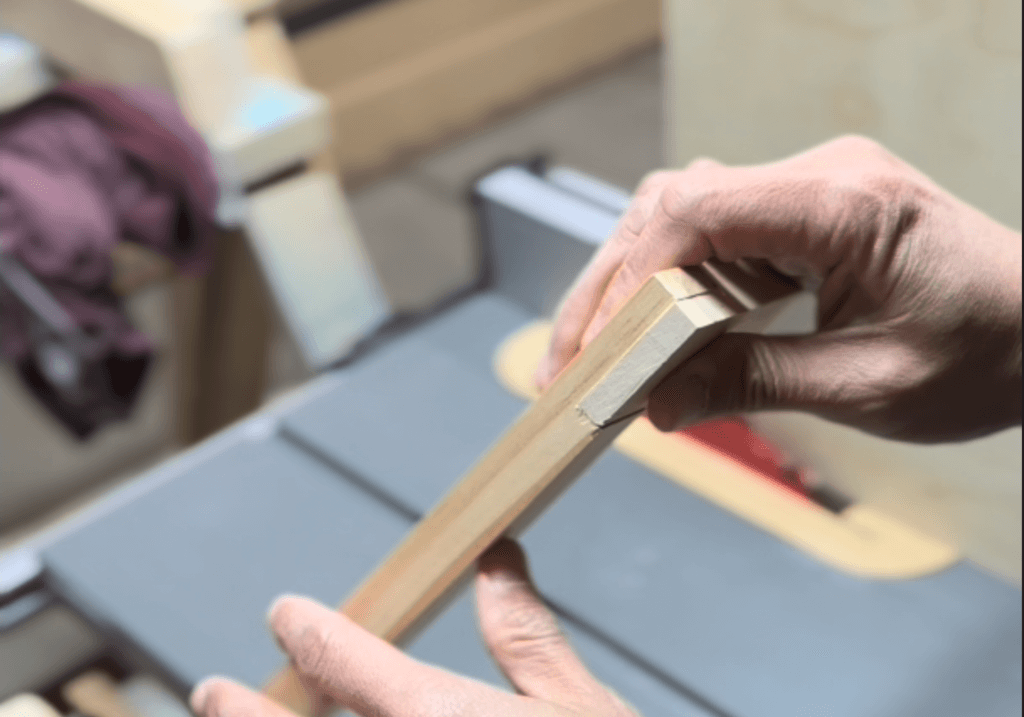
I raised the blade to that height to make my cut. I had dado blades at my disposal to make the wider cut but you can use a router to do this too if you have it. Otherwise, a regular blade will do too by making multiple cuts and moving the piece over until enough material is removed. A crosscut sled will help with this method if you didn’t want to put your dado blade on.
Half lap joint in a T section
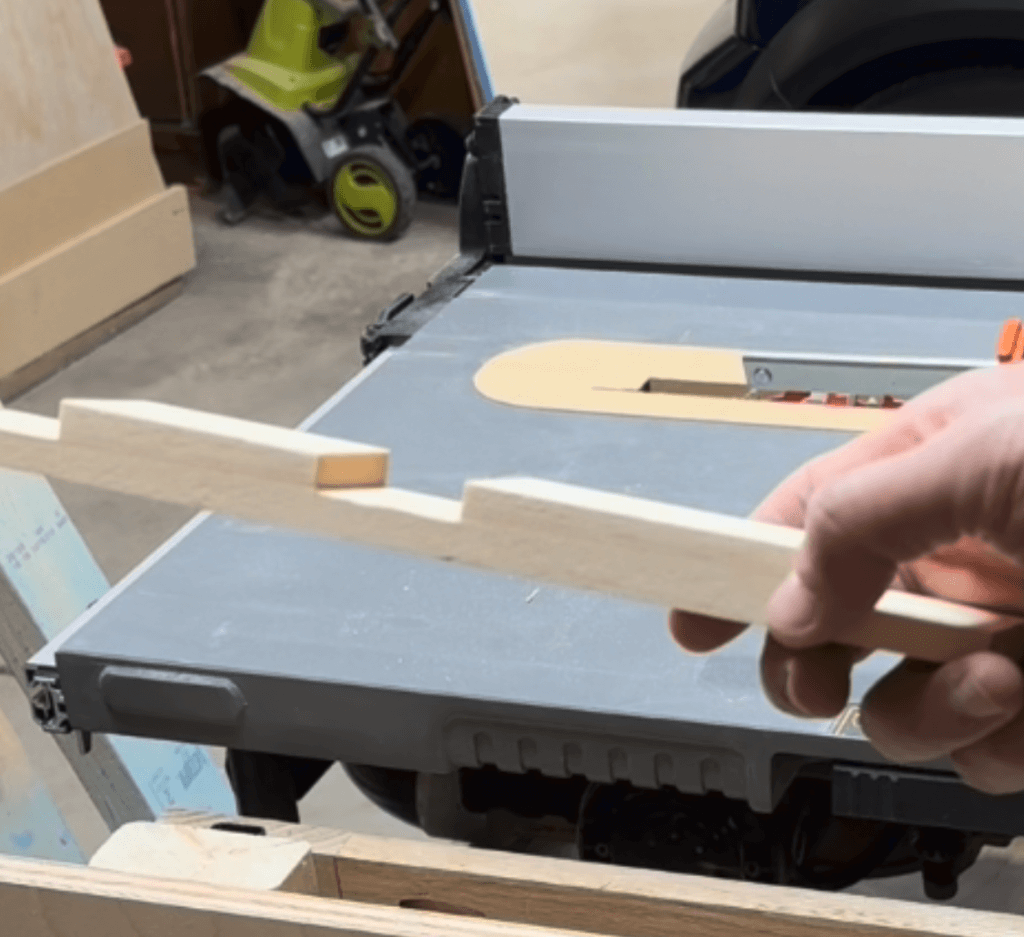
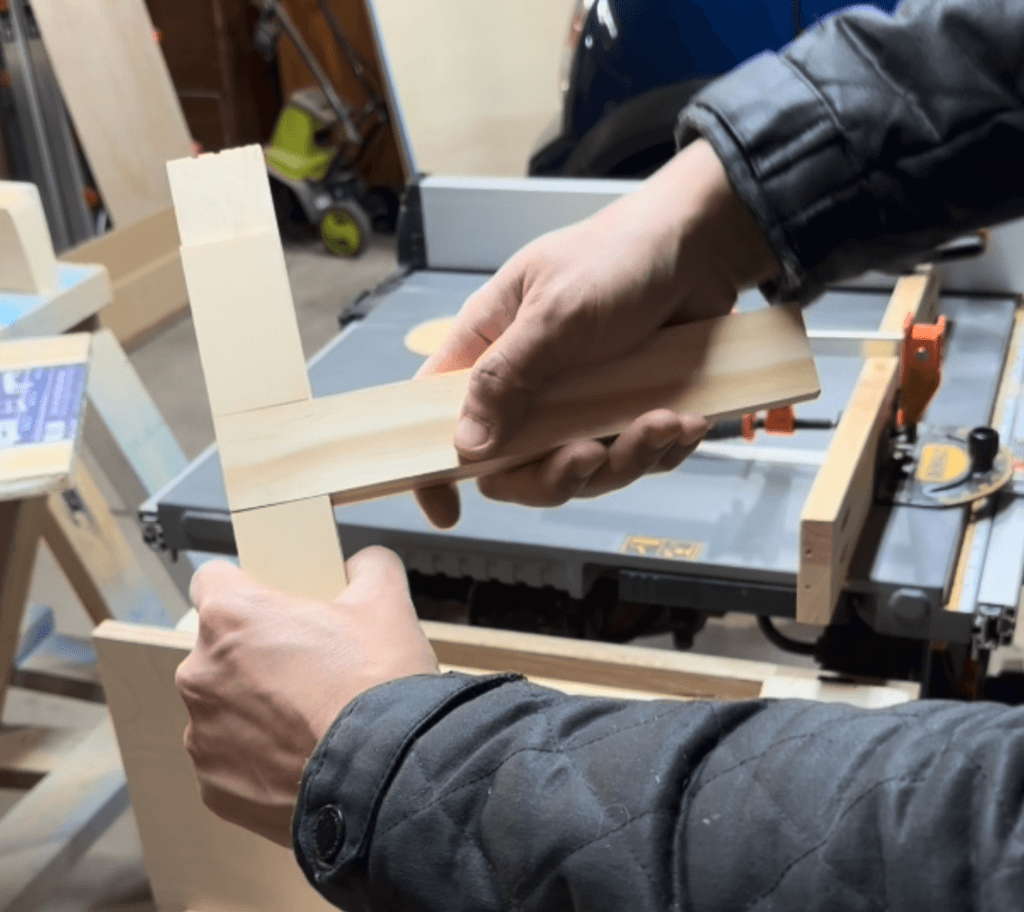
After I made the first half lap, I made the middle section without making any adjustments to the blade height. Just repeat the cut like before and you are done!
