I’m a beginner when it comes to woodworking and I’ve been pretty open about that on here. What I lack in woodworking skills though, I make up for with my computer skills and on this post, I want to share some of my skills during the planning phase of my projects. The planning phase for me is when I jump into Sketchup where some of the flaws in my design may be revealed before I even step into my work area. Rather than finding out that my designs don’t really work later in the build, I can eliminate those would be mistakes and waste less time and money.
You’ve probably seen Sketchup and not realize that it’s this badass 3D app that is used by both pros and amateurs. If you’re a pro, you’re probably using a paid version but here, I’ll cover the free online version which is enough for what I need it for. It’s accessible anywhere on any computer without having to install anything. Also, all my saved files are in the cloud so it’s awesome. That feature is so useful if you have multiple computers in the house or if you are not on your own machine. Just log in a open a file!
So you want to learn 3D? Sign up!
First, some sign up shit. Go to sketchup.com and click on the button that says “Try Sketchup” and then the “For Personal Projects” tab. Hit the Start Modeling button and set up an account if you don’t already have one. You should see something that looks like this.
If you aren’t computer savvy, I get it. Their design is bad. Just be patient, take it slow, follow instructions, read, and you’ll get there. Once you get an account set up, you guessed it, sign in!
Hello World!
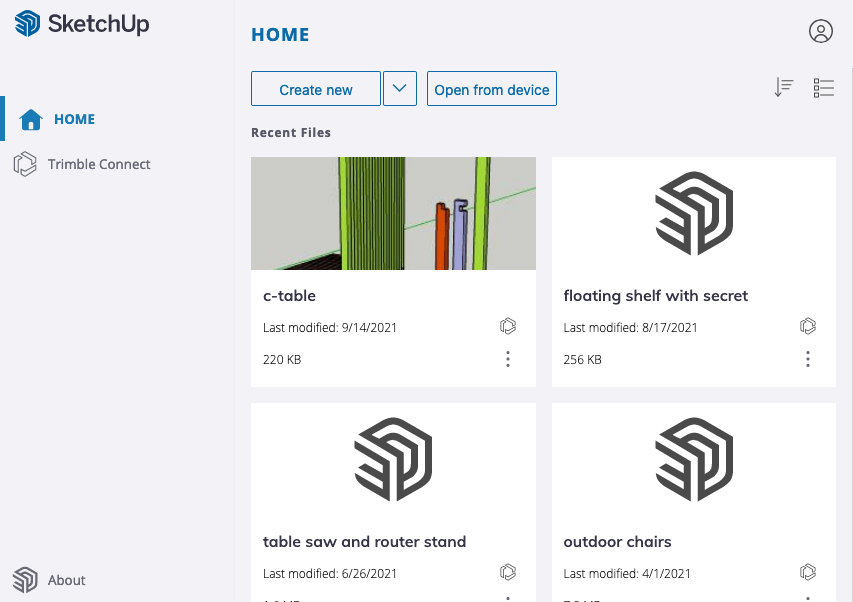
If you’ve done it correctly, congrats! You should now see a screen that looks like this one below. Except yours will be empty. It’s okay, it’ll fill up soon I promise. Go on and click “Create new” and you should be taken to a screen with a 2D person. This person is only used for scale reference, you can choose to keep him/her whatever you prefer, there are other ways to reference scale in the app. I usually keep that guy around because I’m always lonely.
Keyboard shortcuts
You’re going to jump through a lot of tools very quickly so it’s best to learn some keyboard shortcuts before going further. Here are some that I use a lot of:
- Select (Space bar)
- Rectangle (R)
- Push/Pull (P)
- Move (M)
- Rotate (Q)
- Scale (S)
- Tape measure (T)
- Orbit (O)
Making your first 3D object – a box!
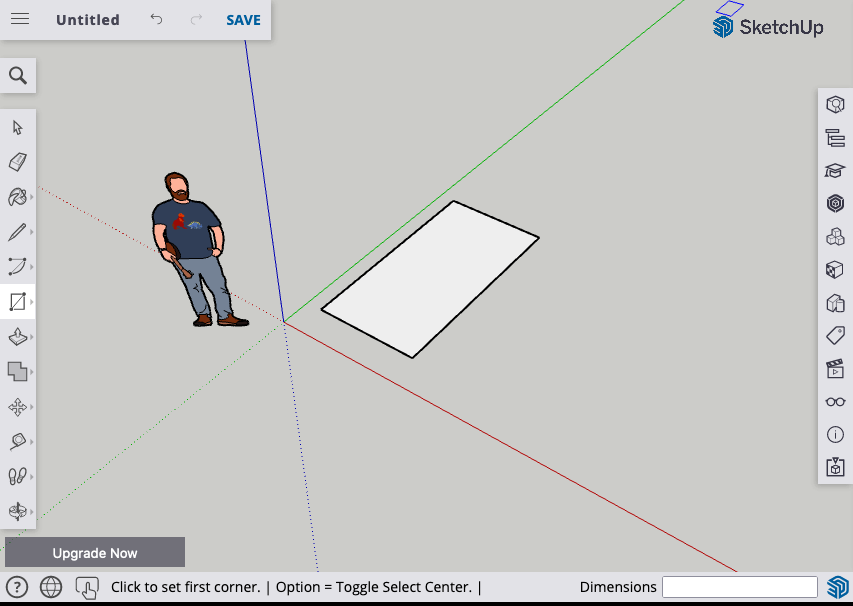
There are tons of tools here but the one that I use the most and the one I start with almost every time is the rectangle tool. You will find that along with many other tools on the left side of the screen. Or, since you know the keyboard shortcut, just press R then click and drag your mouse anywhere on the work area. You should now have something that looks like this:
Follow along here, I’m about to up the ante.
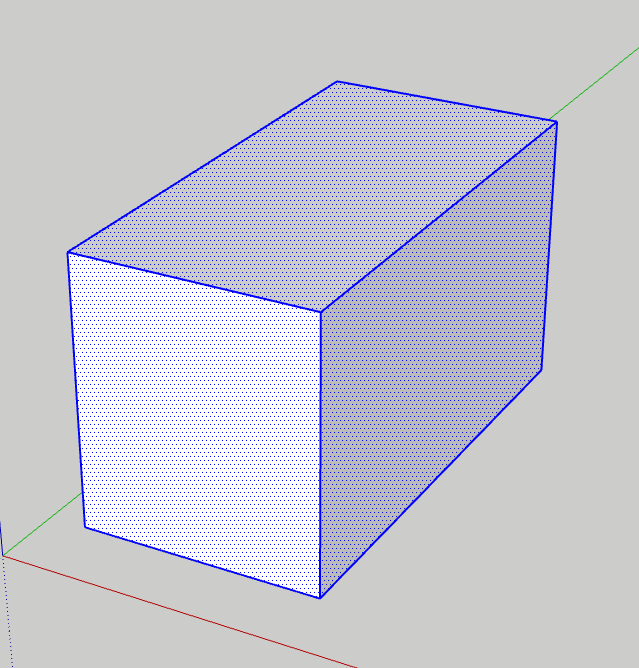
Press P and then click and drag the surface of your rectangle up. Boom! You just made your first 3D object, a motherfuckin’ box. Go on and check it out by pressing O and dragging the mouse.
Create objects with exact measurements
Because you want to use Sketchup with real life applications, you’re gonna want to enter some real numbers. Press the Spacebar and then click as many times as it takes on the box you just made to select all of the faces. Then hit backspace or delete to clear the area.
Now, very carefully, press R click anywhere to start a new square just like you did earlier but this time LET GO OF THE BUTTON AND DON’T DRAG. On the keyboard, type exactly this 2',2' and hit Enter. Don’t forget the comma, that’s what separates the two.
You should see what you’re typing on the right bottom corner of the screen.
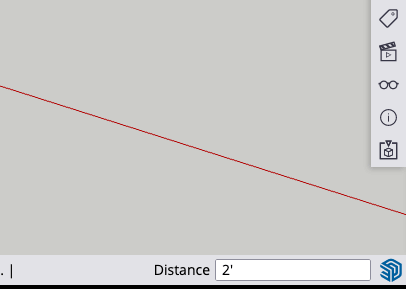
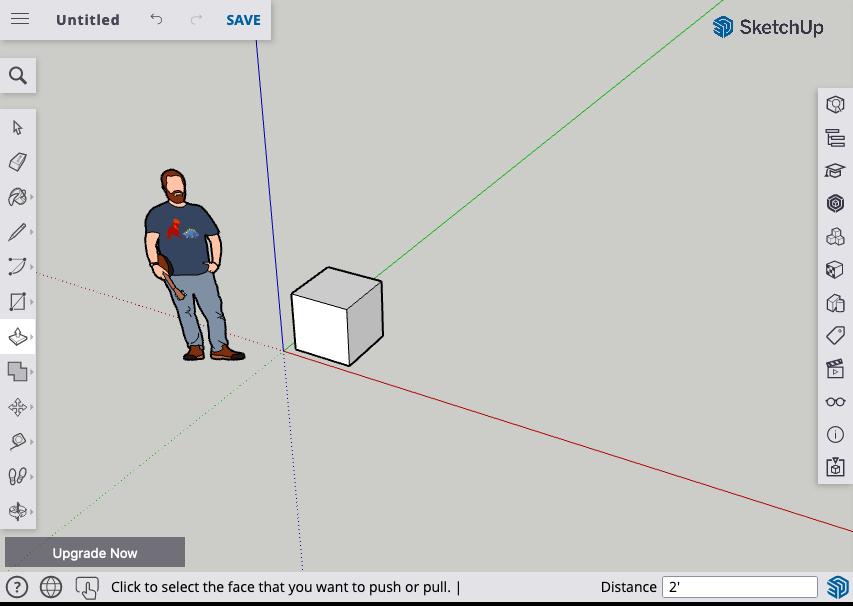
If done correctly, you should have a 2’x2′ square on the floor next to the 2D person. Now press P and click once on the top face and type 2' and then Enter. You now have a perfect 2’x2′ cube by using the Rectangle (R) and Push/Pull (P) with your mouse.
That’s it!
You just learned some keyboard shortcuts, the push and pull tool, typing exact measurements. These tools will get you far in this app. Focus on these for now, get comfortable with it, and see what you can build with it. I will try to keep throwing out more tips, happy sketching!
