Always wanted one of these lightweight C-tables for when I’m on my laptop and sitting on the couch. They also look like regular side tables when not in use so that makes it really appealing for me. I looked up how much these things are and damn, they’re either expensive! Let’s be real, though, there are a lot out there that look much better than the one I created. My issue is that most, if not all, are almost always too small so they can sell at cost, and while they do fit a laptop, I’d like to have a little more room for comfort.

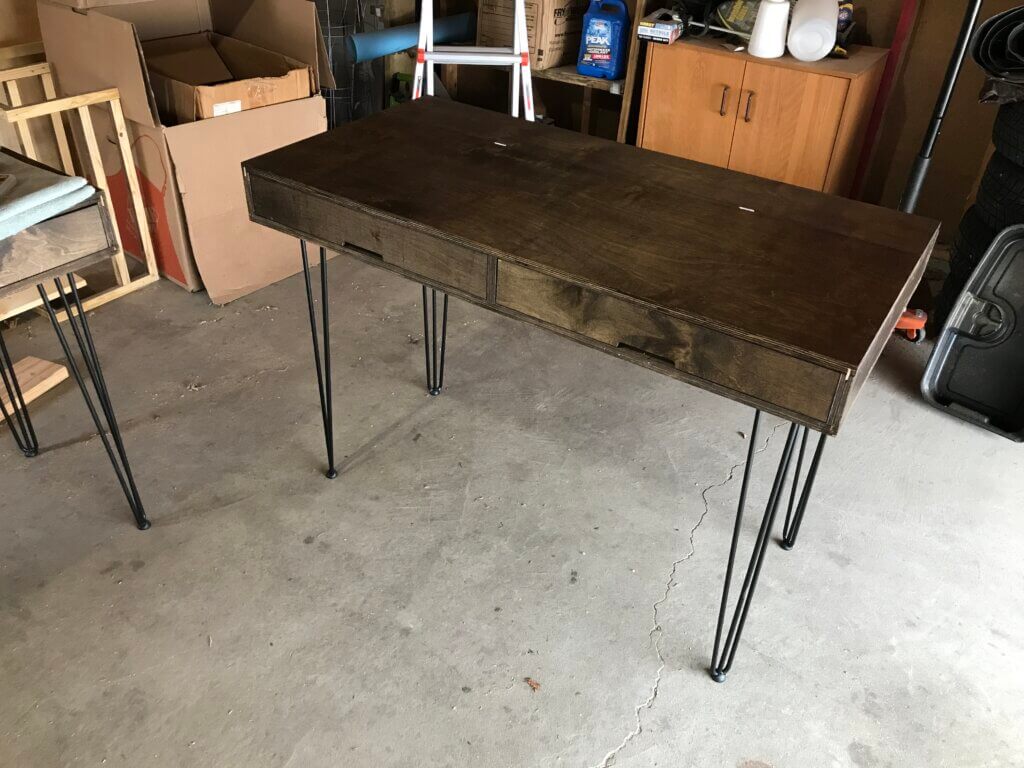
Check out the photos of the final build below and if you want to see how I got here, read on!

Version 1

I approach all my projects knowing that there will be a skill that I’m going to inevitably pick up from it, I welcome it. Whether the challenge is a new joinery or a new way to cut, whatever it may be, every project is an experience. In this case, the challenge is to create a table with very little wobble, keep it lightweight, and be able to support more that the weight of my arms.

My first prototype is a very straightforward design and checks some of the boxes, it’s a C shape, it has only two legs on one side, it’s almost the right height, but it was weak as fuck. This prototype got wrecked when I put the weight of my arms on it. Total rookie move.

Version 2

I added extra legs for stability. I’ve seen that design in a lot of commercially available C tables and wanted to see if it would add anything to it and it does!

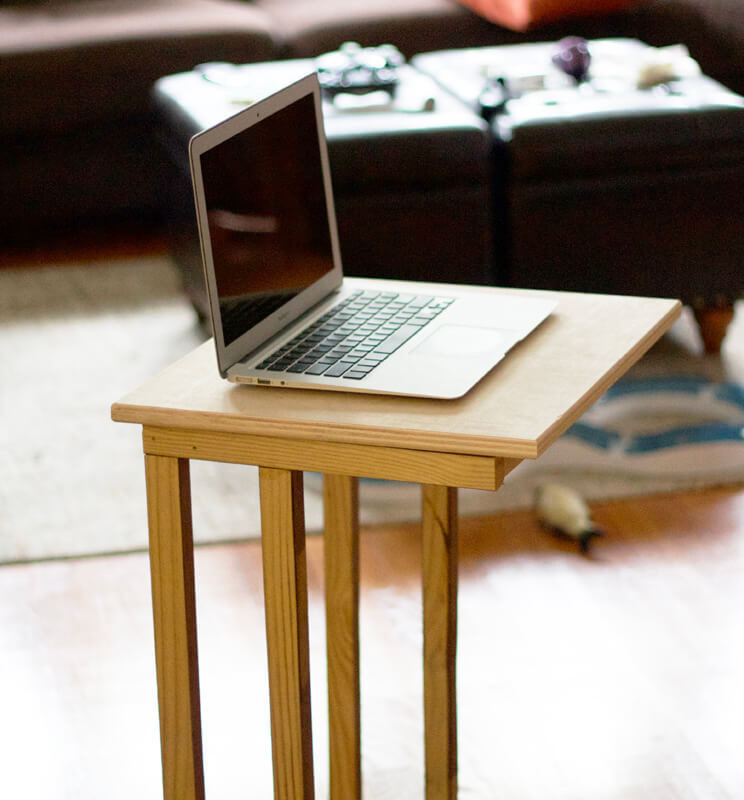
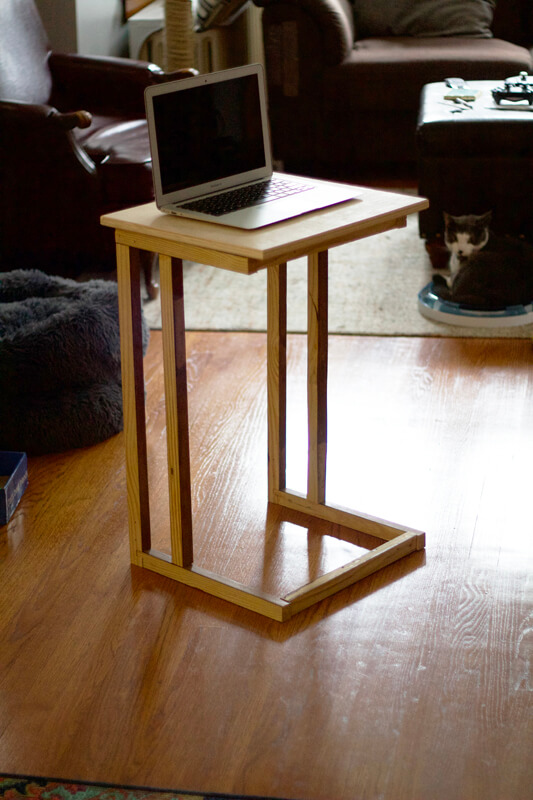
My second design was very functional but after the initial excitement of completing my first table, the look of it didn’t stand the test of time. While it was functional, it was also very basic. All in all, the original was a good intro to the C-table. By allowing myself to learn by making, I was able to push through and learn a lot more. The new one that I built not only look a lot better but it also kept the strength of the table to a maximum.
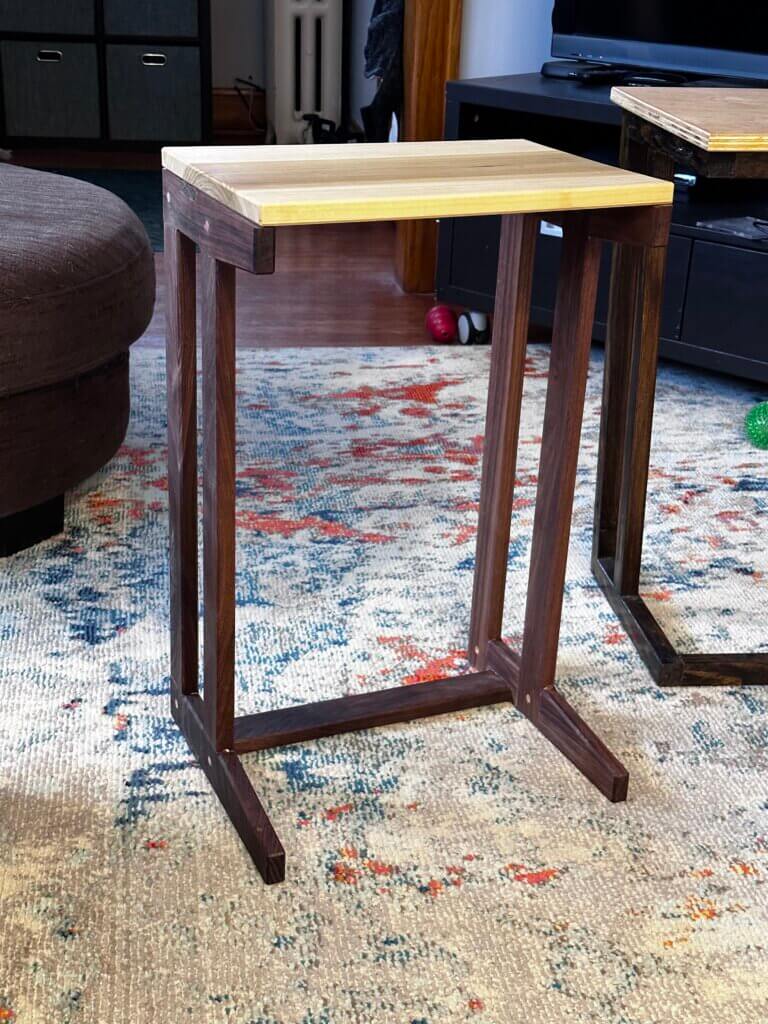
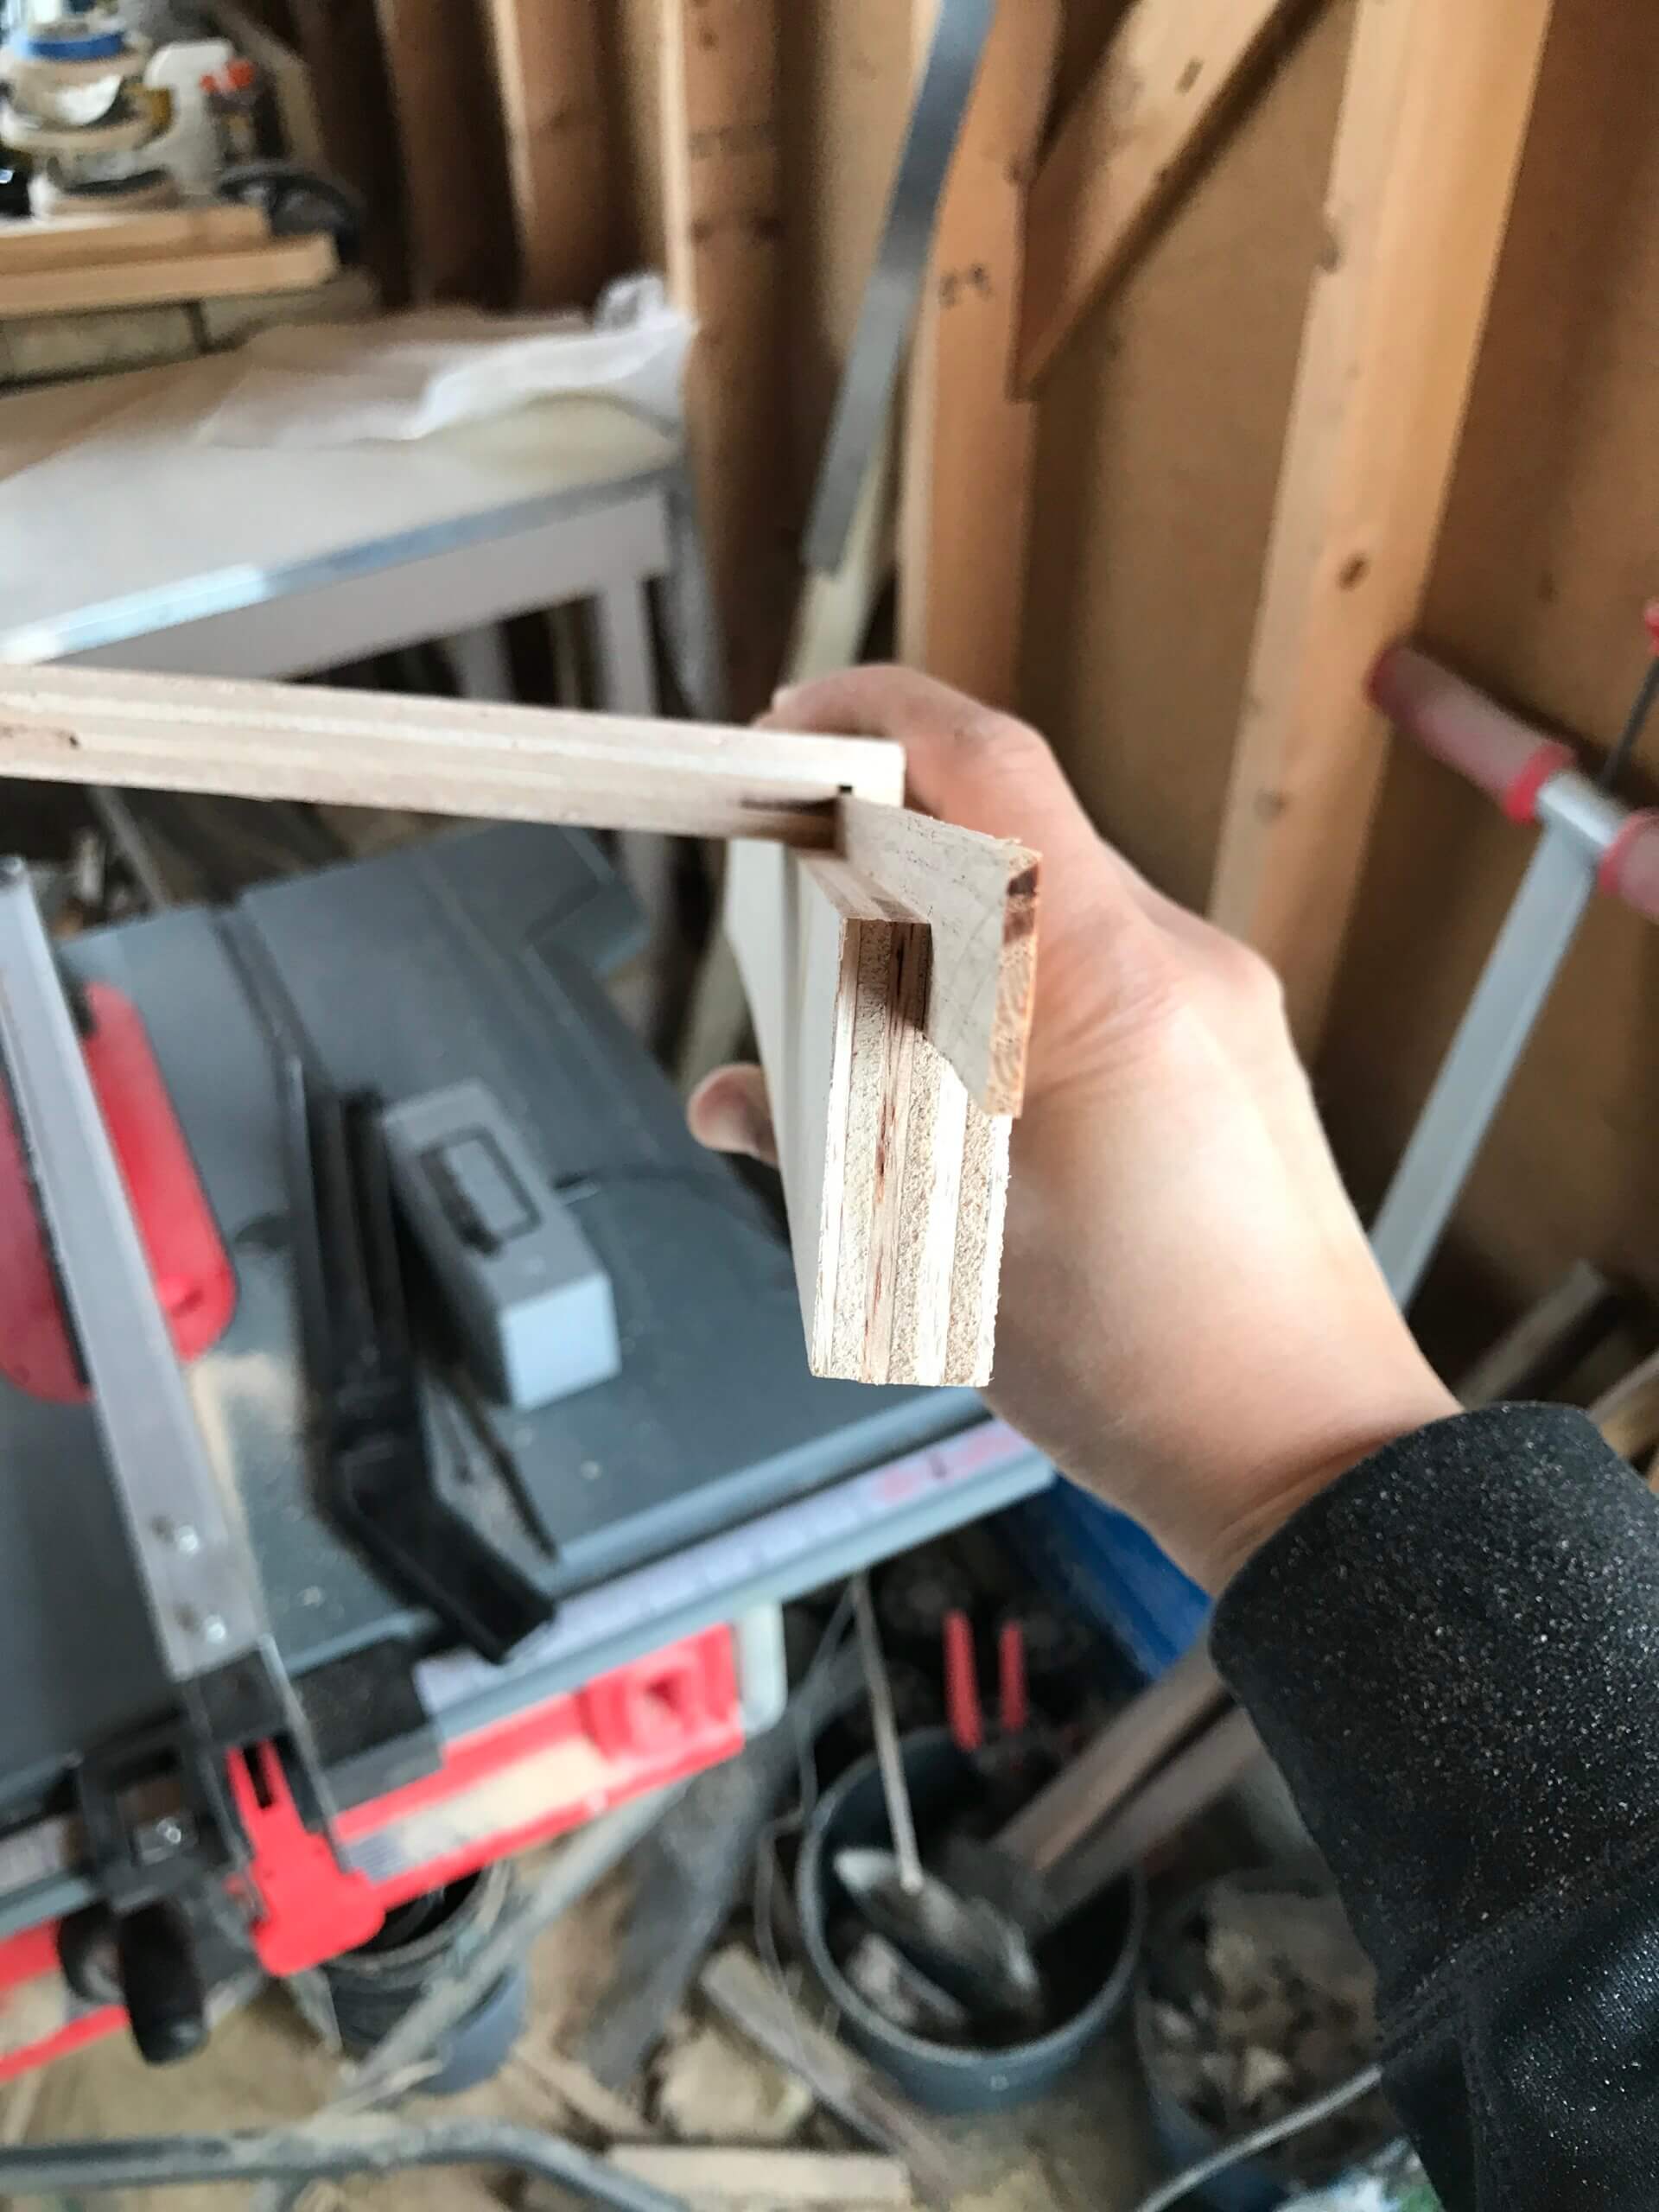
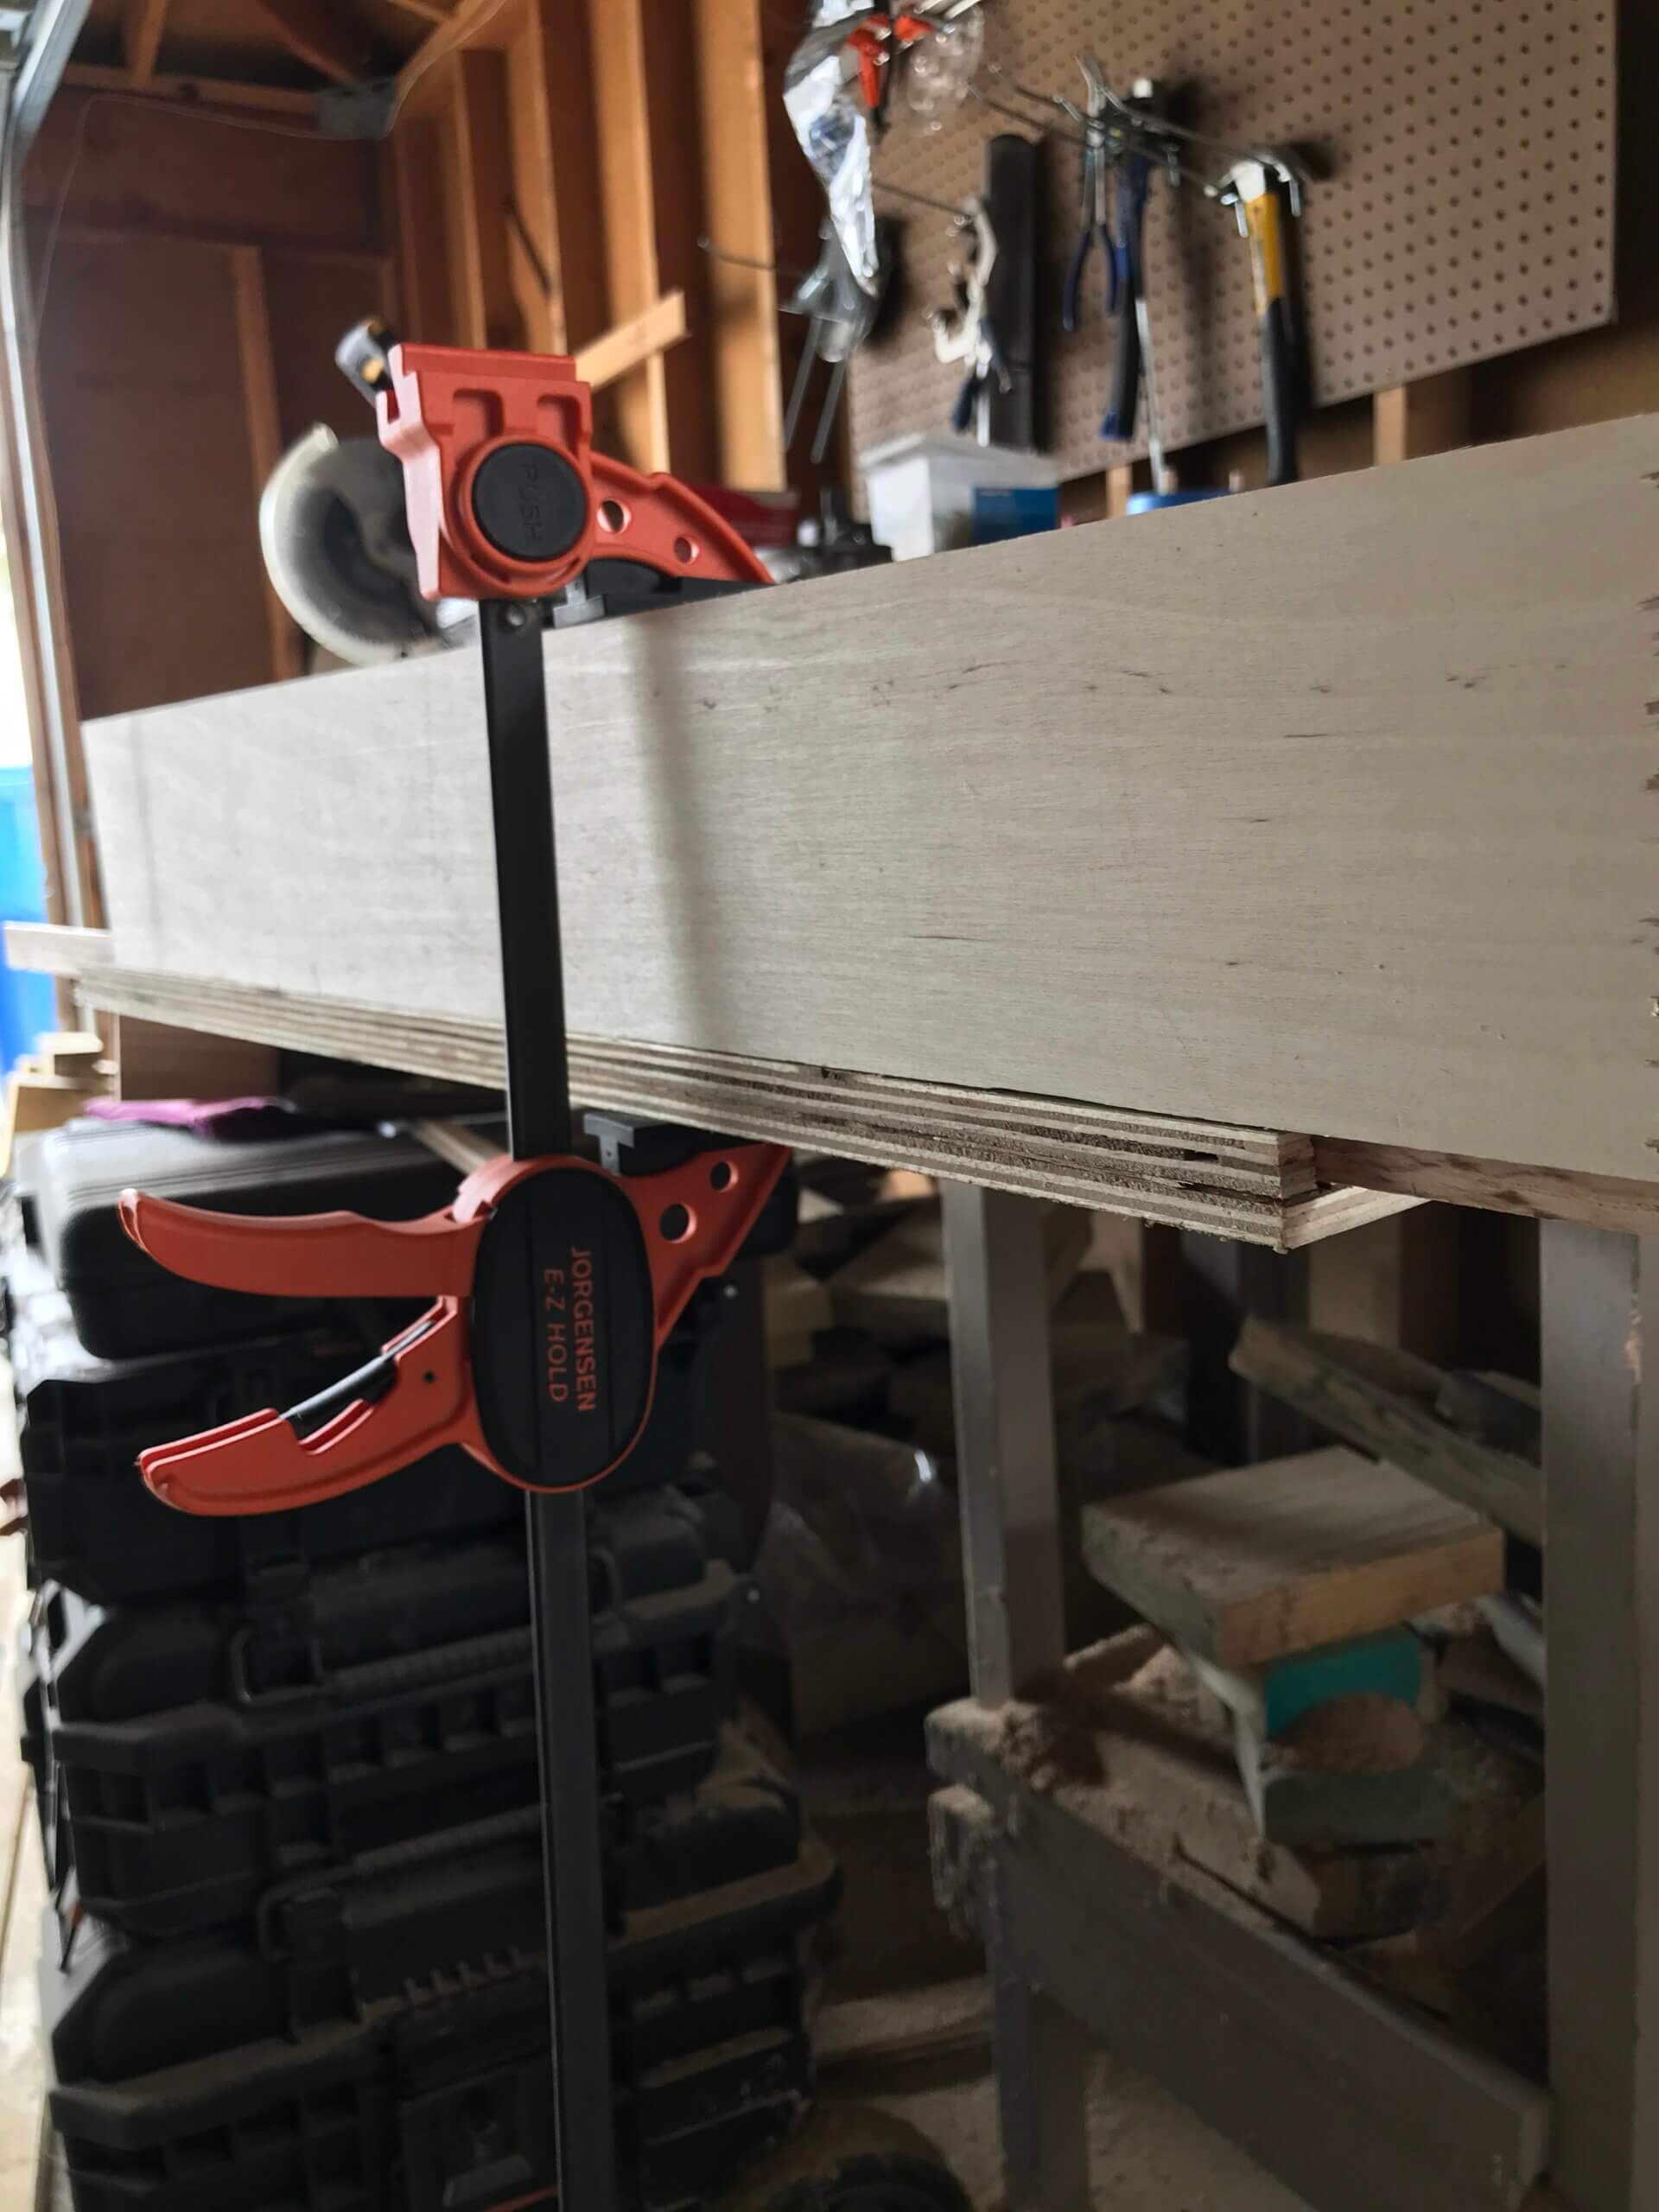
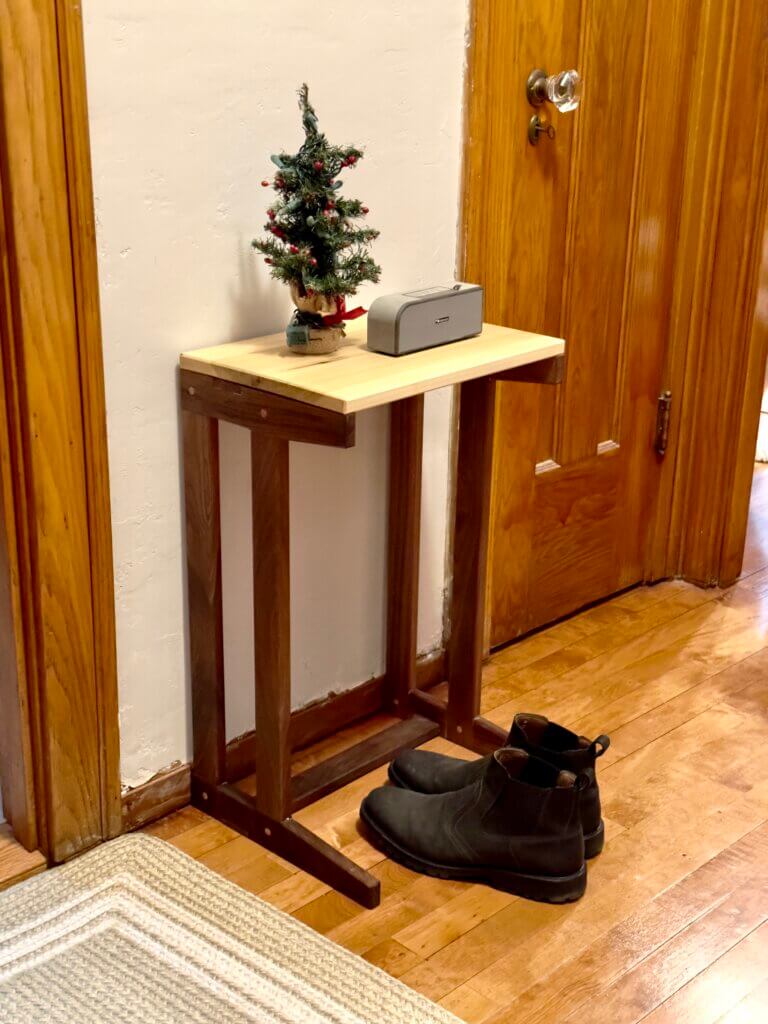
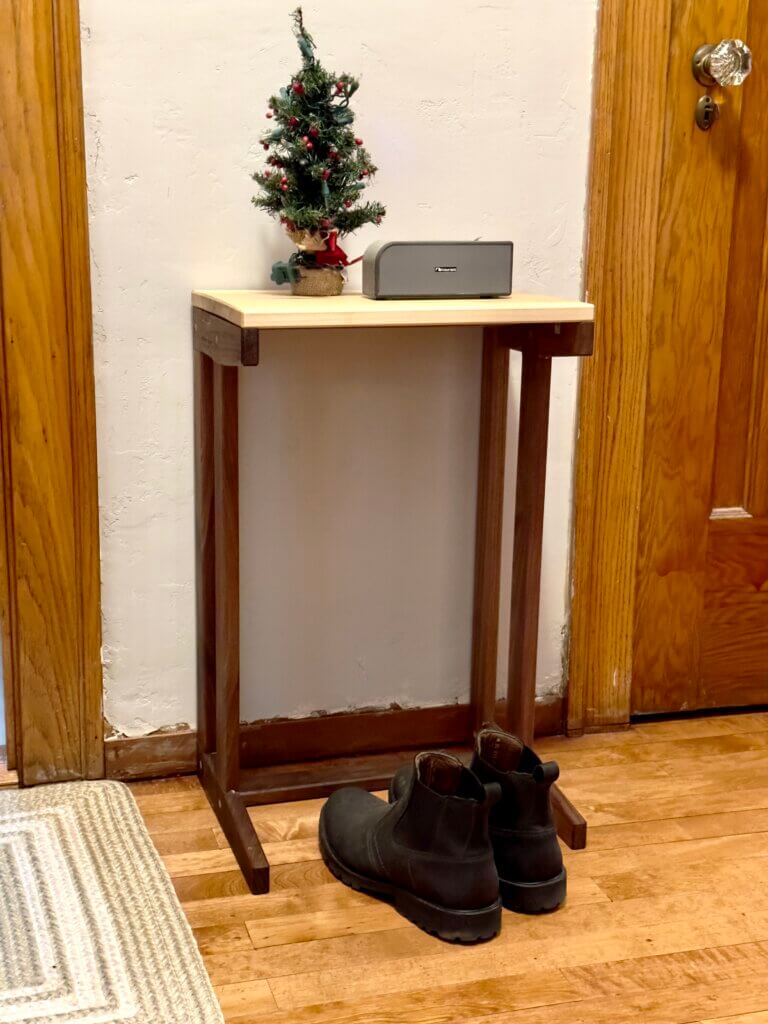
Latest version

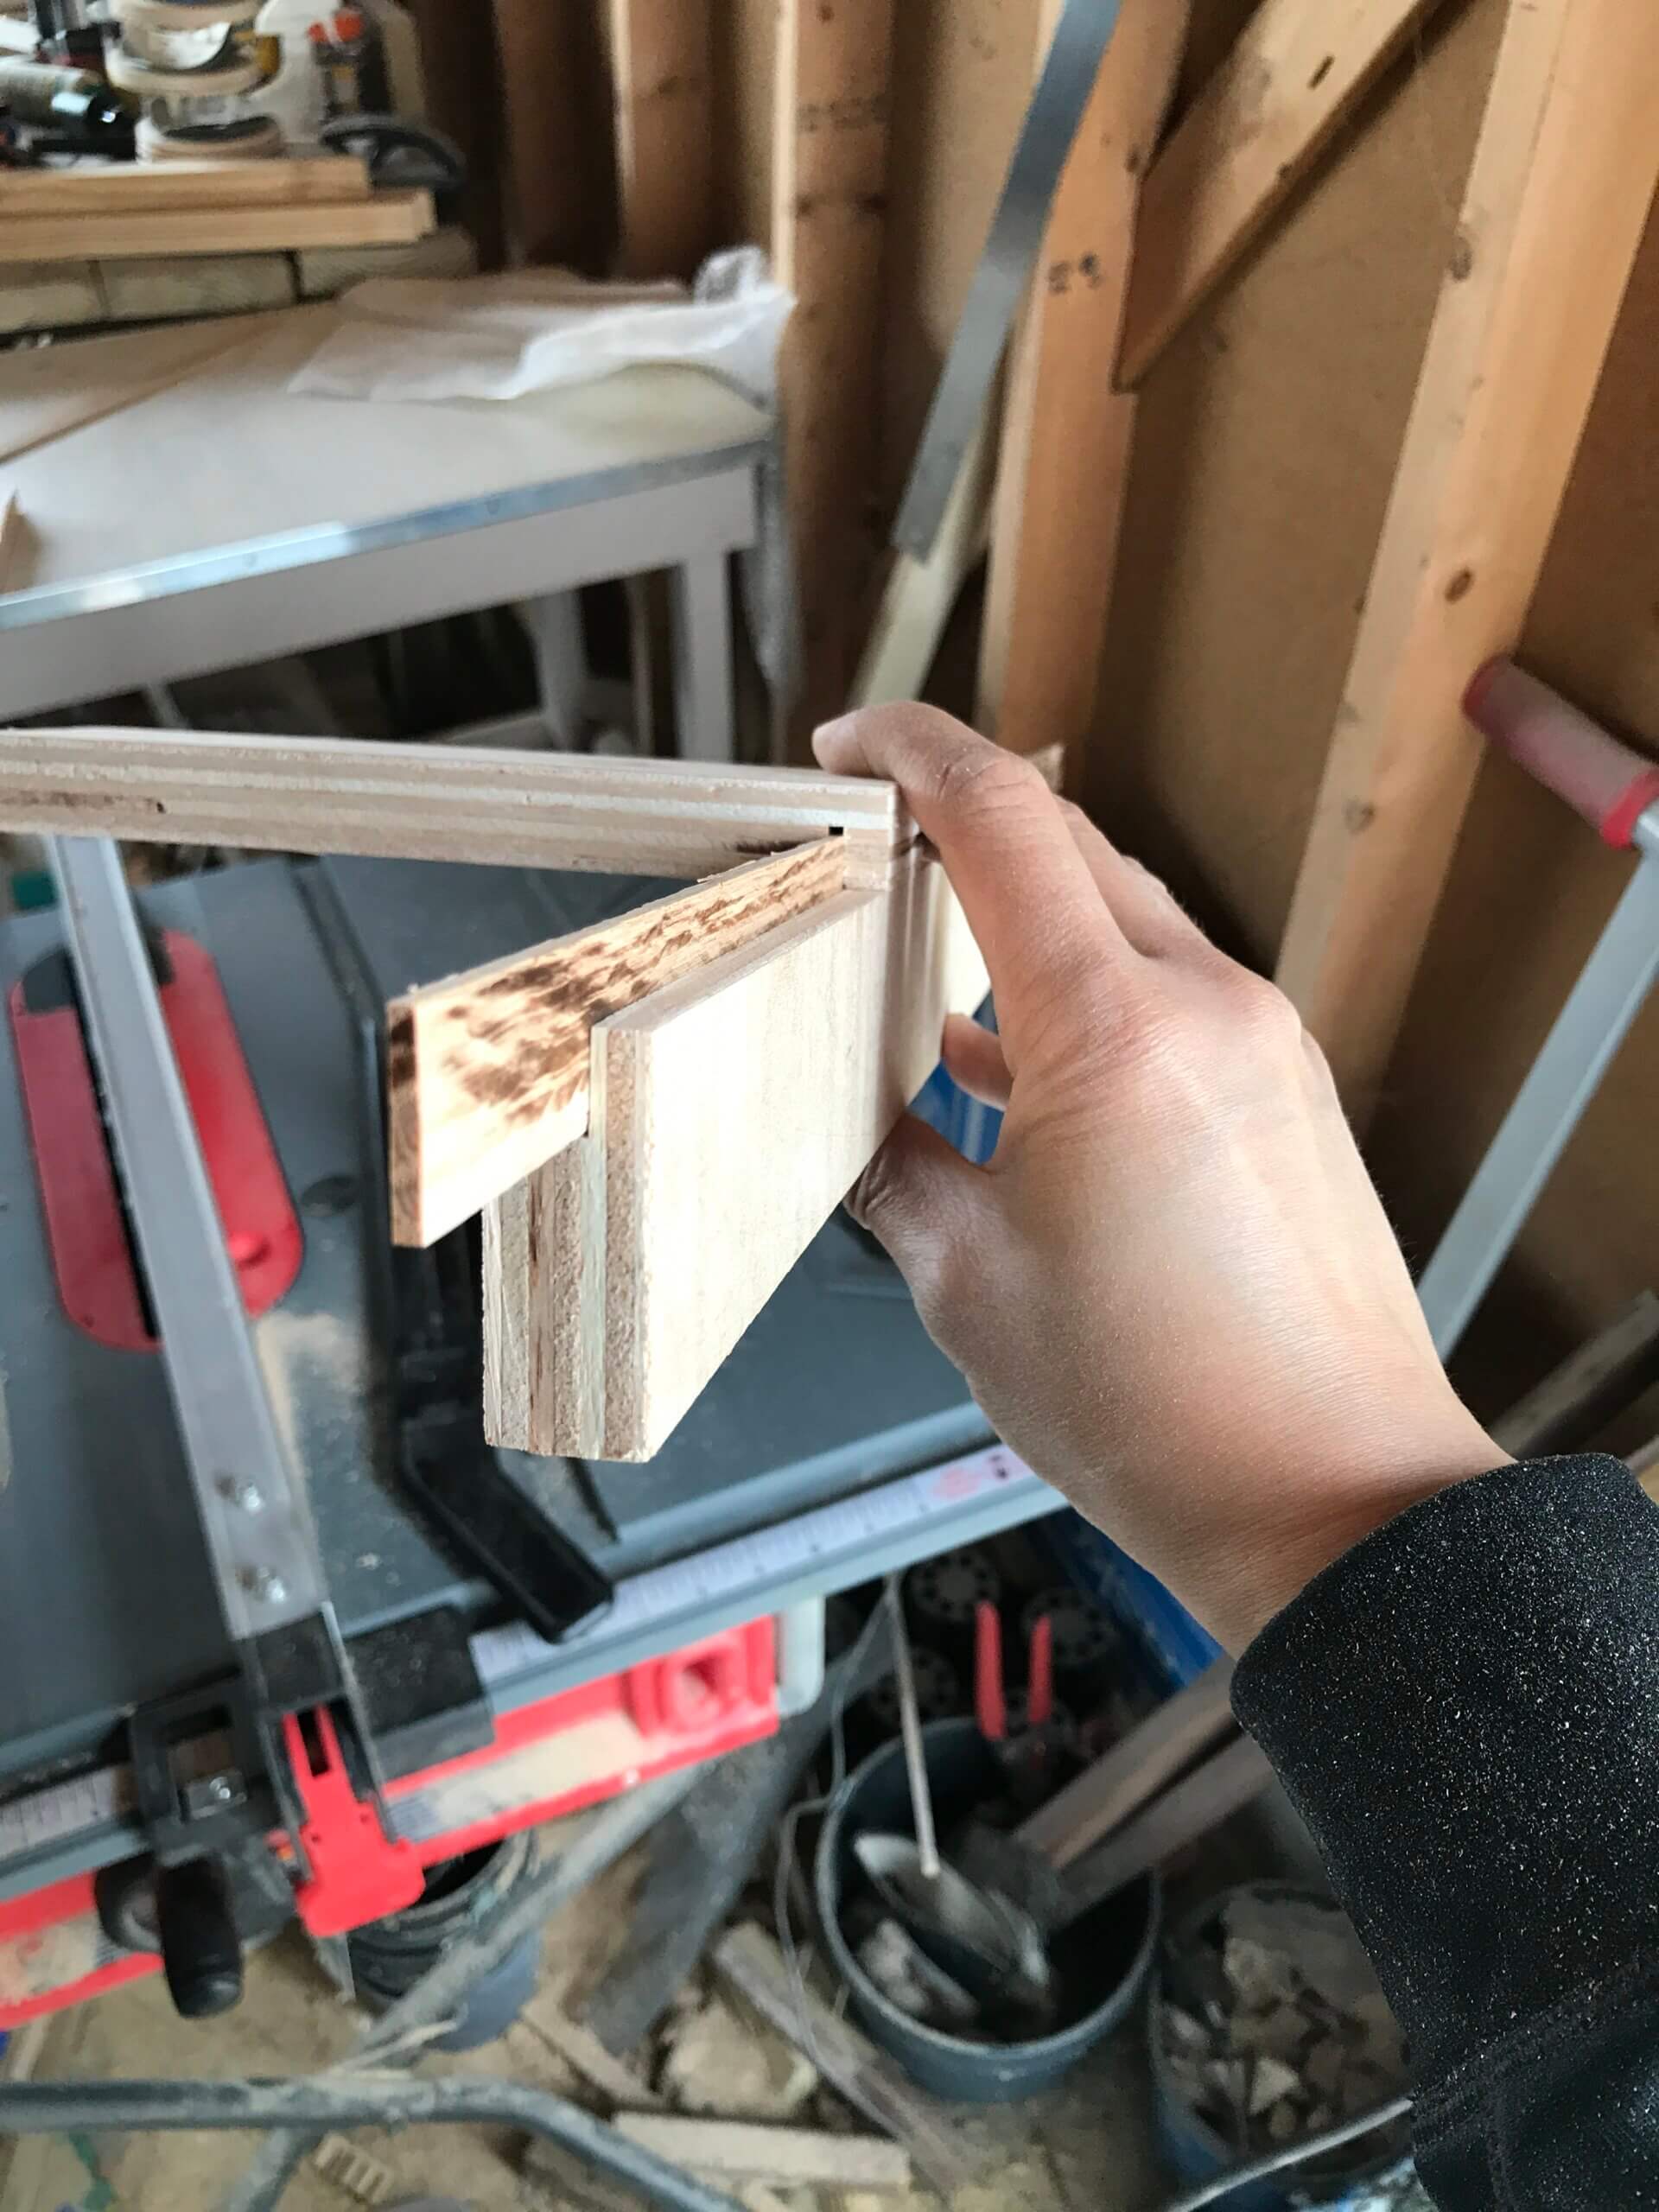
I’m proudest of this latest iteration. To my surprise, my brother in law was actually impressed with the second version that he wanted one for himself. So it made for the perfect excuse to redesign and rebuild. Now, I can proudly say that this is my first furniture built with traditional joinery. It is the strongest one I’ve built to date.

I made a waste and recycling bin cabinet for the kitchen to keep the mess out of sight and also have a larger bin for recycling. Our old recycling bin next to our tash was a small 10 gallon bin that needed to be emptied every two days. The 13 gallons is definitely a needed upgrade. (ignore the tater tot in the photo)

Experience in building

The “butcher block” top was made with two 12″ pine stair treads that were edge glued to make the full 24″ depth and then I added another 2″ pine at the back for a total of about 26 inches. I’ve always thought about this method and I was finally able to put it into practice. This way, I saved $300 by not buying a real butcher block.

The drawer slides were concealed under-mount slides that had a little bit of a learning curve but once I understood it, they really were easier than conventional slides. All the you tubers are right, I can’t go back to regular slides now.

Having finished a murphy bed, this is now the biggest thing I have ever made and possibly the biggest I ever will make. And just like anything else, it’s easier after the first time. I’m confident that if I have to do this again, it will take 50% less time to do.

I used a kit made by Easy DIY Murphy Bed, a Canada based company. I chose this because they have the z-shaped bracket that combined the hinge and the gas spring brackets. I felt like this design is sturdier than any other options. I also like that their design does not rely on door stoppers to keep the bed frame from falling too far into the cabinet. Instead, they guide you use real cabinet techniques that result in a more professional product.

The guest bed is now roomier and can now be used as a home office. I really like that you can add a rounded edge where the legs attach. It looks so much better than just keeping it square. The front of the cabinet can be designed however you want so I just used some waste pieces to make it look less bare. Instead of using handles, I opted to make a picture ledge to add a little more flair and it can function as a handle.

I could have just bought a table that looks similar to this, I know this design is pretty common, but this secret compartment will make it easy to hide those pesky wires, it has space for two long surge protectors and the 14″ deep twin drawers on the front makes it easy to keep the area clear of clutter.

All my pieces cut

Using my saw guide that I made last summer, I cut all my pieces. I had the lumber shop rip 4’x8′ plywood into 2’x4′ which is the final size of the table I’m building here so that saved me some time.

Trying out splines

I was fighting through a lot of mental blocks while working on this project and the thought of having to hand drill dowel holes just made me so lazy that I decided to try something new that won’t take too much time. My journey through this hobby is driven by learning by doing so I pushed through and it seemed to pay off. During my dry fit, one of the splines were so tight that it won’t come off anymore and that gave me confidence that it will hold once I add glue.

I love when good fitting cross halving joints come together.

I have more respect for those who make furniture for a living. While I am happy with the end result, it is not an easy job. This is my first time attempting an indoor furniture. I was sick and tired of looking at the cords on and around my desk so I decided I was going to do something about it. Naturally, I went with a whole desk build with soft close drawers and large cord compartments.