I’m a beginner when it comes to woodworking and I’ve been pretty open about that on here. What I lack in woodworking skills though, I make up for with my computer skills and on this post, I want to share some of my skills during the planning phase of my projects. The planning phase for me is when I jump into Sketchup where some of the flaws in my design may be revealed before I even step into my work area. Rather than finding out that my designs don’t really work later in the build, I can eliminate those would be mistakes and waste less time and money.

You’ve probably seen Sketchup and not realize that it’s this badass 3D app that is used by both pros and amateurs. If you’re a pro, you’re probably using a paid version but here, I’ll cover the free online version which is enough for what I need it for. It’s accessible anywhere on any computer without having to install anything. Also, all my saved files are in the cloud so it’s awesome. That feature is so useful if you have multiple computers in the house or if you are not on your own machine. Just log in a open a file!

So you want to learn 3D? Sign up!

First, some sign up shit. Go to sketchup.com and click on the button that says “Try Sketchup” and then the “For Personal Projects” tab. Hit the Start Modeling button and set up an account if you don’t already have one. You should see something that looks like this.

If you aren’t computer savvy, I get it. Their design is bad. Just be patient, take it slow, follow instructions, read, and you’ll get there. Once you get an account set up, you guessed it, sign in!

Hello World!

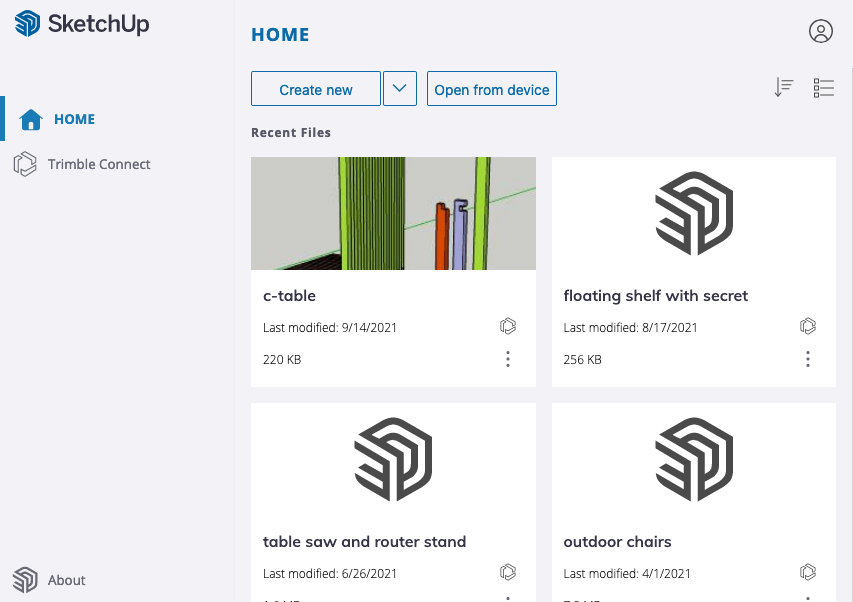
If you’ve done it correctly, congrats! You should now see a screen that looks like this one below. Except yours will be empty. It’s okay, it’ll fill up soon I promise. Go on and click “Create new” and you should be taken to a screen with a 2D person. This person is only used for scale reference, you can choose to keep him/her whatever you prefer, there are other ways to reference scale in the app. I usually keep that guy around because I’m always lonely.
Keyboard shortcuts

You’re going to jump through a lot of tools very quickly so it’s best to learn some keyboard shortcuts before going further. Here are some that I use a lot of:

  • Select (Space bar)
  • Rectangle (R)
  • Push/Pull (P)
  • Move (M)
  • Rotate (Q)
  • Scale (S)
  • Tape measure (T)
  • Orbit (O)

Making your first 3D object – a box!

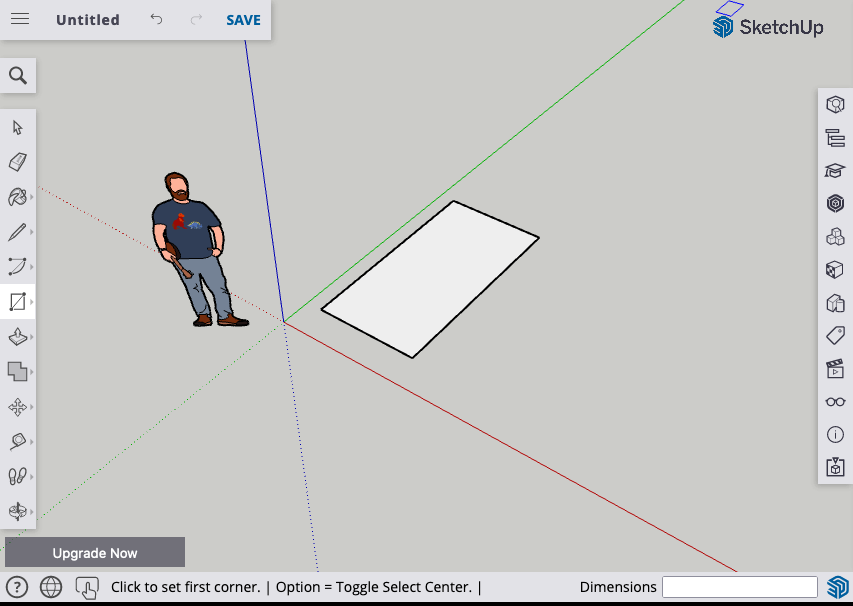
There are tons of tools here but the one that I use the most and the one I start with almost every time is the rectangle tool. You will find that along with many other tools on the left side of the screen. Or, since you know the keyboard shortcut, just press R then click and drag your mouse anywhere on the work area. You should now have something that looks like this:
Follow along here, I’m about to up the ante.

Press P and then click and drag the surface of your rectangle up. Boom! You just made your first 3D object, a motherfuckin’ box. Go on and check it out by pressing O and dragging the mouse.

Create objects with exact measurements

Because you want to use Sketchup with real life applications, you’re gonna want to enter some real numbers. Press the Spacebar and then click as many times as it takes on the box you just made to select all of the faces. Then hit backspace or delete to clear the area.
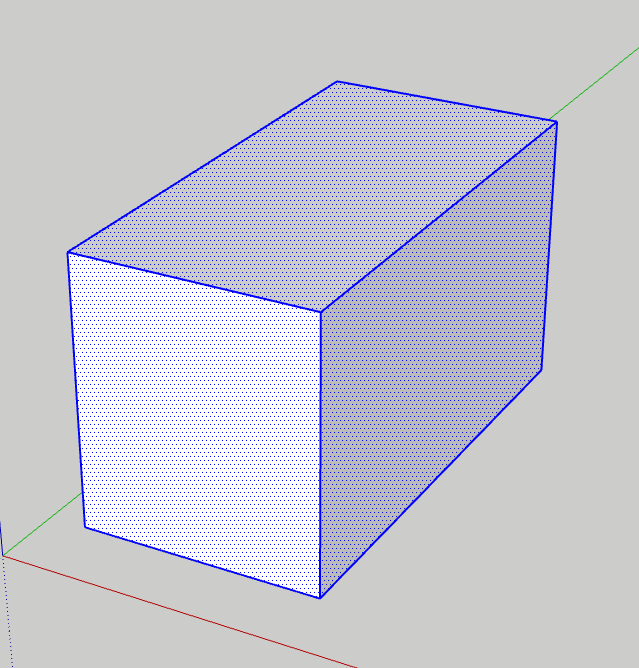
It should look like this when fully selected

Now, very carefully, press R click anywhere to start a new square just like you did earlier but this time LET GO OF THE BUTTON AND DON’T DRAG. On the keyboard, type exactly this 2',2' and hit Enter. Don’t forget the comma, that’s what separates the two.

You should see what you’re typing on the right bottom corner of the screen.
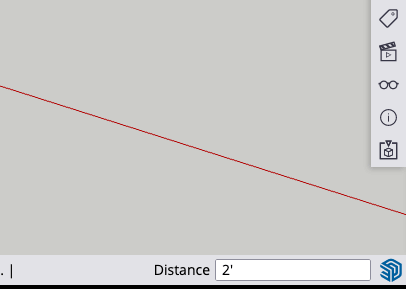
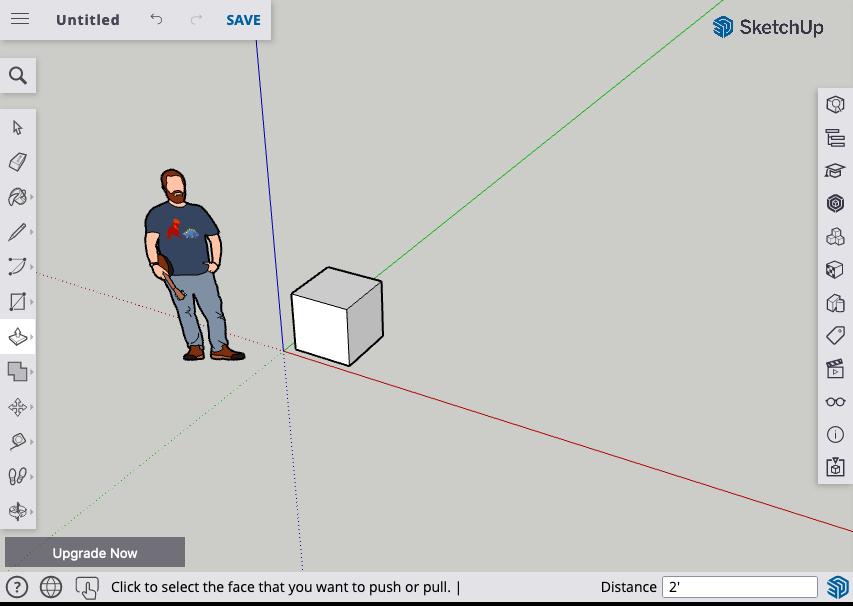
If done correctly, you should have a 2’x2′ square on the floor next to the 2D person. Now press P and click once on the top face and type 2' and then Enter. You now have a perfect 2’x2′ cube by using the Rectangle (R) and Push/Pull (P) with your mouse.

That’s it!

You just learned some keyboard shortcuts, the push and pull tool, typing exact measurements. These tools will get you far in this app. Focus on these for now, get comfortable with it, and see what you can build with it. I will try to keep throwing out more tips, happy sketching!
Having the ability to find the center line of anything is a good skill to have for anything. This is especially true if you are getting into woodworking in general. Almost anything in woodworking requires you to find dead center in order for the rest of your build to fall into place.

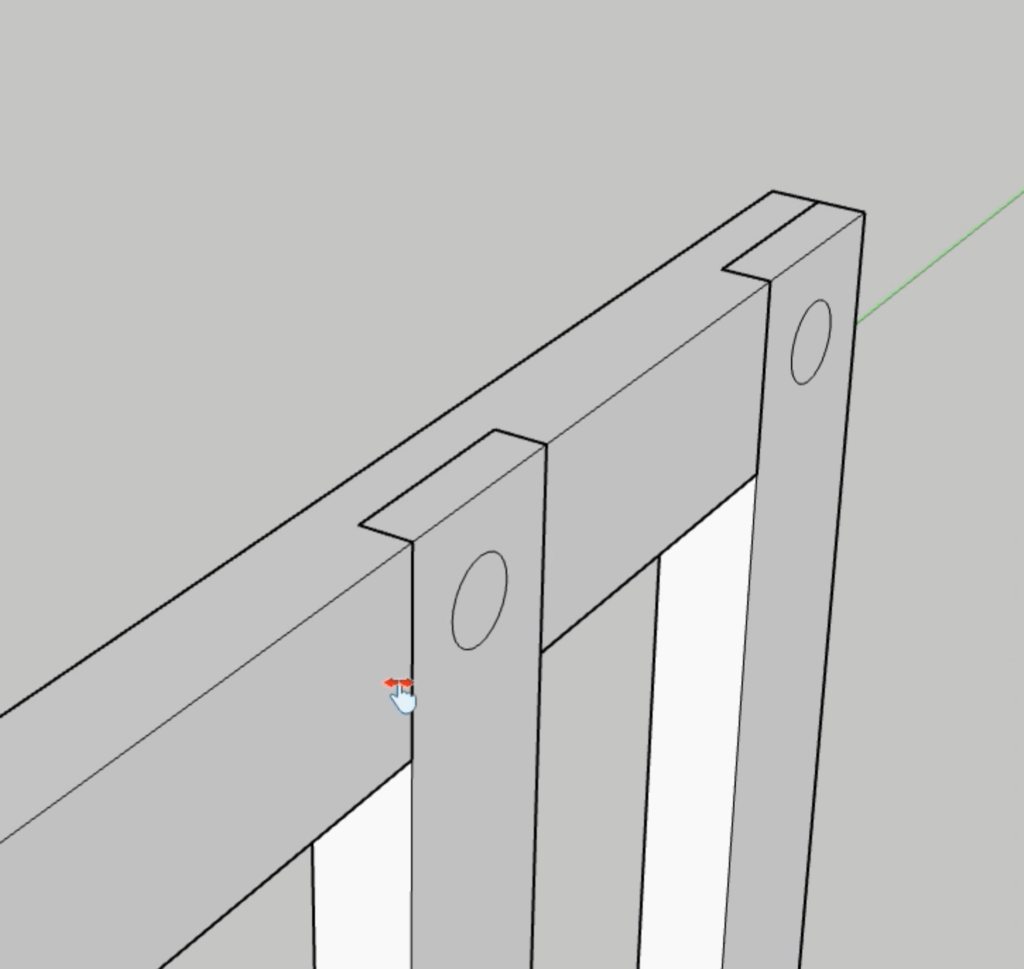
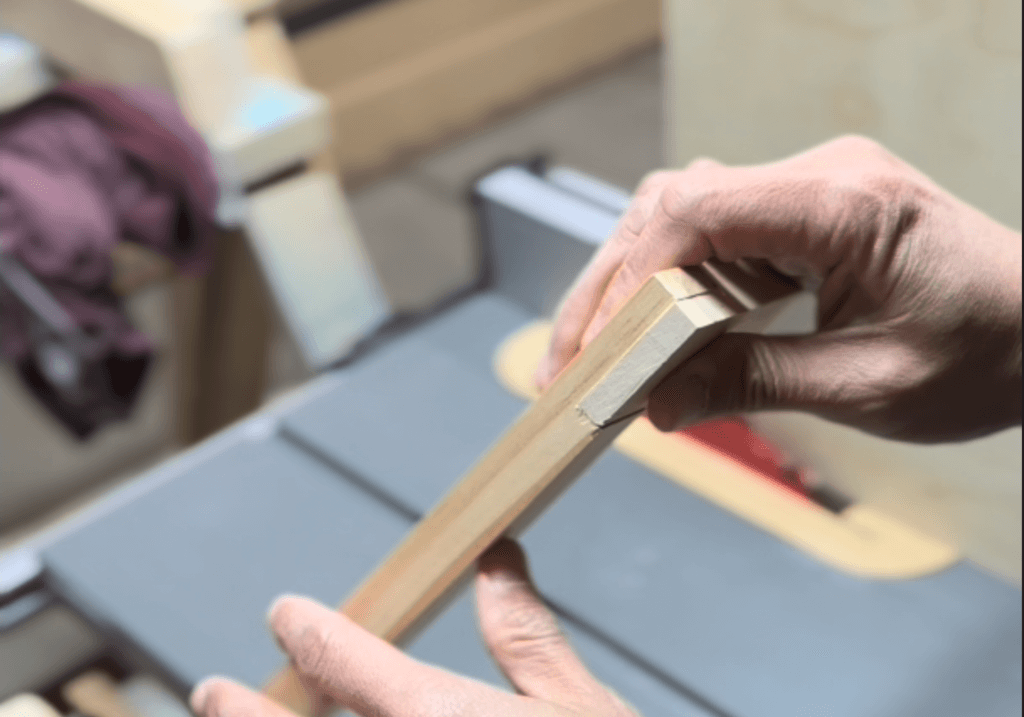
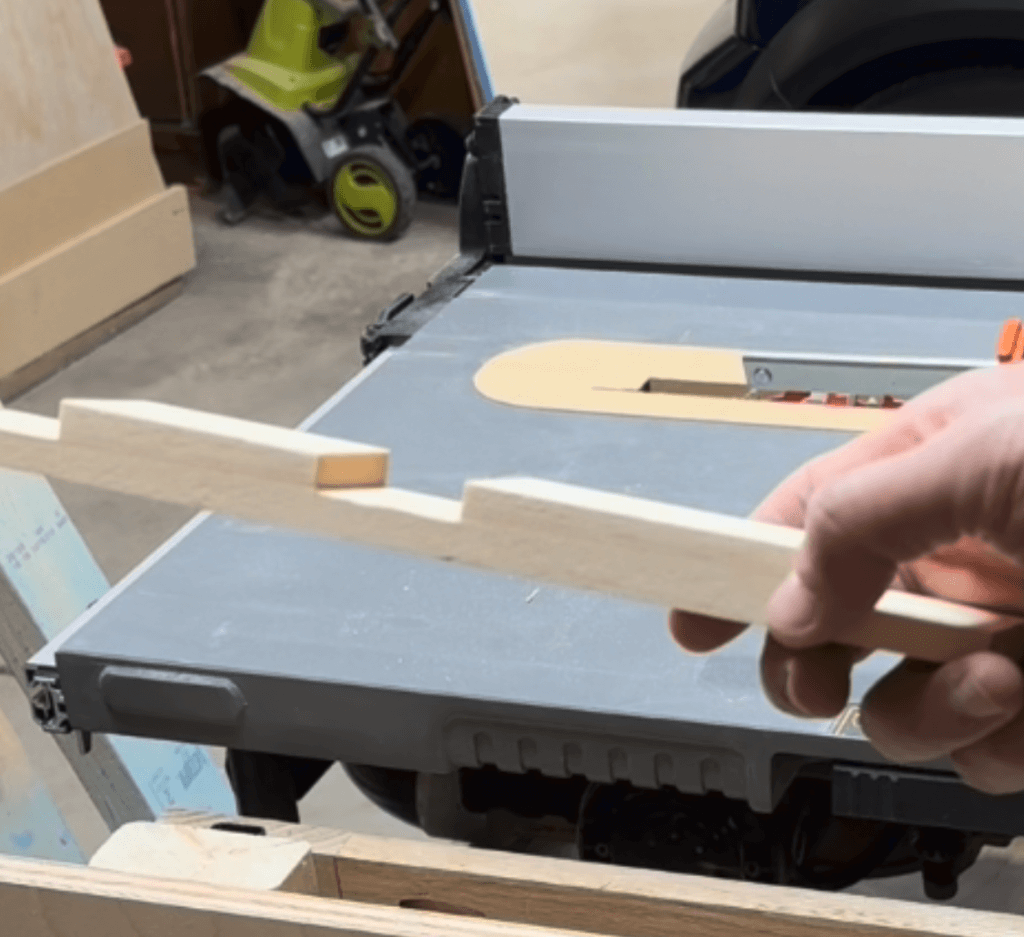
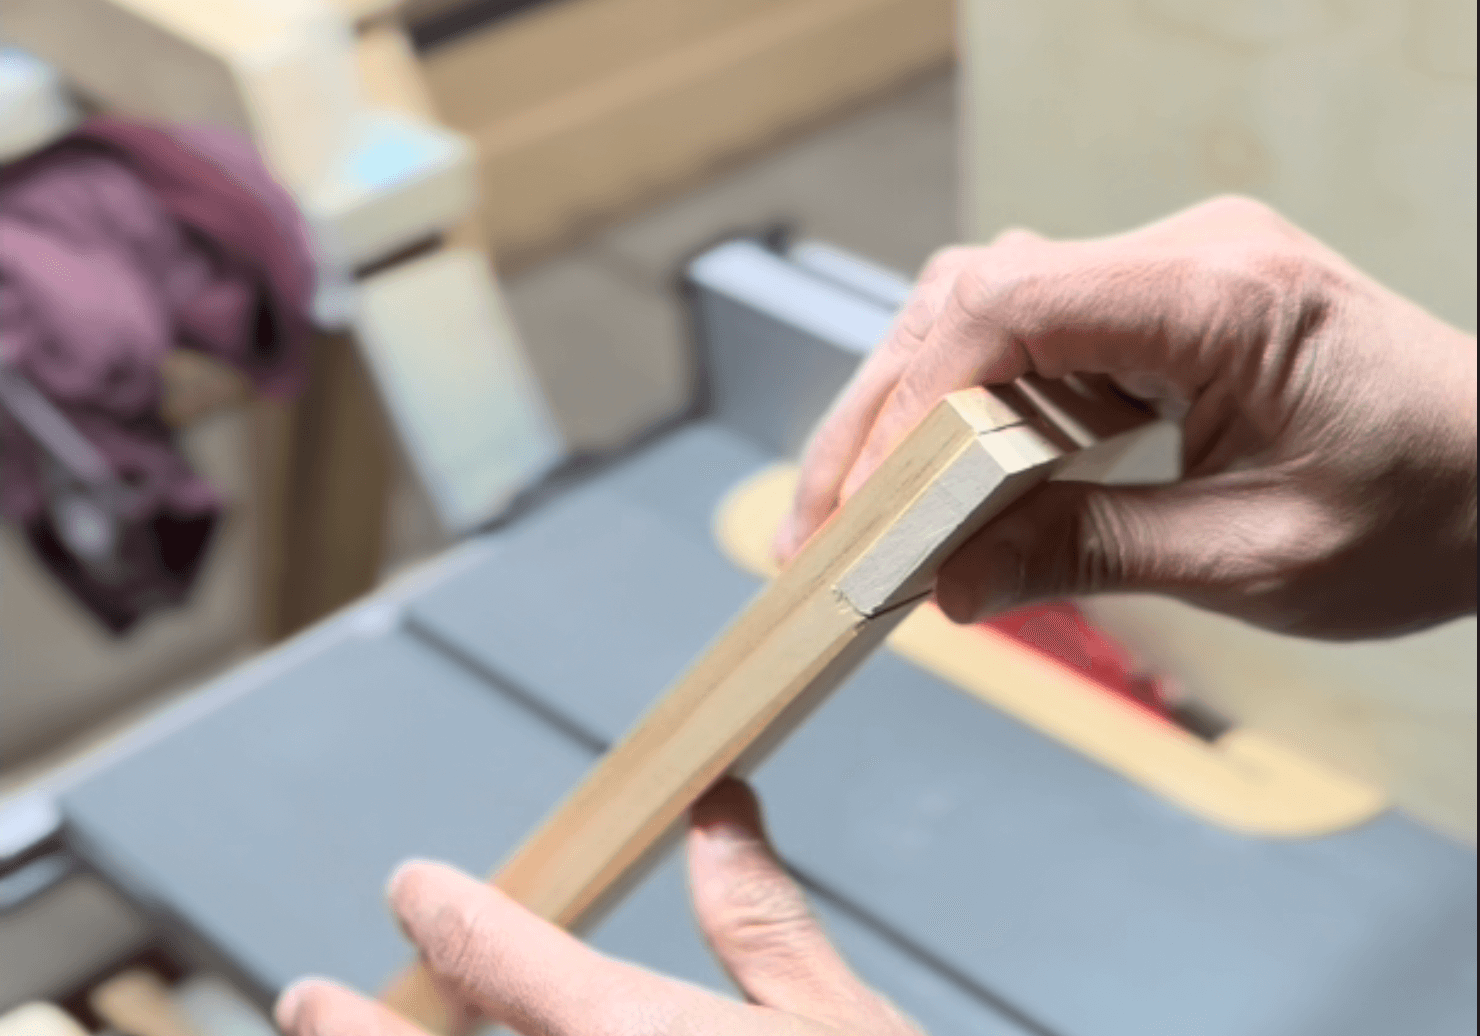
In this post, I’m using the technique to find the center line of this 1×2 board’s edge to create a half lap joint. You can use a table saw or a router to make the cut.

X Marks the Spot

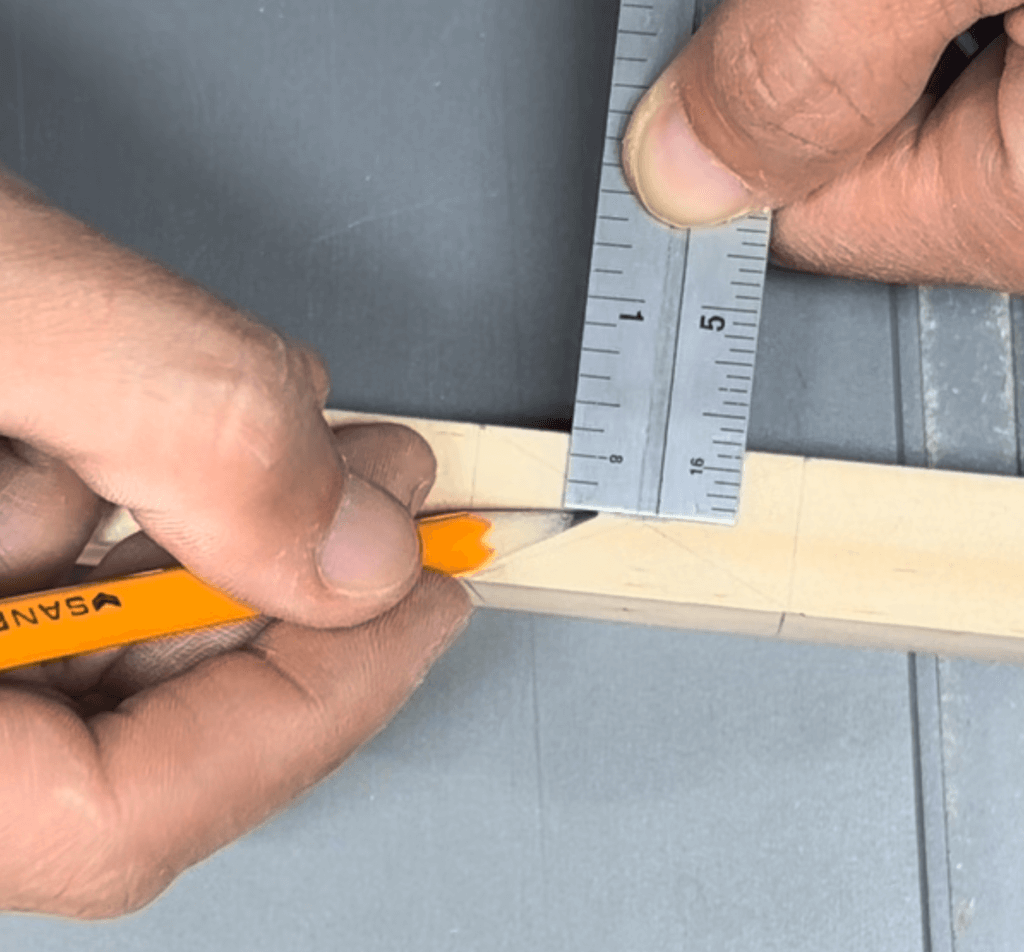
So how do you do it? A simple way I’ve been able to find the center of a board is by drawing an X between two reference lines. The reference line could be anything on the board as long as the are parallel. Since I intend to make a half lap joint, I placed on top of where I want the second board to land on the first board and marked both sides. Then I used a straight edge to make the X. The x makes it easy to see where the middle will be, it’s literally marked for you.

Making the Cut

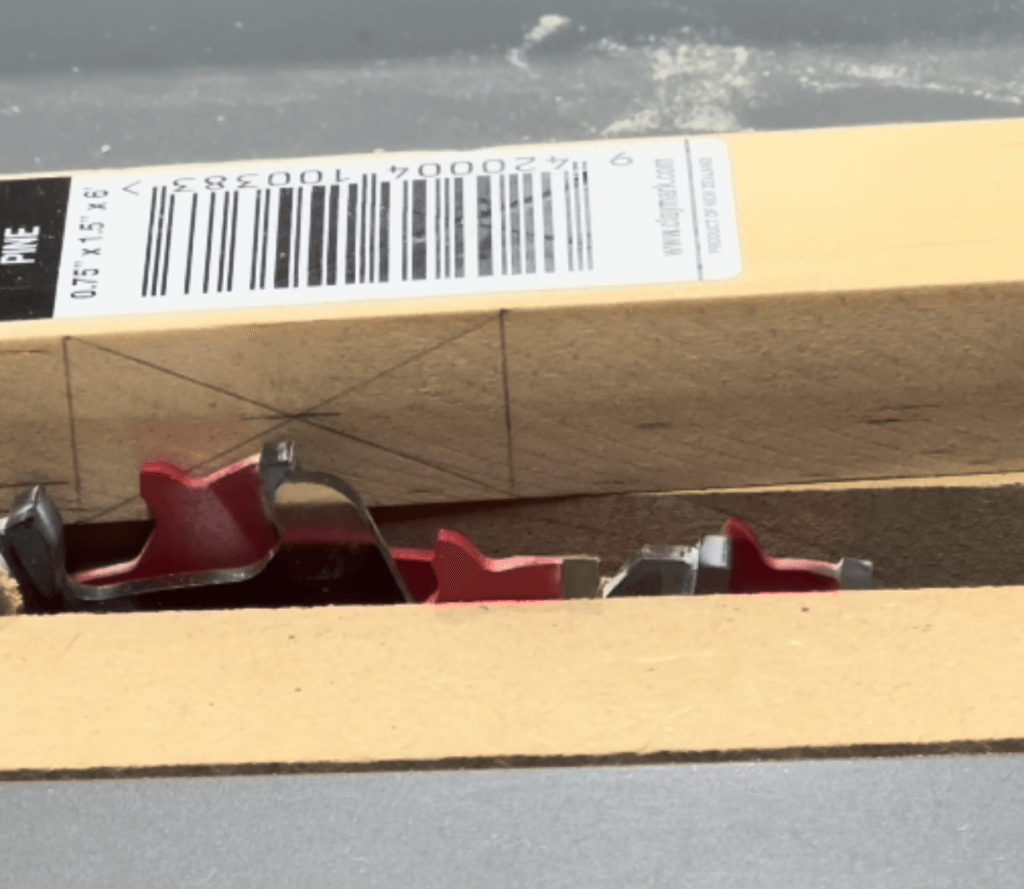
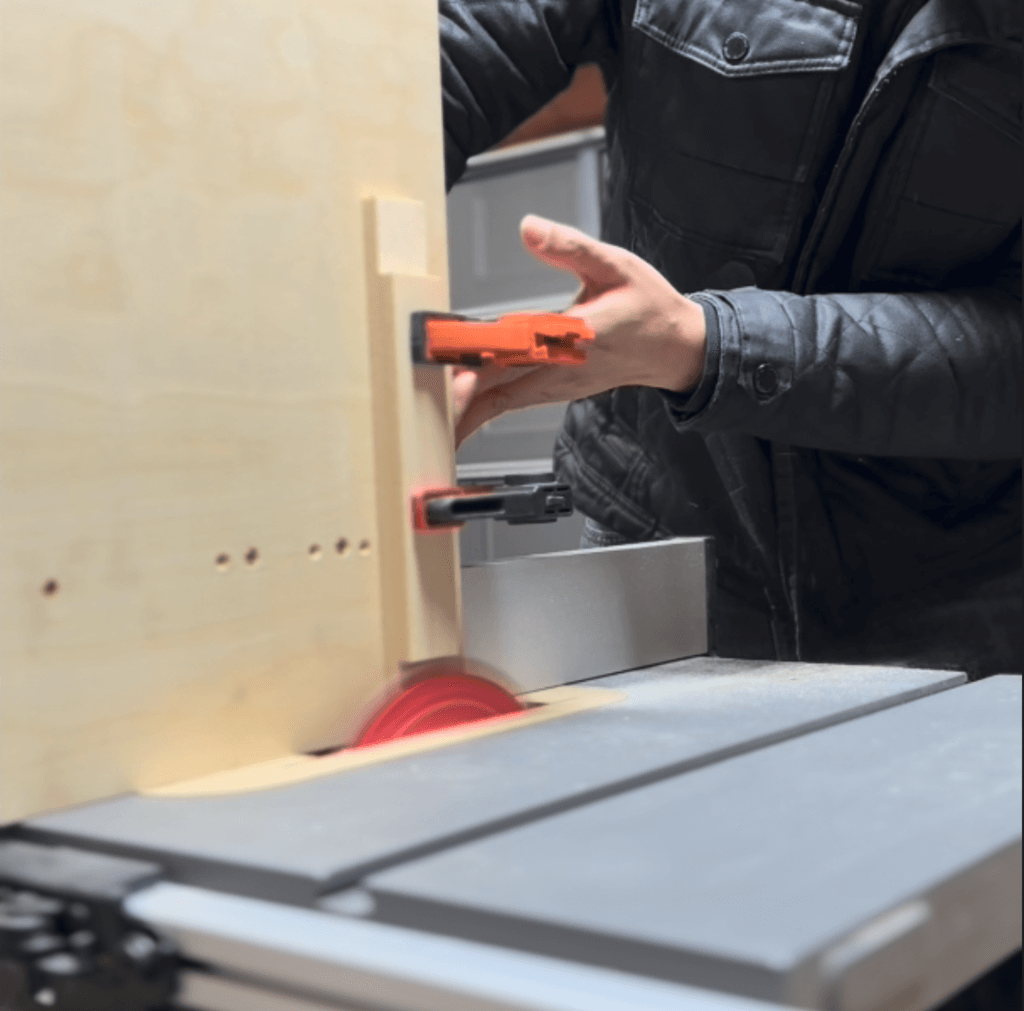
I raised the blade to that height to make my cut. I had dado blades at my disposal to make the wider cut but you can use a router to do this too if you have it. Otherwise, a regular blade will do too by making multiple cuts and moving the piece over until enough material is removed. A crosscut sled will help with this method if you didn’t want to put your dado blade on.

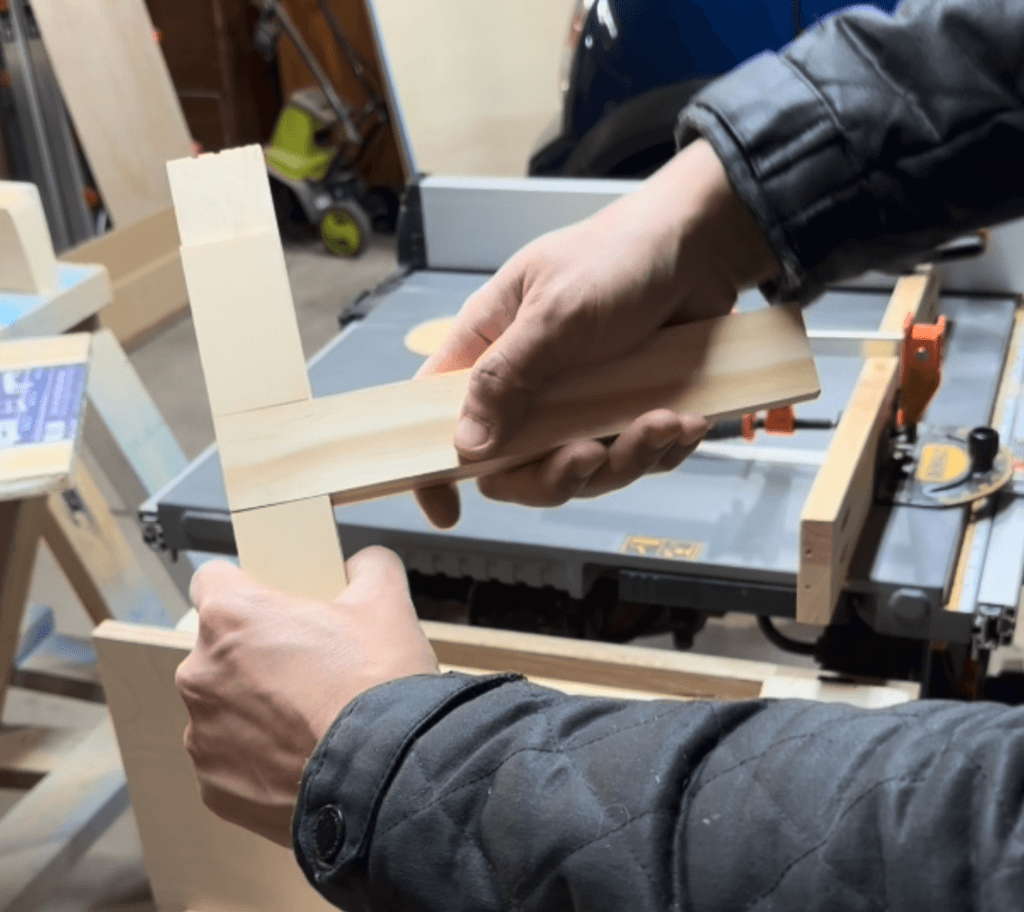
Half lap joint in a T section

After I made the first half lap, I made the middle section without making any adjustments to the blade height. Just repeat the cut like before and you are done!

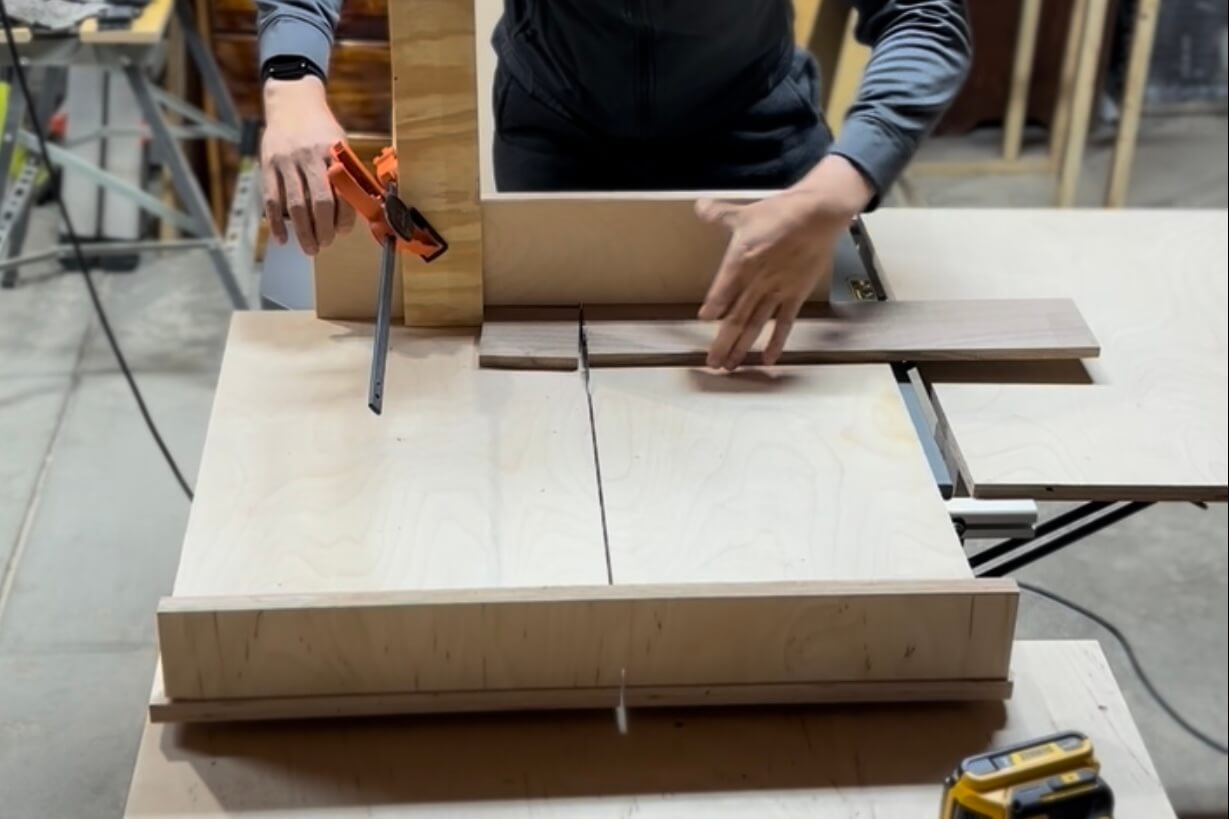
It’s something I needed to have to make cuts repeatable and safe. It’s something that is easy and makes my life easier so I can focus on building more. I also wrote up the steps just in case you like to read more than watch.

The how-to part in text form

I’m assuming you already know how to make some guides that fit your miter tracks so I’m going to skip that as it is pretty self explanatory. After I had my guides, I placed some pennies in the miter tracks to use as spacers. You can also use washers if you have them.

Using regular wood glue, run a bead along the guides while they are in the tracks. If you have CA glue like I do in the video, you can use that to speed up the process. Place your sled base on top. Once the glue has dried, you can move on.

Attach the back fence to the base using screws. This is easier if you have clamps you can use to hold it in place while you screw it down. Make sure you don’t place a screw where the blade will cut into in the next steps.

Place the sled on the tracks and run the saw but do not cut all the way through.

Take you carpenter’s square, or your combination square, or whatever you use, to check for squareness and line up the front fence to ensure it is 90º against the blade and 90º against the base. Think in 3D here. Clamp it down and attach with screws.

BAM! You now have a crosscut sled. The end.

Let me know if you make one of these. I’m also interested in seeing what you make using your new crosscut sled.

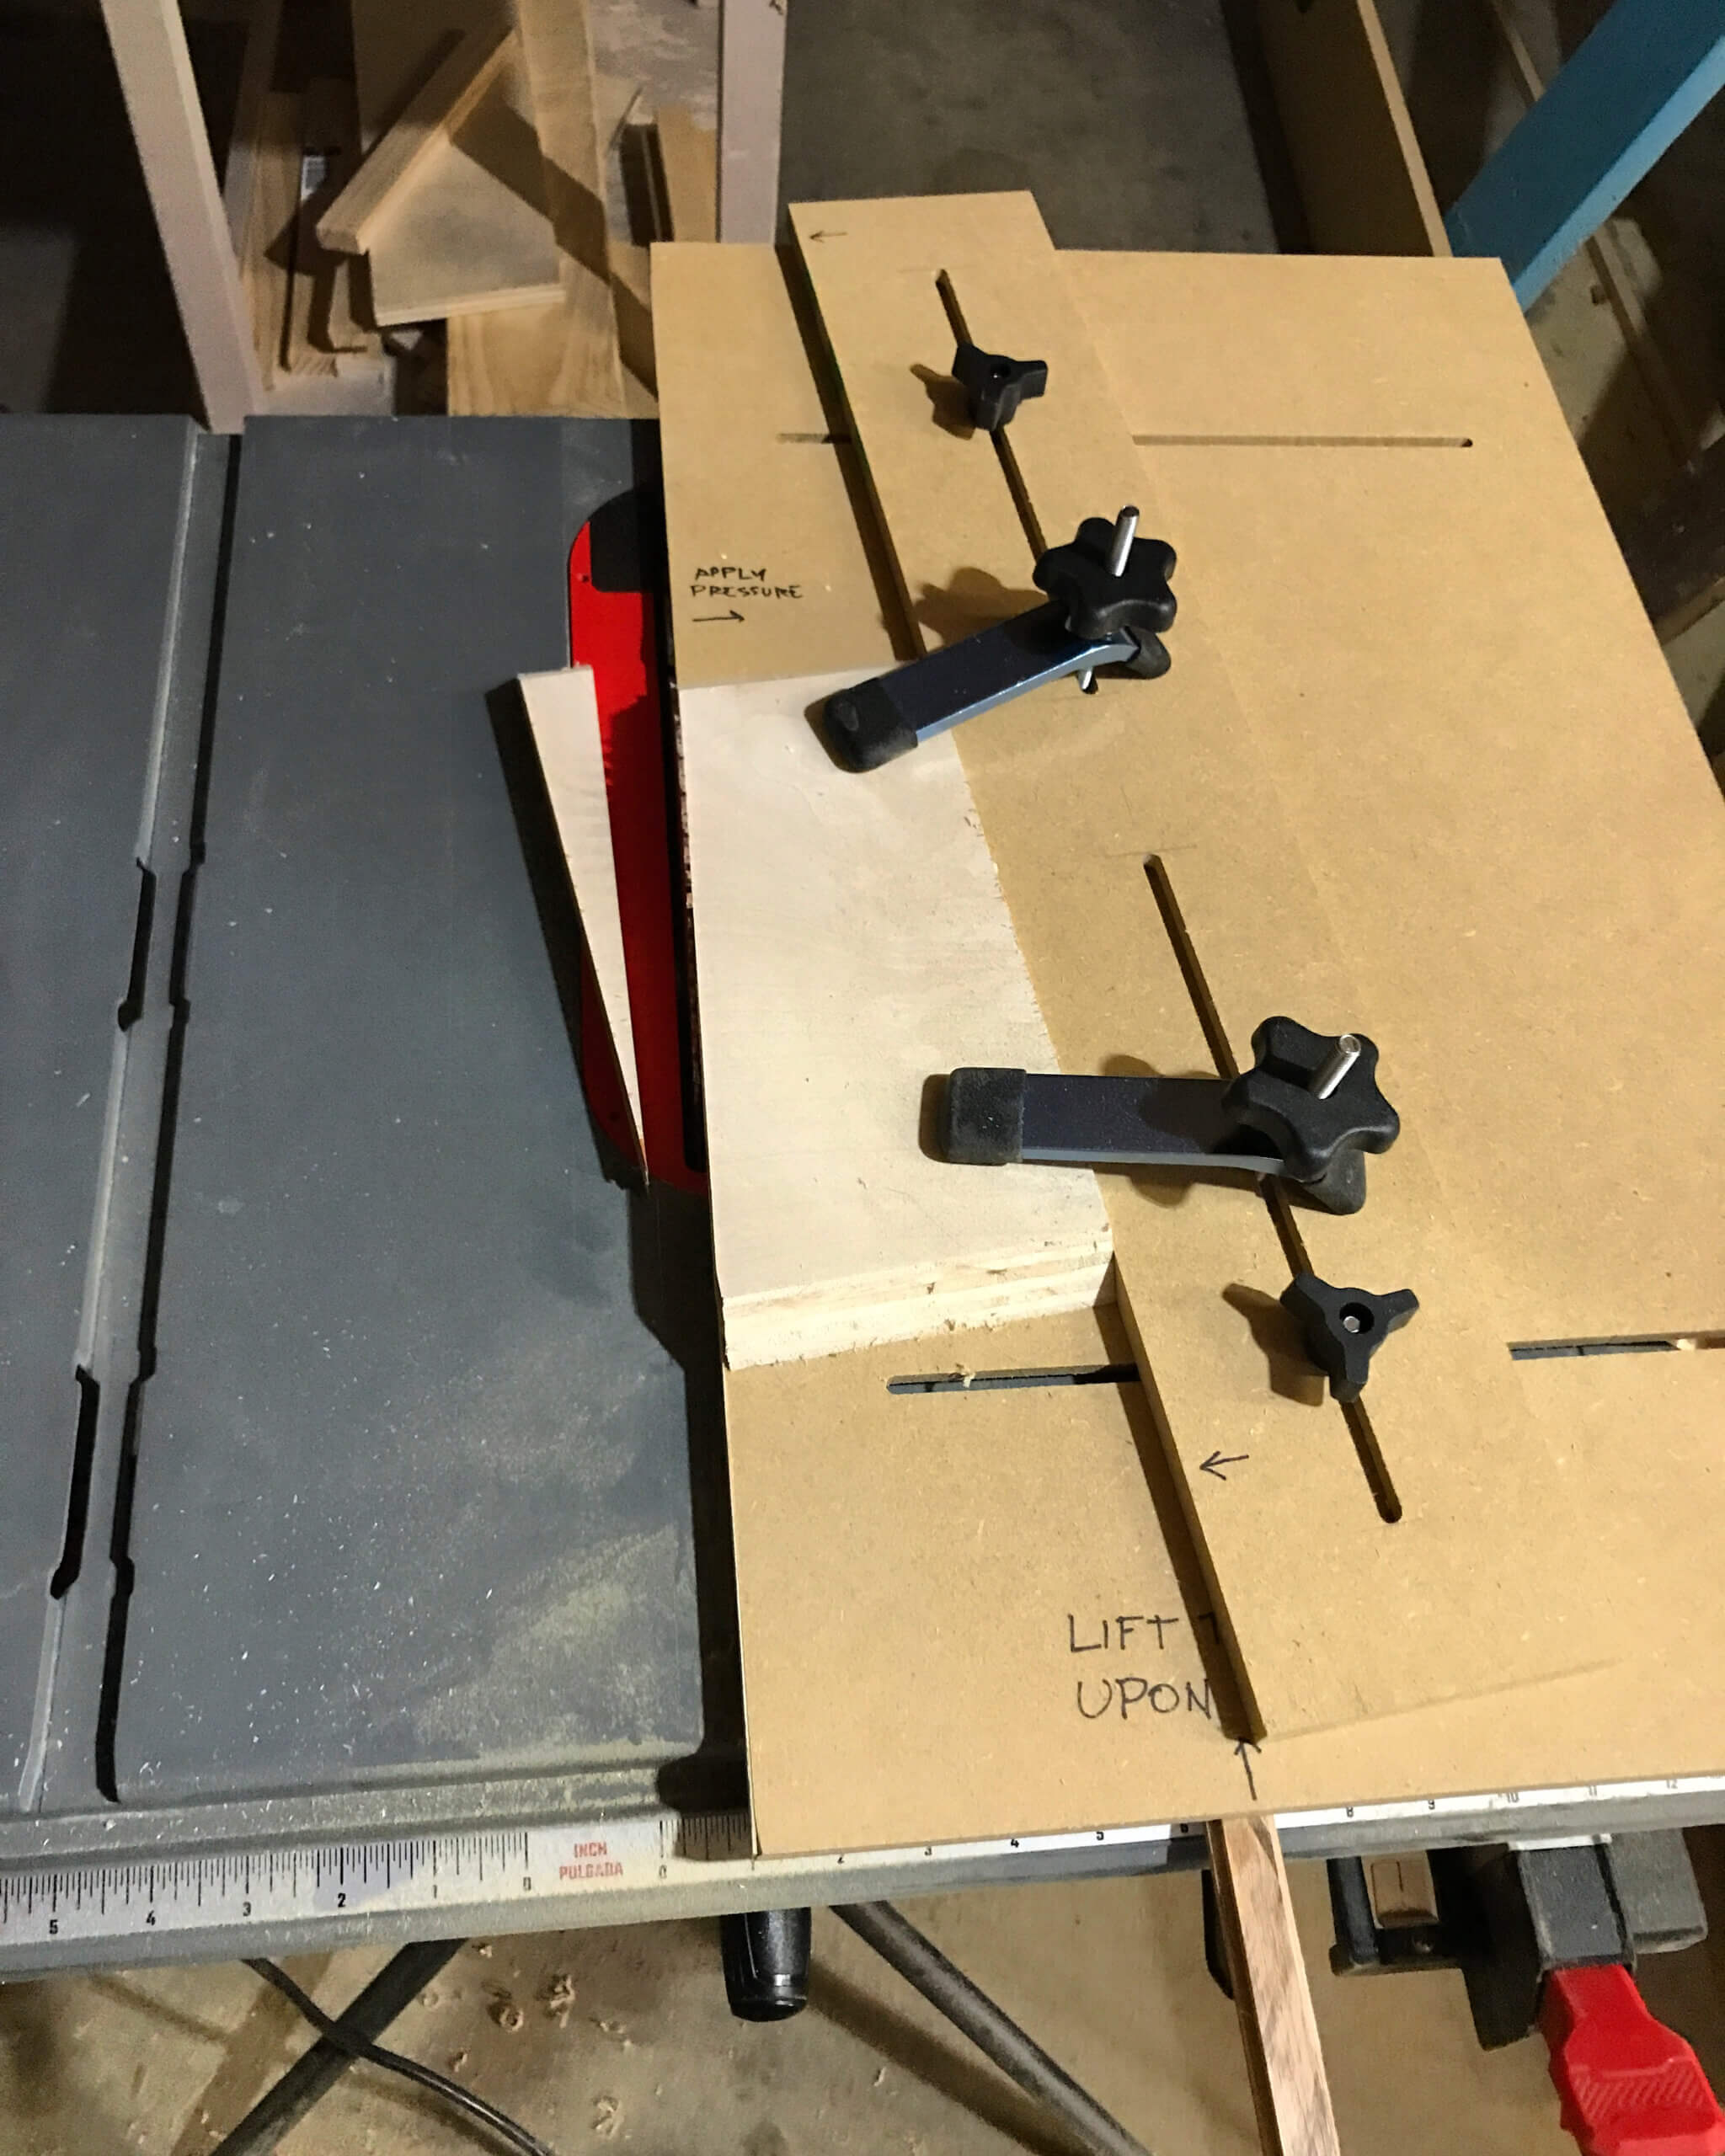
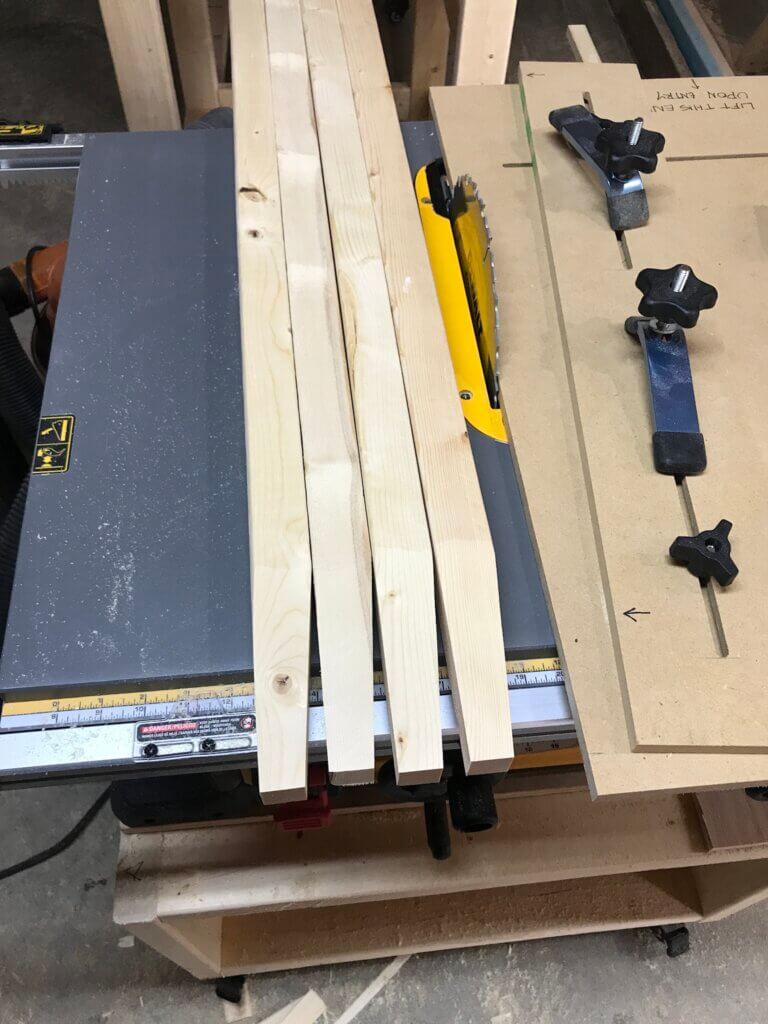
Here’s a secret: I really want to get into building mid-century style furniture and one thing I’ve noticed is the tapered cut in a lot of furniture made in this style so I want to learn how to make that cut.


I did not intend to make this jig now, but I went into a rabbit hole of shopping for random crap on Amazon, so here we are.


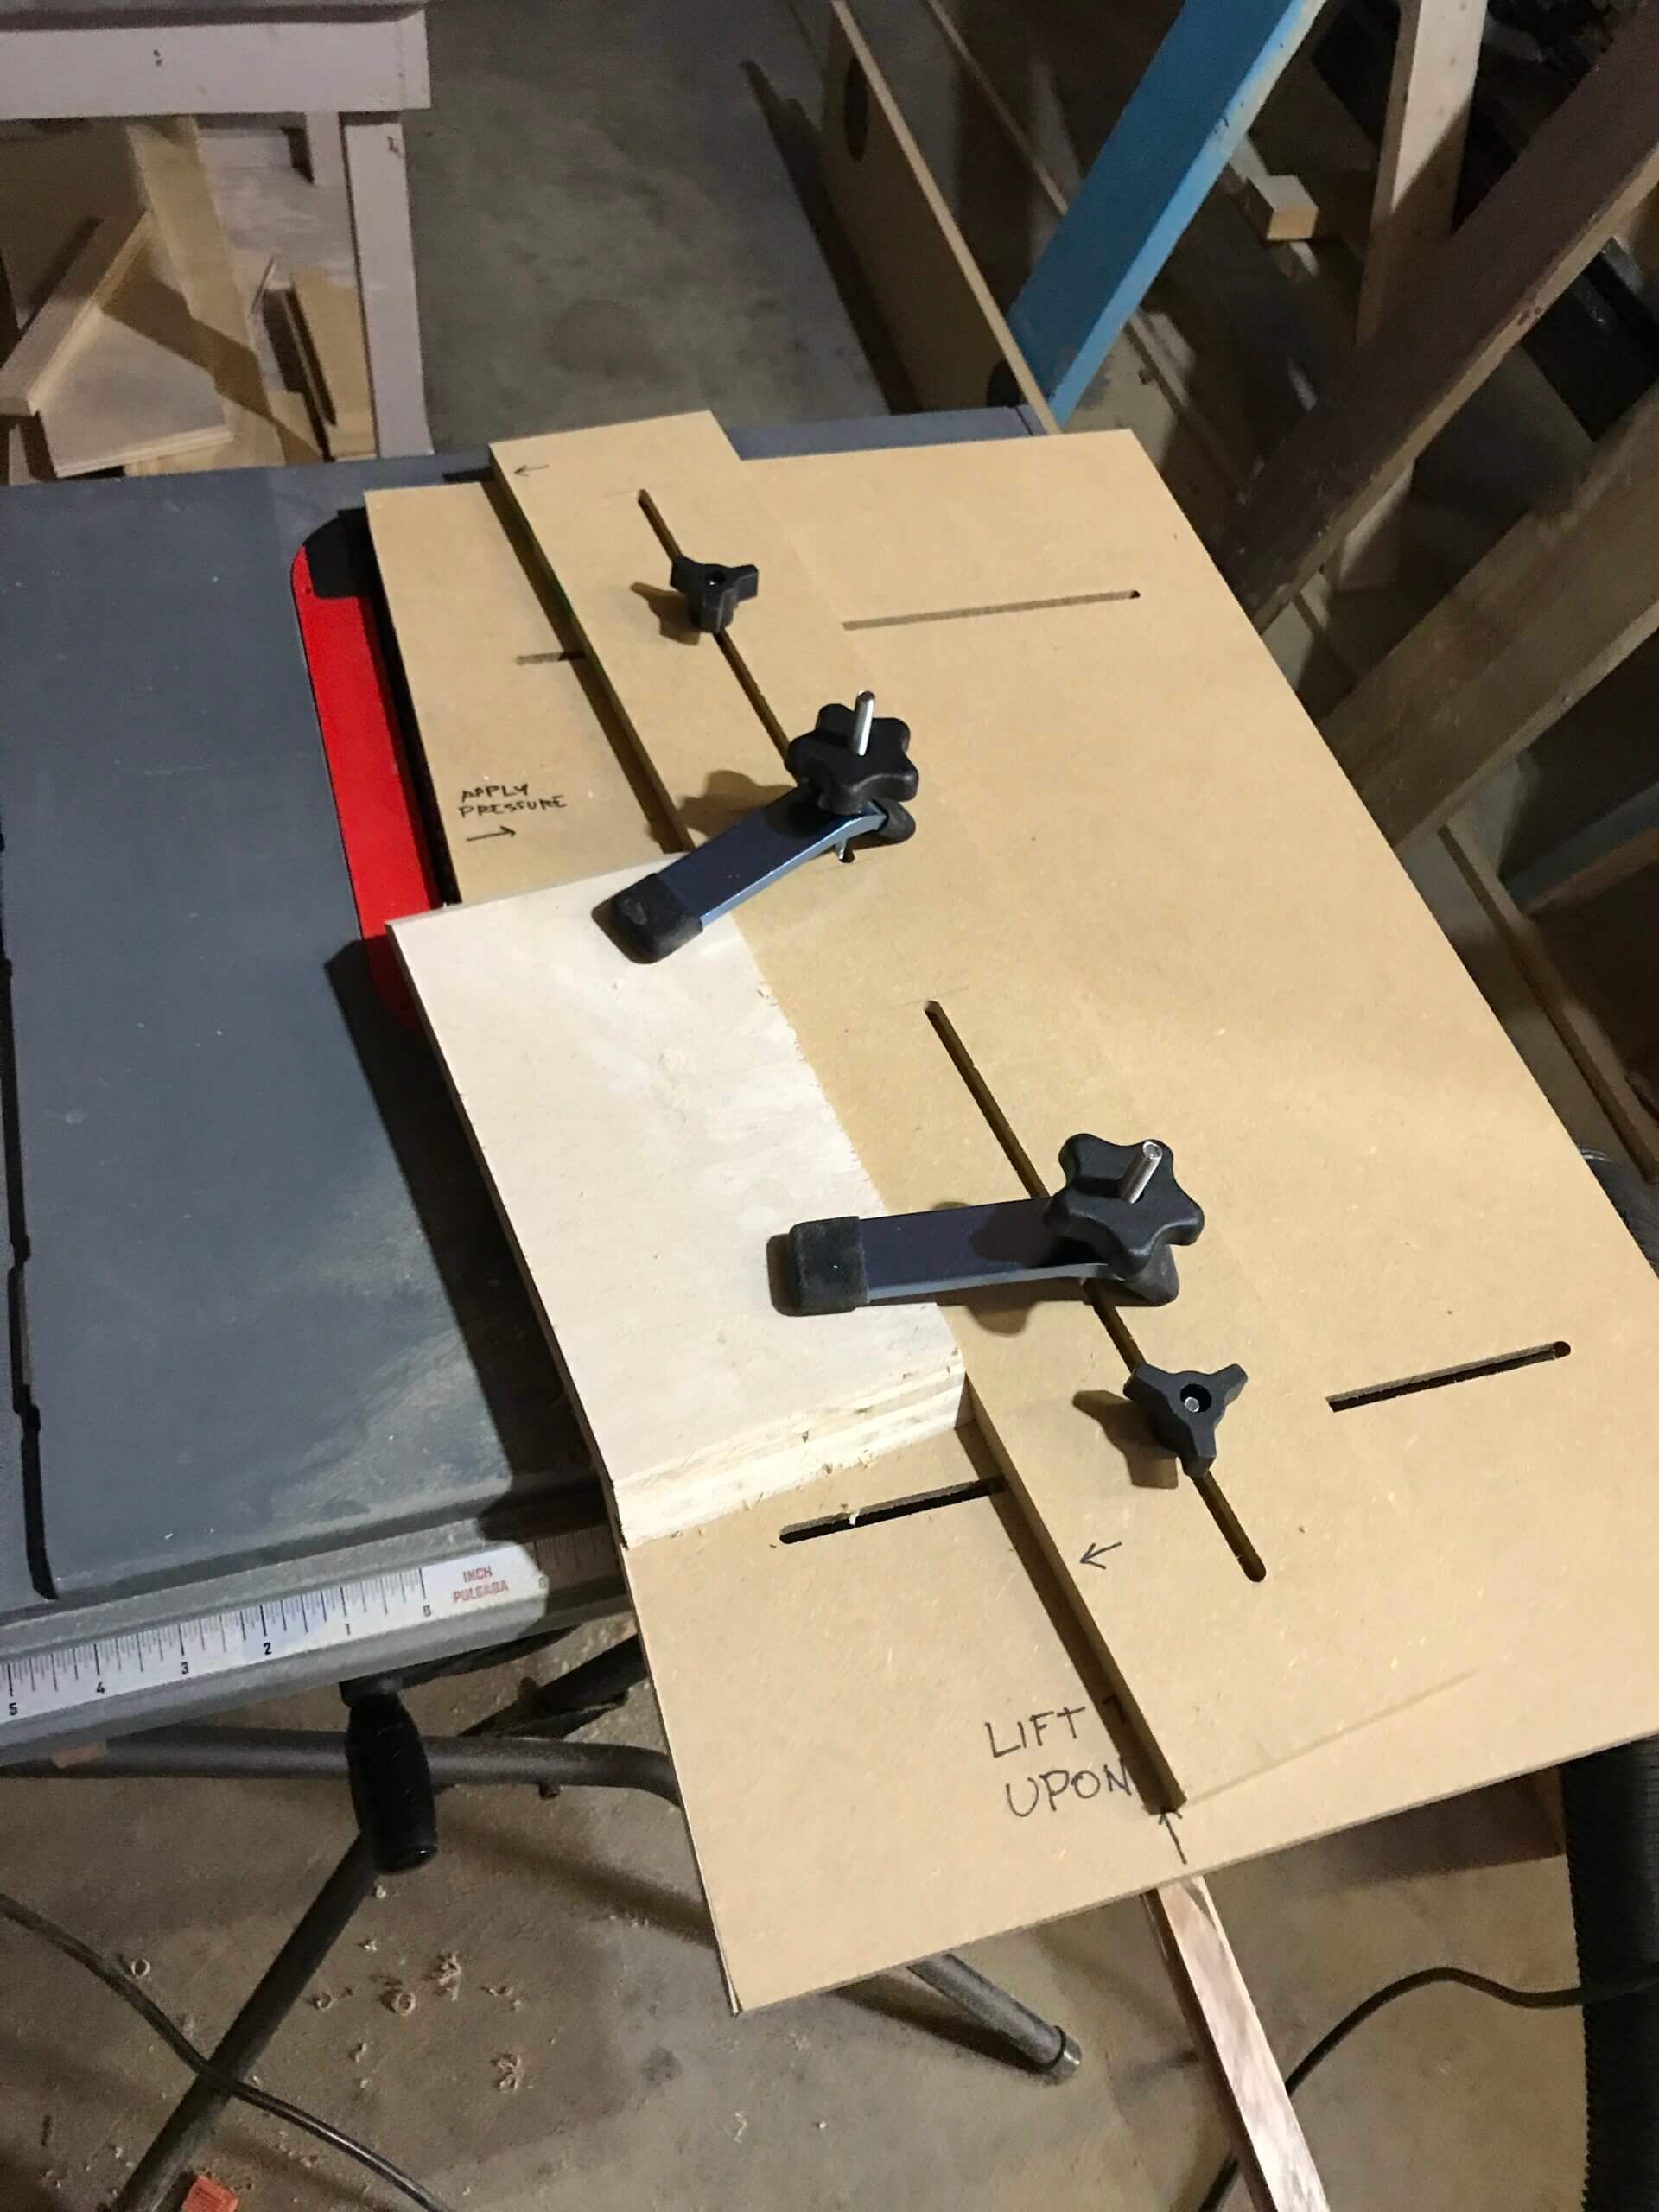
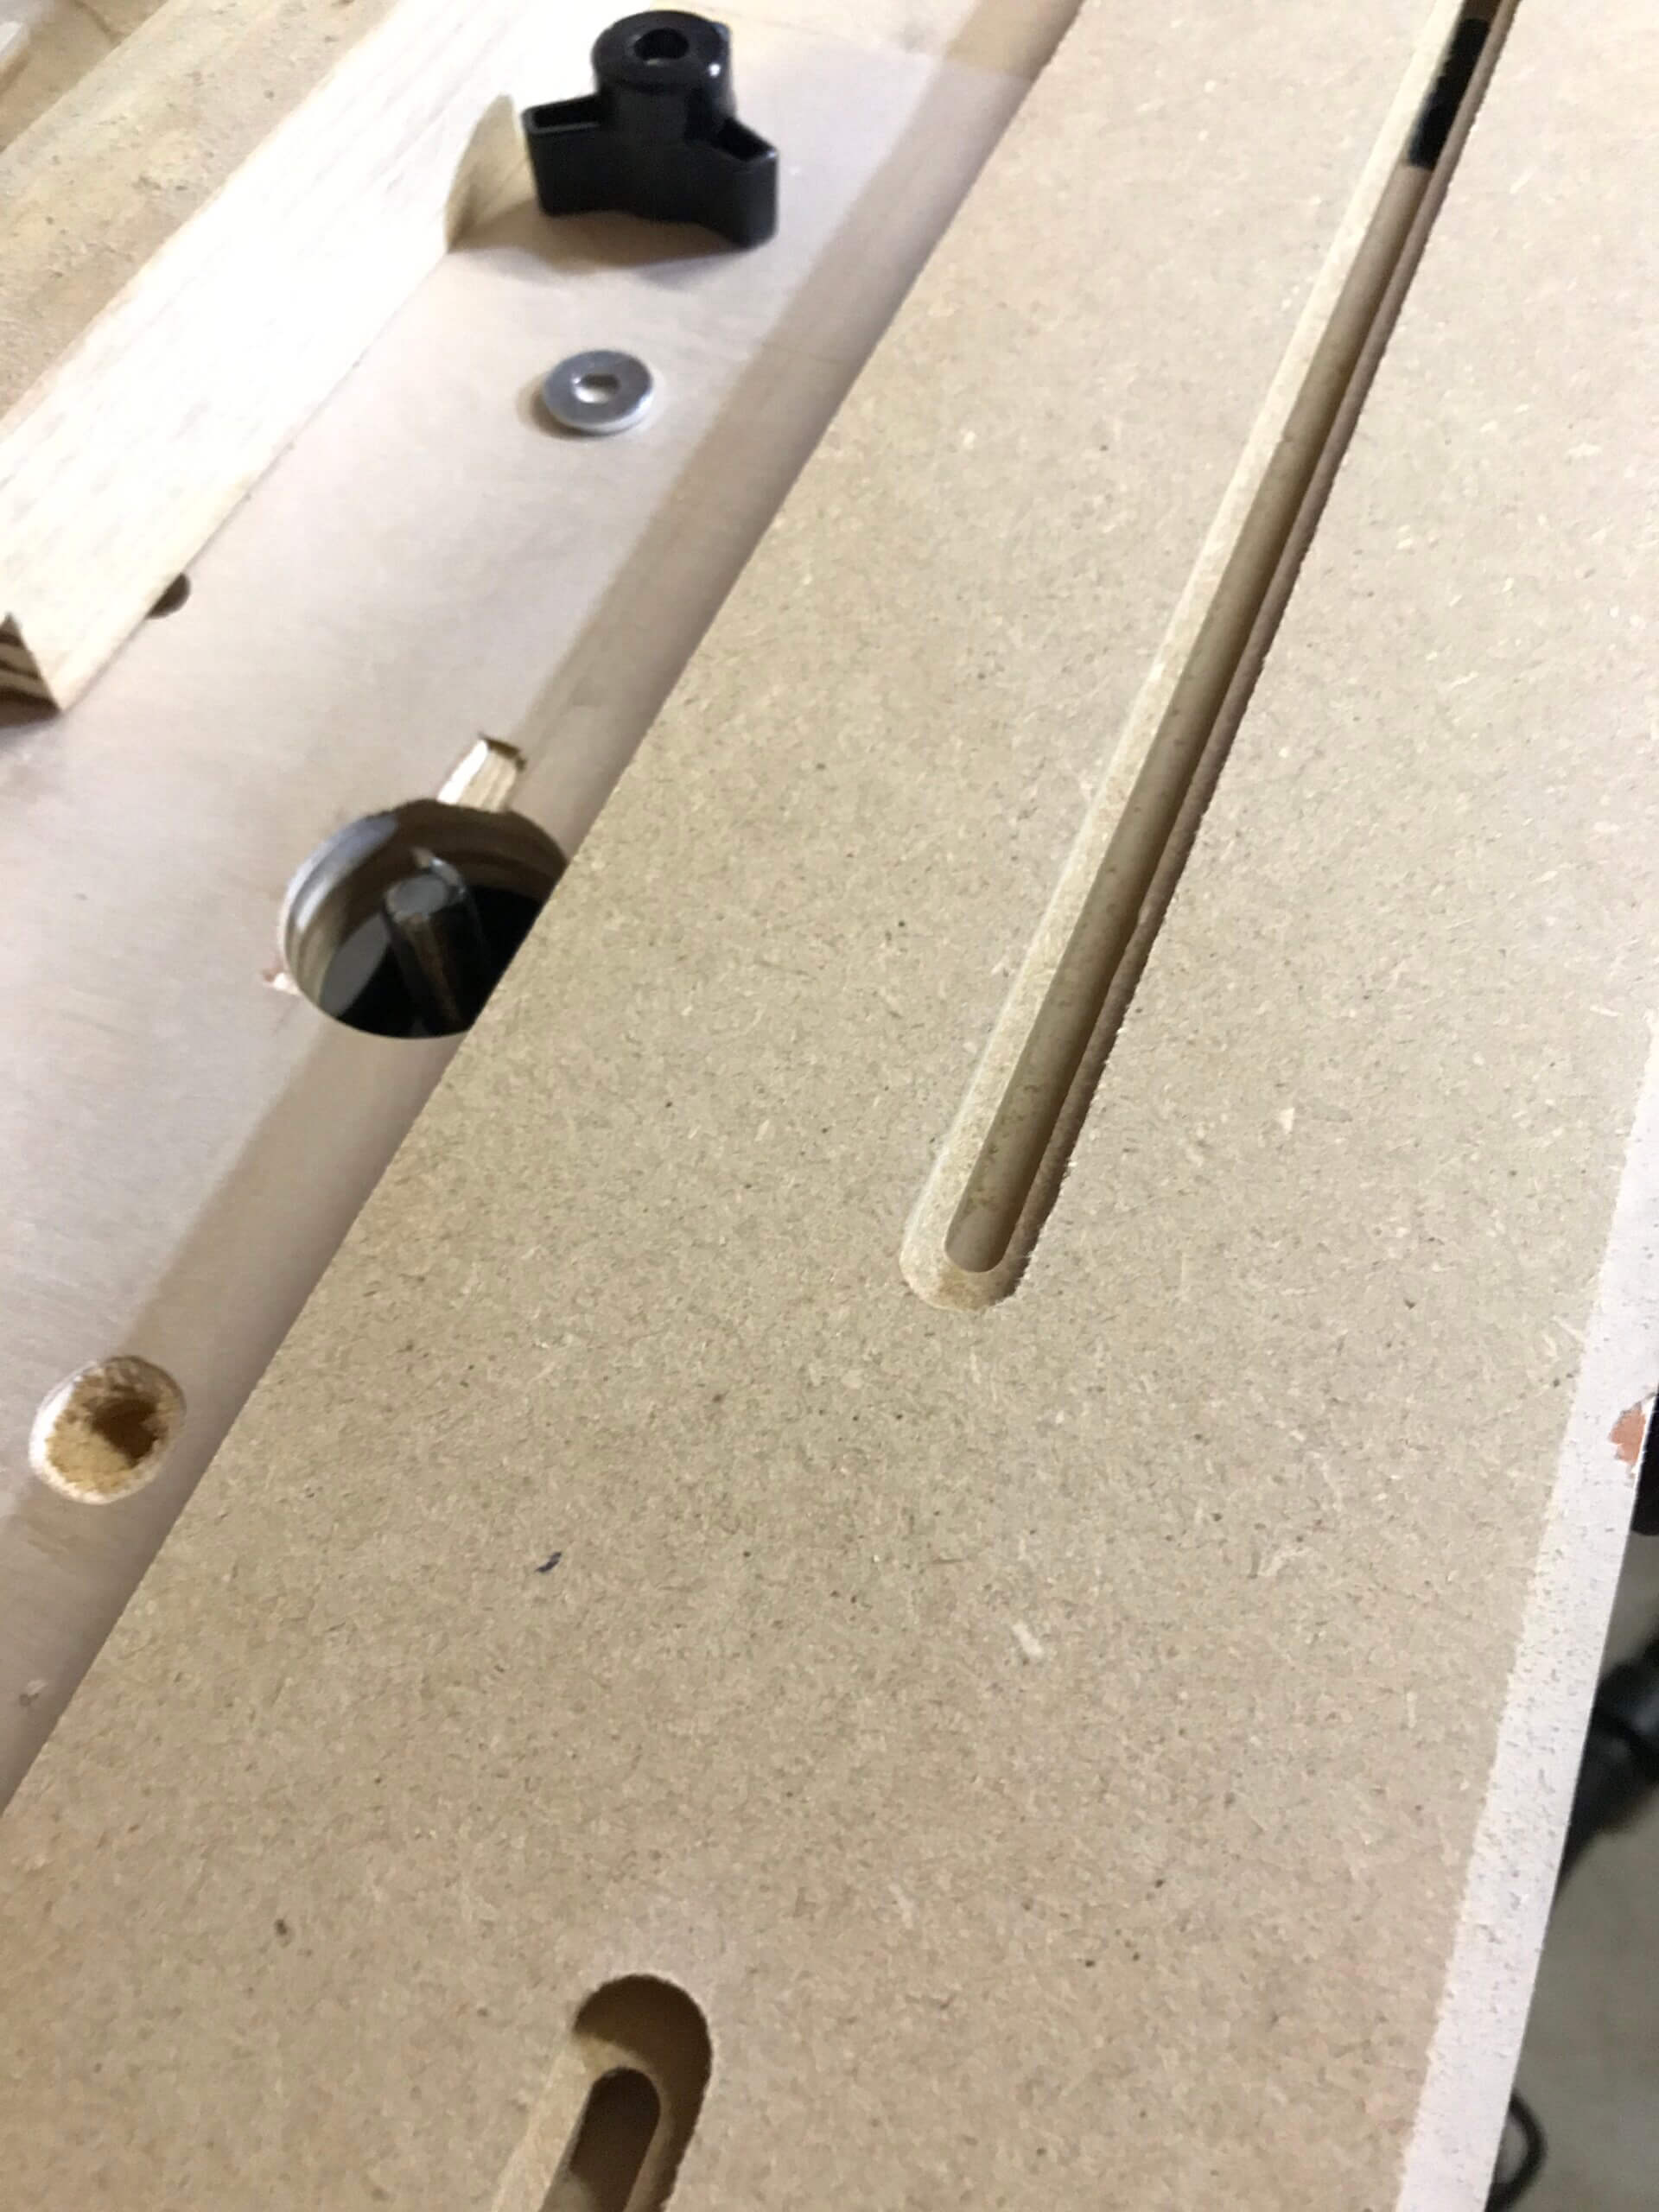
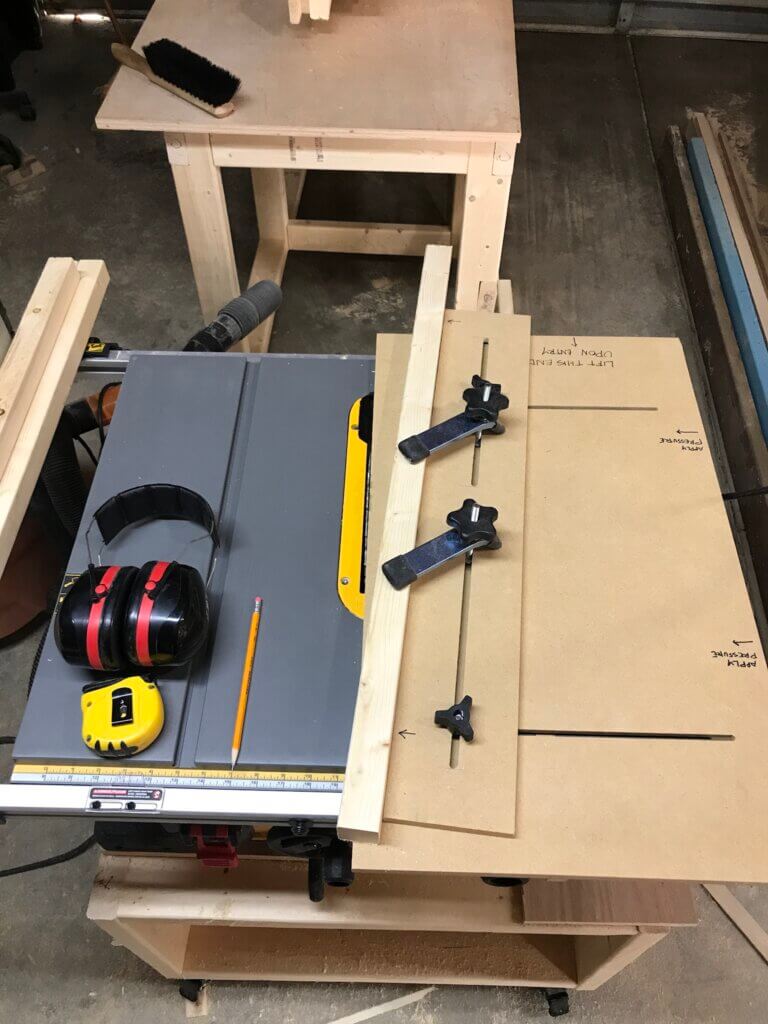
I used some left over 1/2″ mdf just so there’s not too much height for the table saw top and also, to make sure that the bolts would reach. Those knobs came with the bolts and washers so I didn’t have to look for them separately. The hold downs also came with their own bolts made for t-tracks but they happen to fit in the same notches so that simplified things a bit.

On my “router table” that I made after I got my Skil router, I cut these notches using the same size bit as the bolts I’m using for the locking knobs. Then, I used another bit that’s the same size as the heads of those bolts so that it can sit flush underneath. If I remember correctly, they were 1/4″ and 1/2″ respectively.


Using it is super simple – just measure the length of the taper and line it up to the edge where the blade will go, lock down the fence and lock down the material with the hold down and glide it across the blade. File this under “I should have done this a long time ago”.

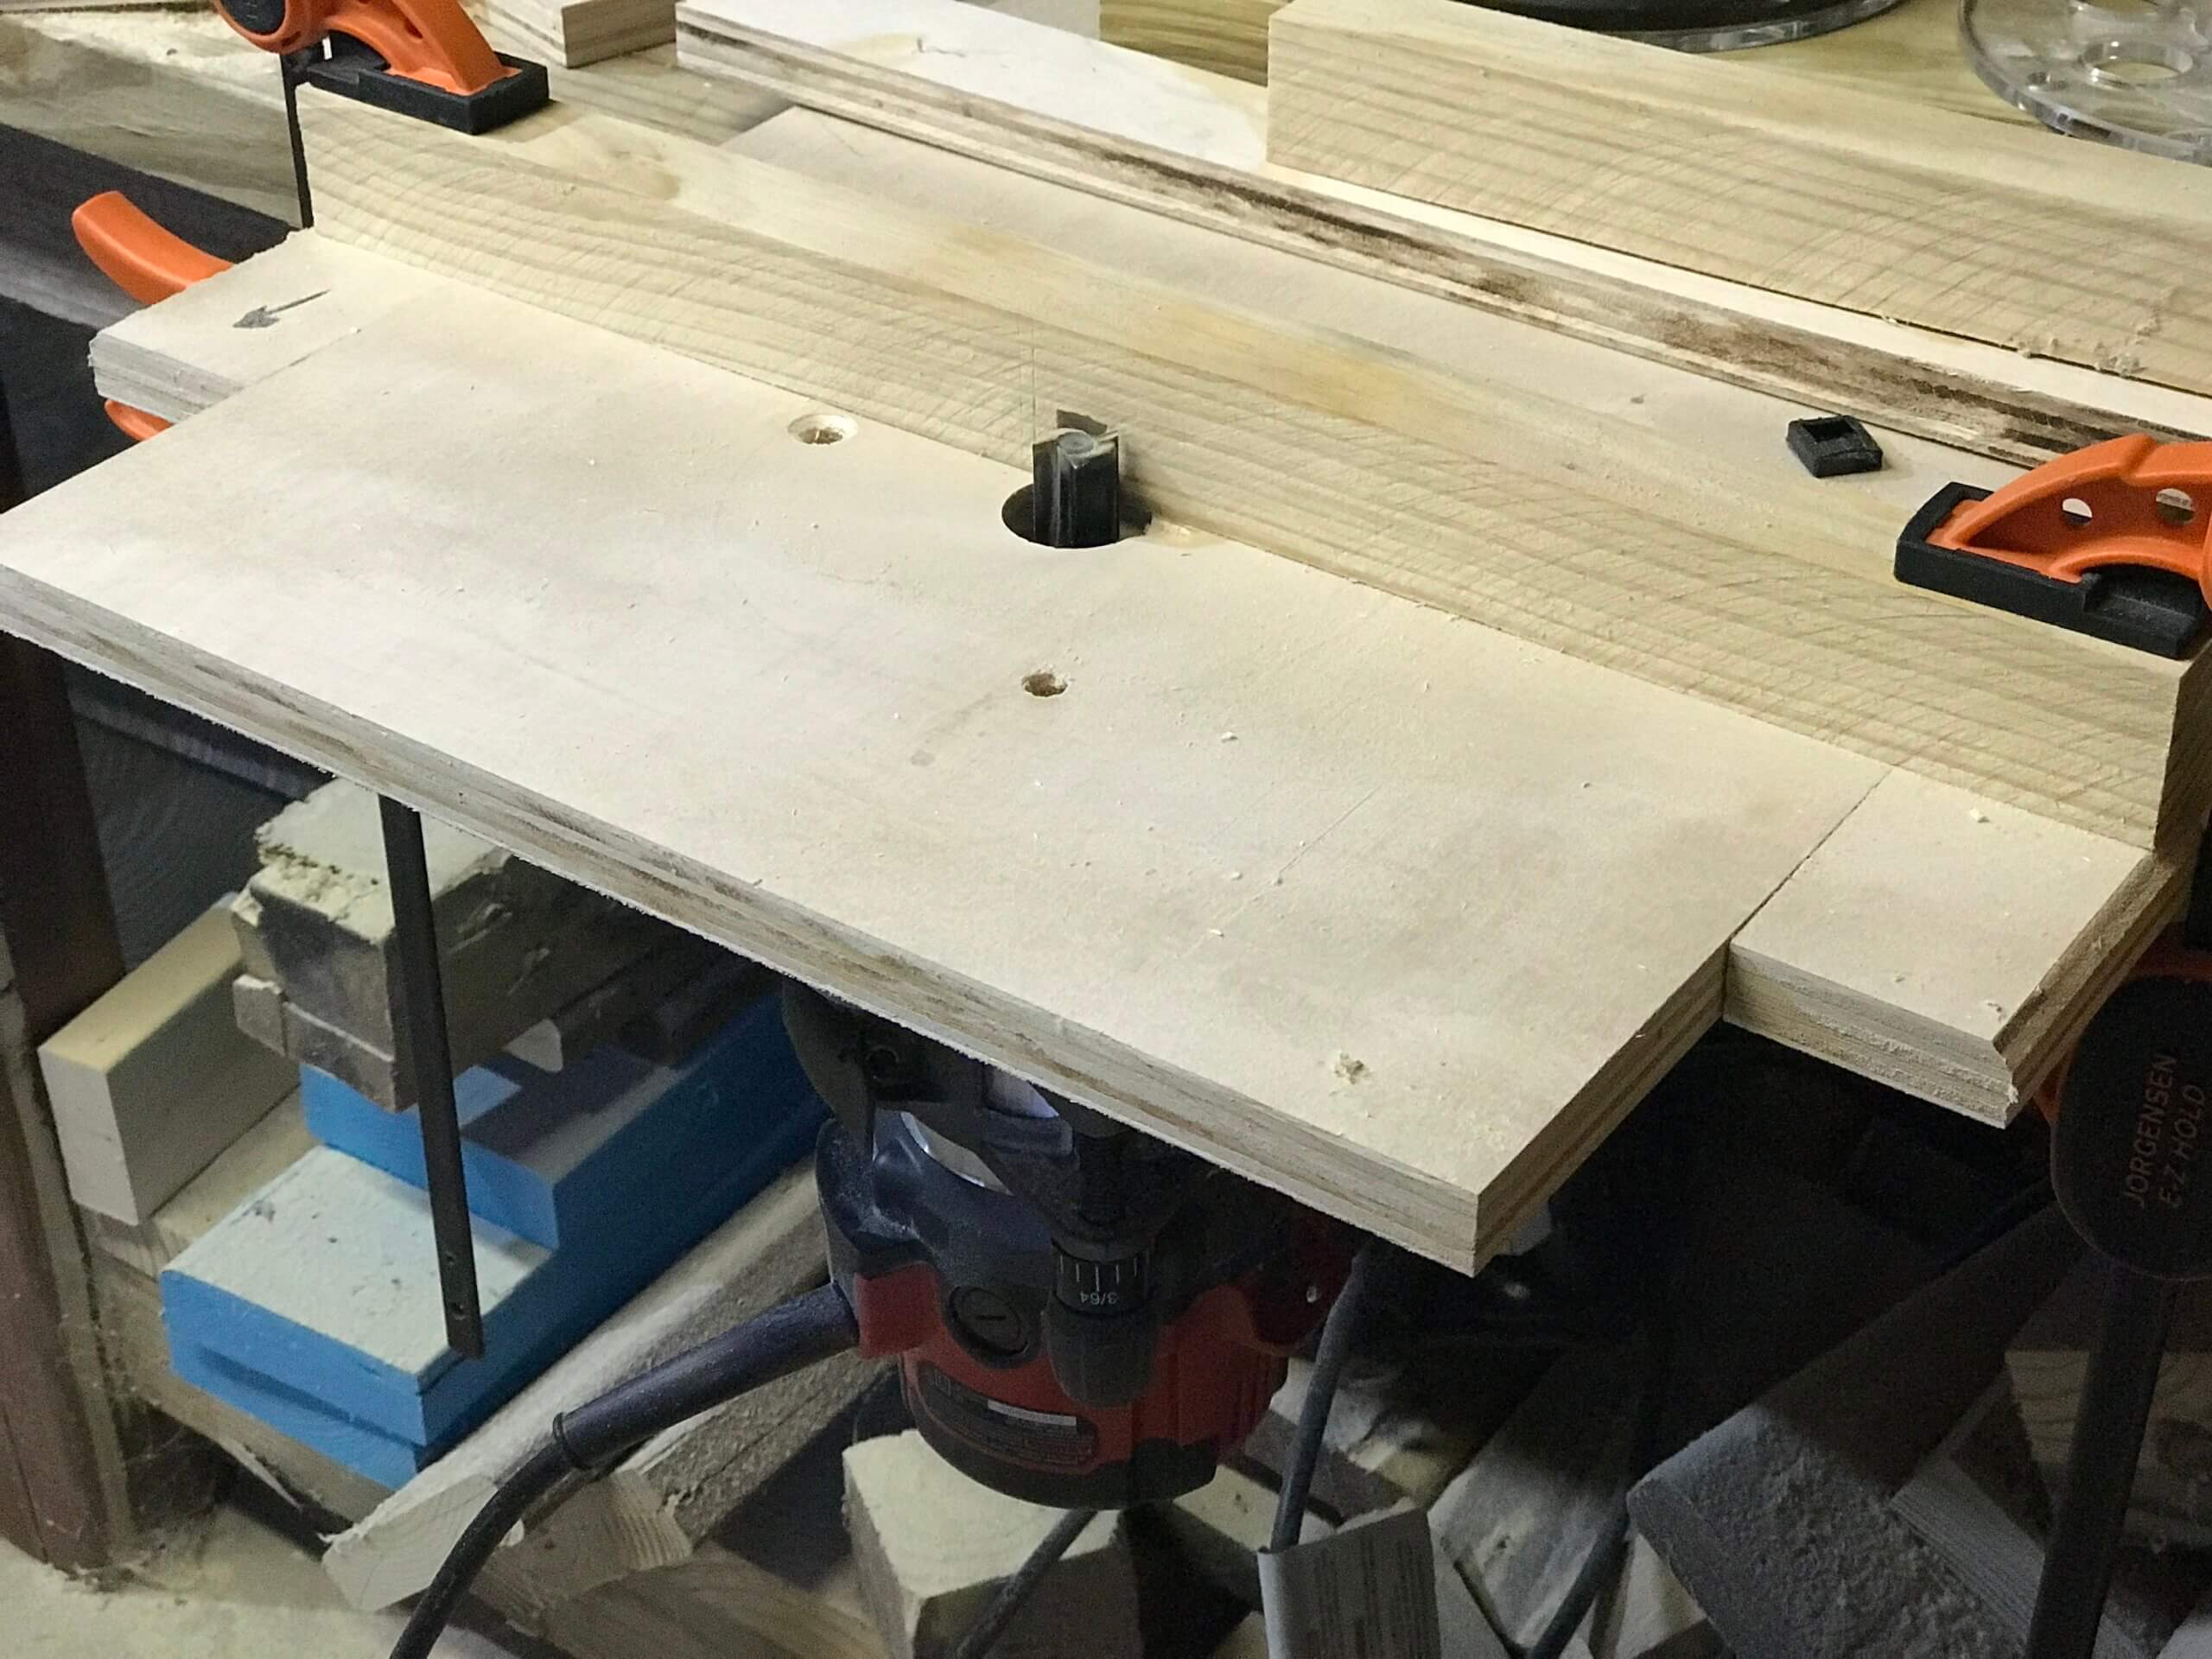
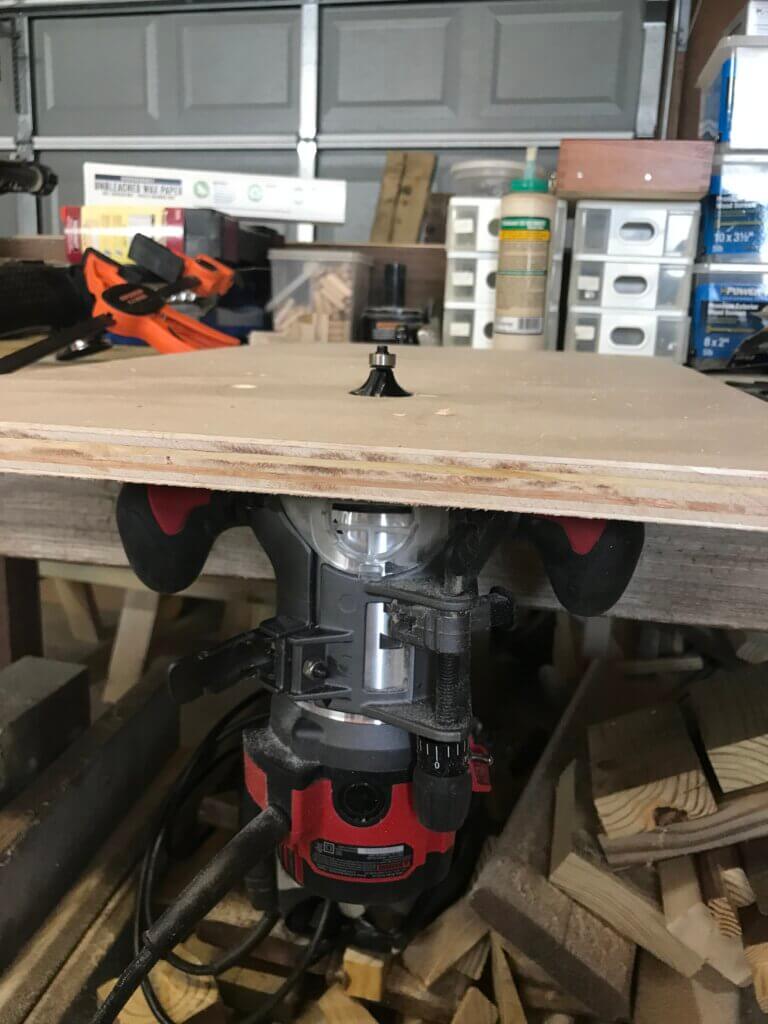
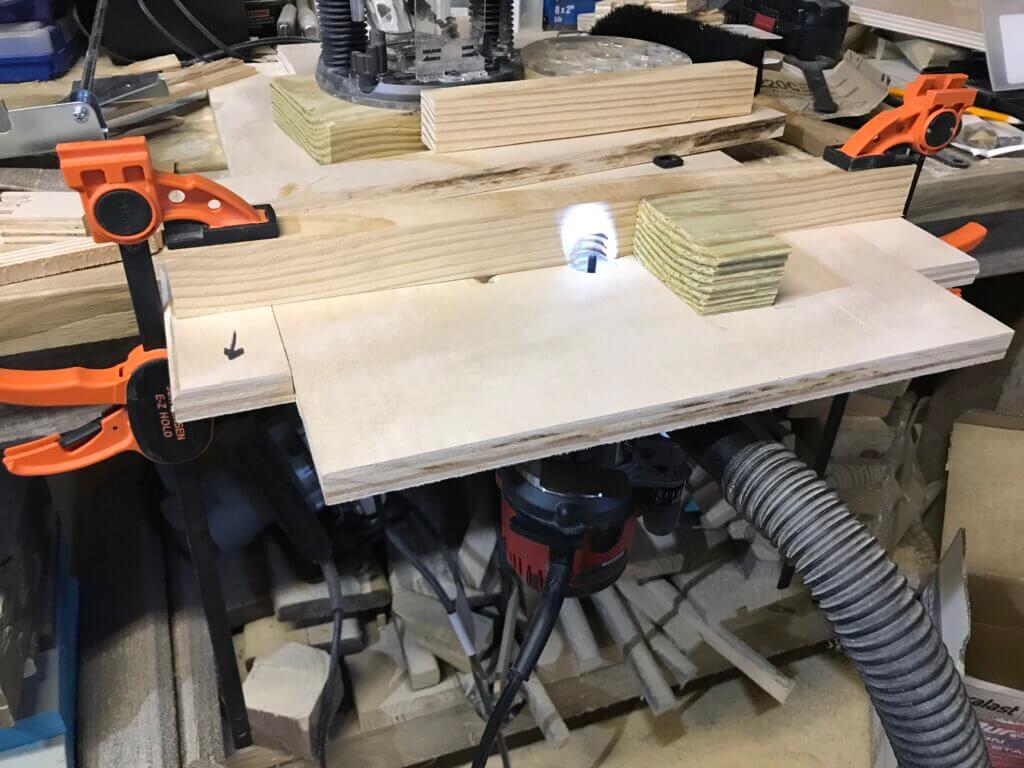
I wanted to share how I made a really simple router table. I love my Skil router and have been looking for more reasons to use it on all my projects. I started out using my Skil router to round out edges, all the while knowing that I can use it for something more. It’s like being Clark Kent and having to hide its powers from the world but when paired with a red cape, Clark Kent can use all of his powers to their full potential. The router table is the router’s red cape.

A router is a handy part of any woodworker’s arsenal of tools and not just for rounding out sharp edges. When attached to a router table, a router is able to do much more and makes the tool a lot more accurate. Having a table for your router will allow to bring the material to the spinning bit, not the other way around. This is a lot safer, for one, and the cuts will be easier to keep straight. Having a dedicated table will allow for more jigs for the future too! I might even start making box joints before fall season is over. Let get at it, hero!

The surface

  1. Choose a good surface material.
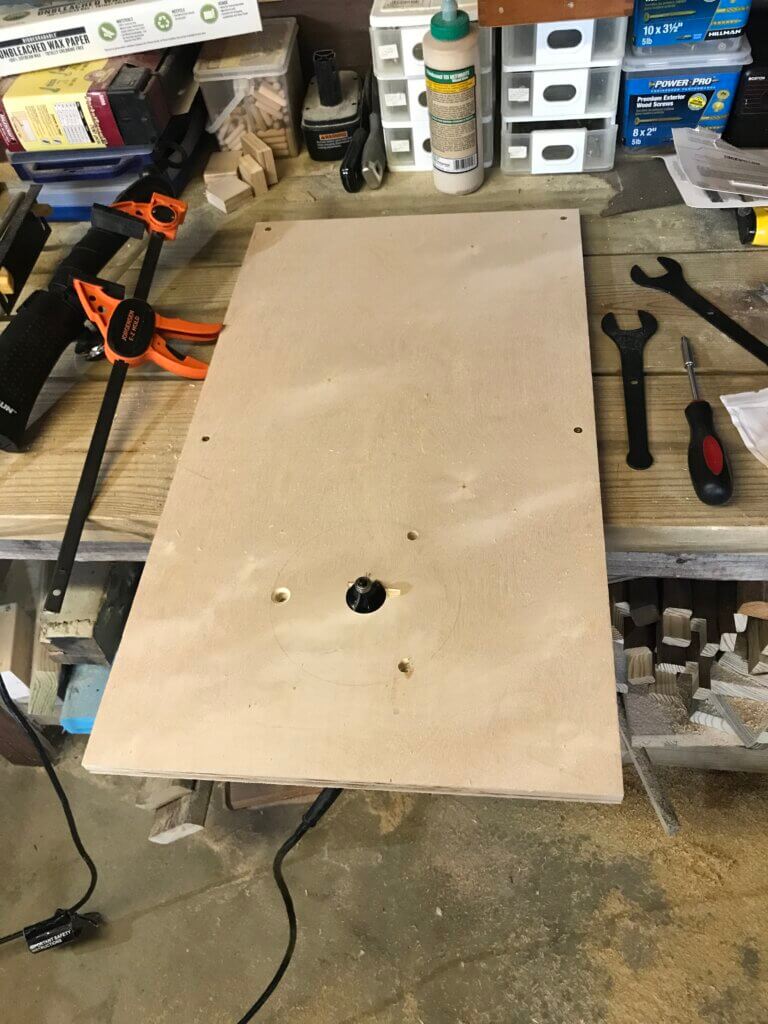
    Find a medium size birch plywood or whatever you have on hand and mark one side that will be used as the surface of the table portion. Make absolutely sure that the edges are 100% square.
  2. Mark the holes.
    Use the base plate as a guide template to mark where the center hole and the screws will go.
  1. Drill the screw holes.
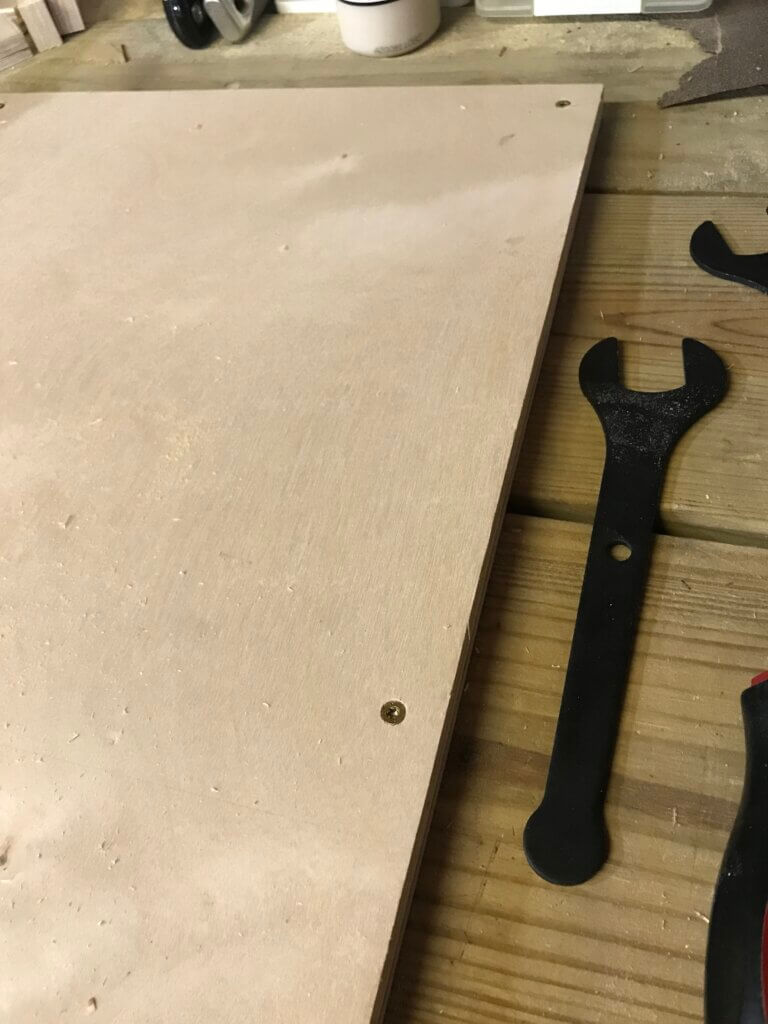
    You will have to either get a longer set of screws that matches the thread and head size or just drill down just enough to account for the thickness of the surface.

    My surface happens to be 3/4″ thick so I used drill bits of different sizes. Drill the first hole and test that before creating the rest to ensure you have the correct alignment the first time. You just made a two-bit hole.
  1. Mount the new surface to a workbench or table.
    Using your favorite wood screws, you can mount the plywood onto any table or workhorse to stabilize it semi-permanently. This will be the location of the router table whenever it is being used. That is my workaround to avoid having to create table legs.
  1. Make the hole bigger.
    With the surface now secured, you can start mounting the router base (I’m trying so hard not to tell dirty puns to keep this a family friendly post). If you drilled a pilot hole for the router bit, you’re a step ahead.

    Pick a router bit that will enlarge the original hole. I chose the largest bit I own from my kit which was a round over bit and slowly opened up the hole to 1/2 inch by gradually raising the router through. Whew, we both made it to the end, now just the fence is next.

The fence

  1. Find a long piece to use as a fence.
    Hopefully, the edges are 100% squared as mentioned in previous steps, it will be crucial in this step.
  1. Make an H.
    Attach shorter pieces that will keep the fence centered on the surface. I used wood glue but you can use any method you’re comfortable with that will not mess up the squareness.