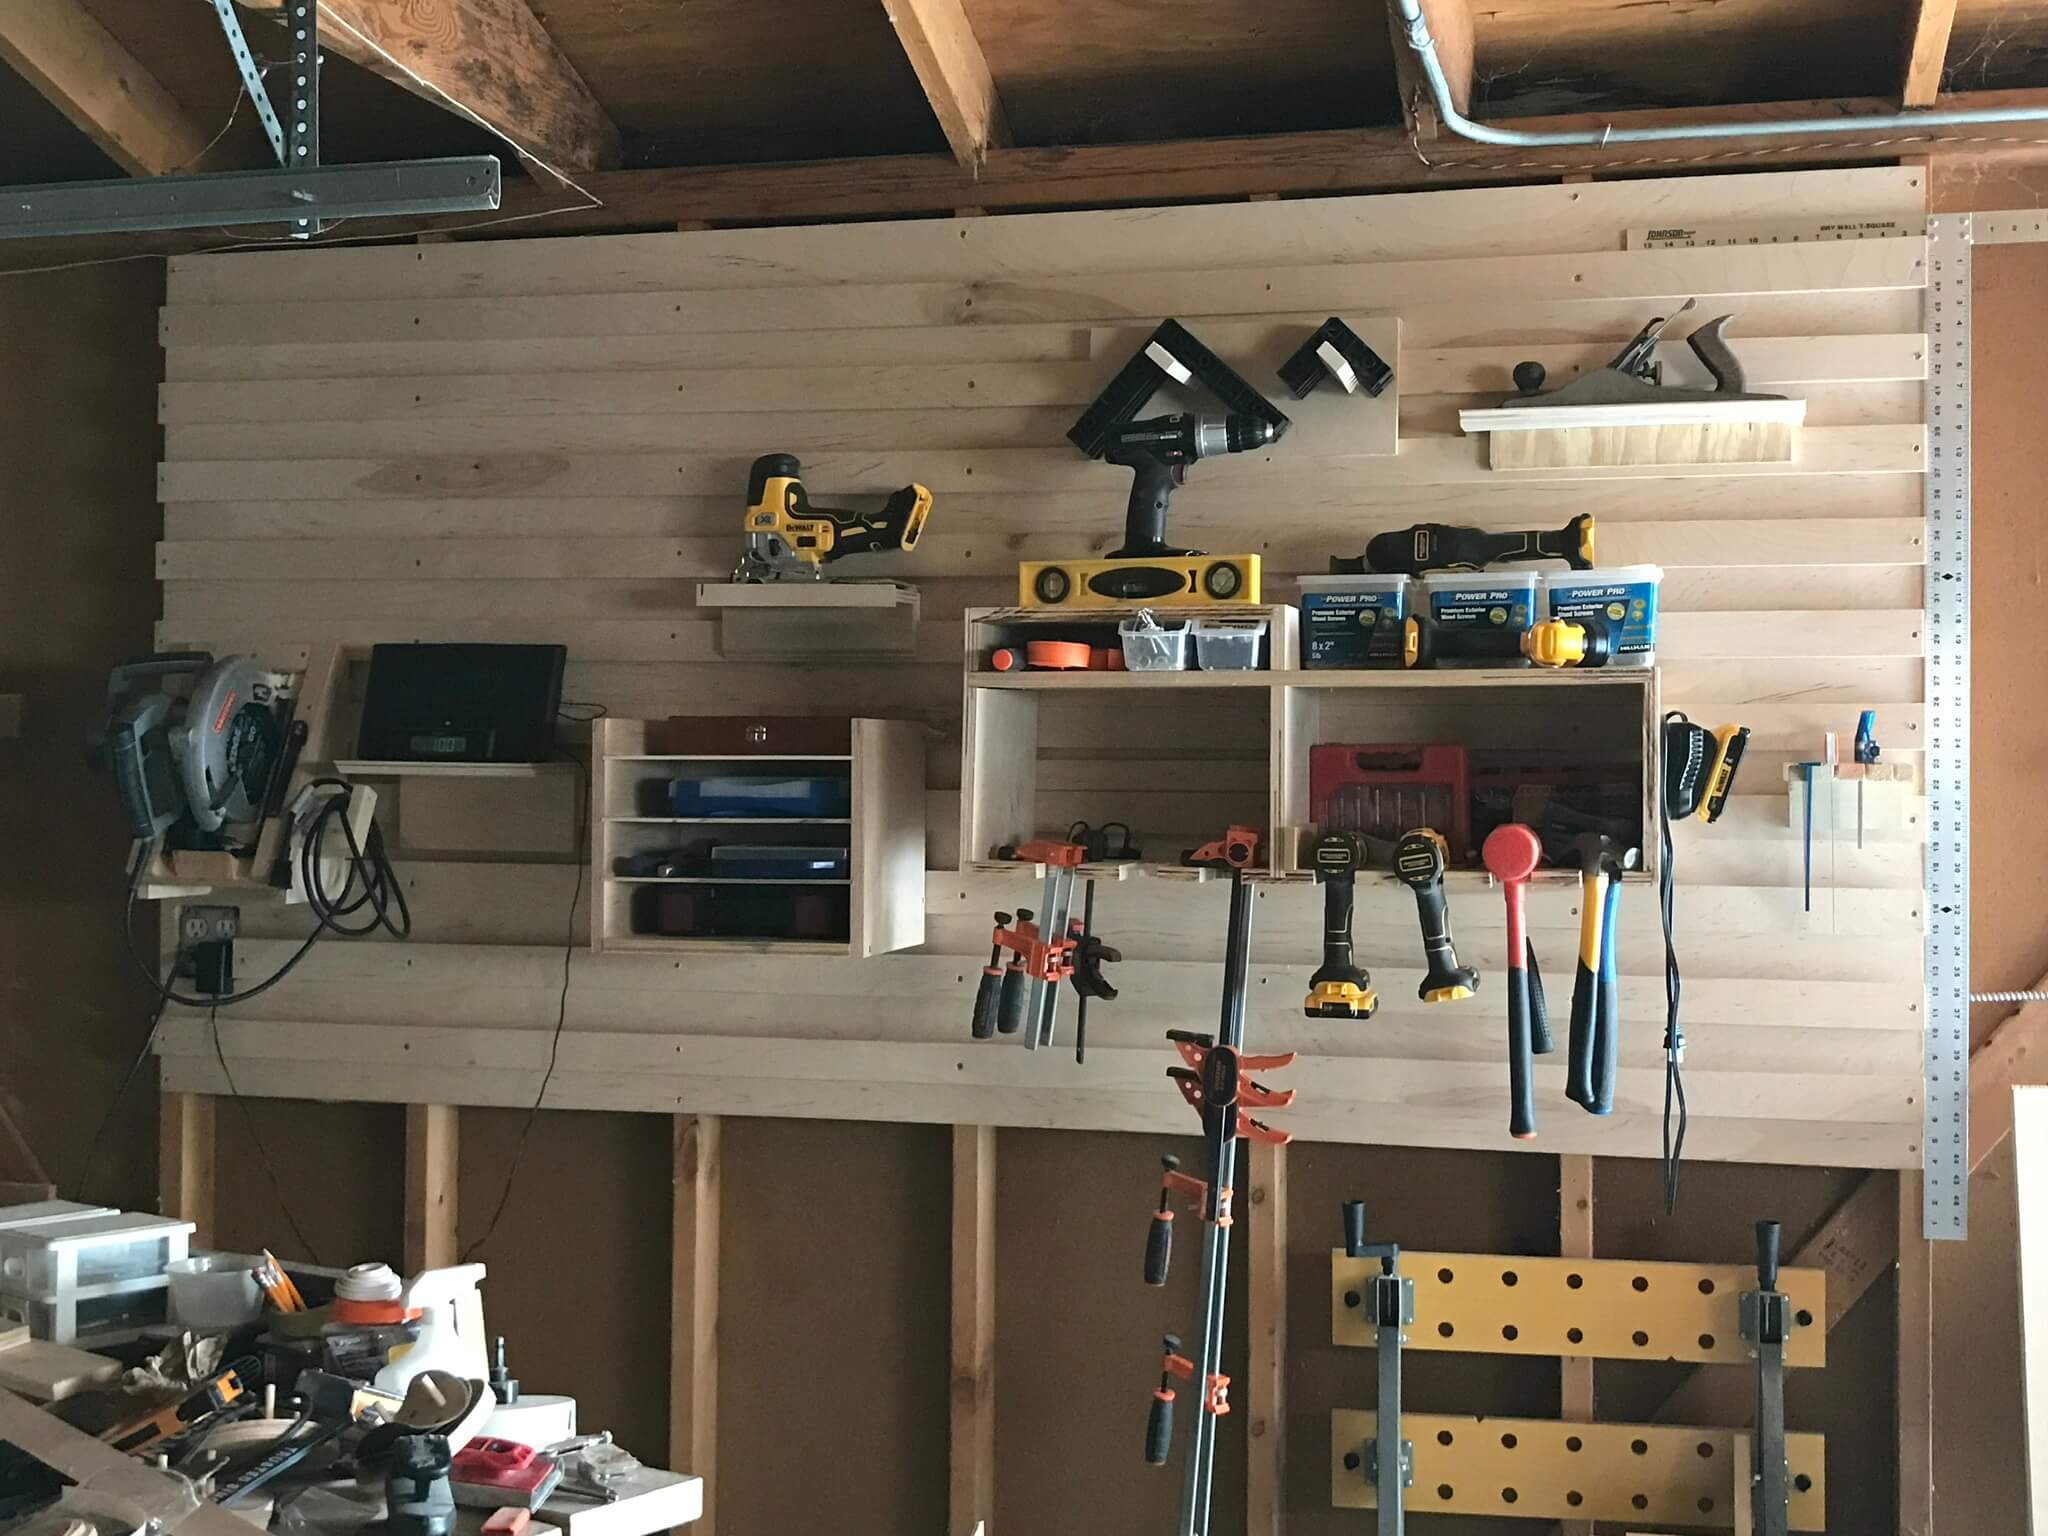
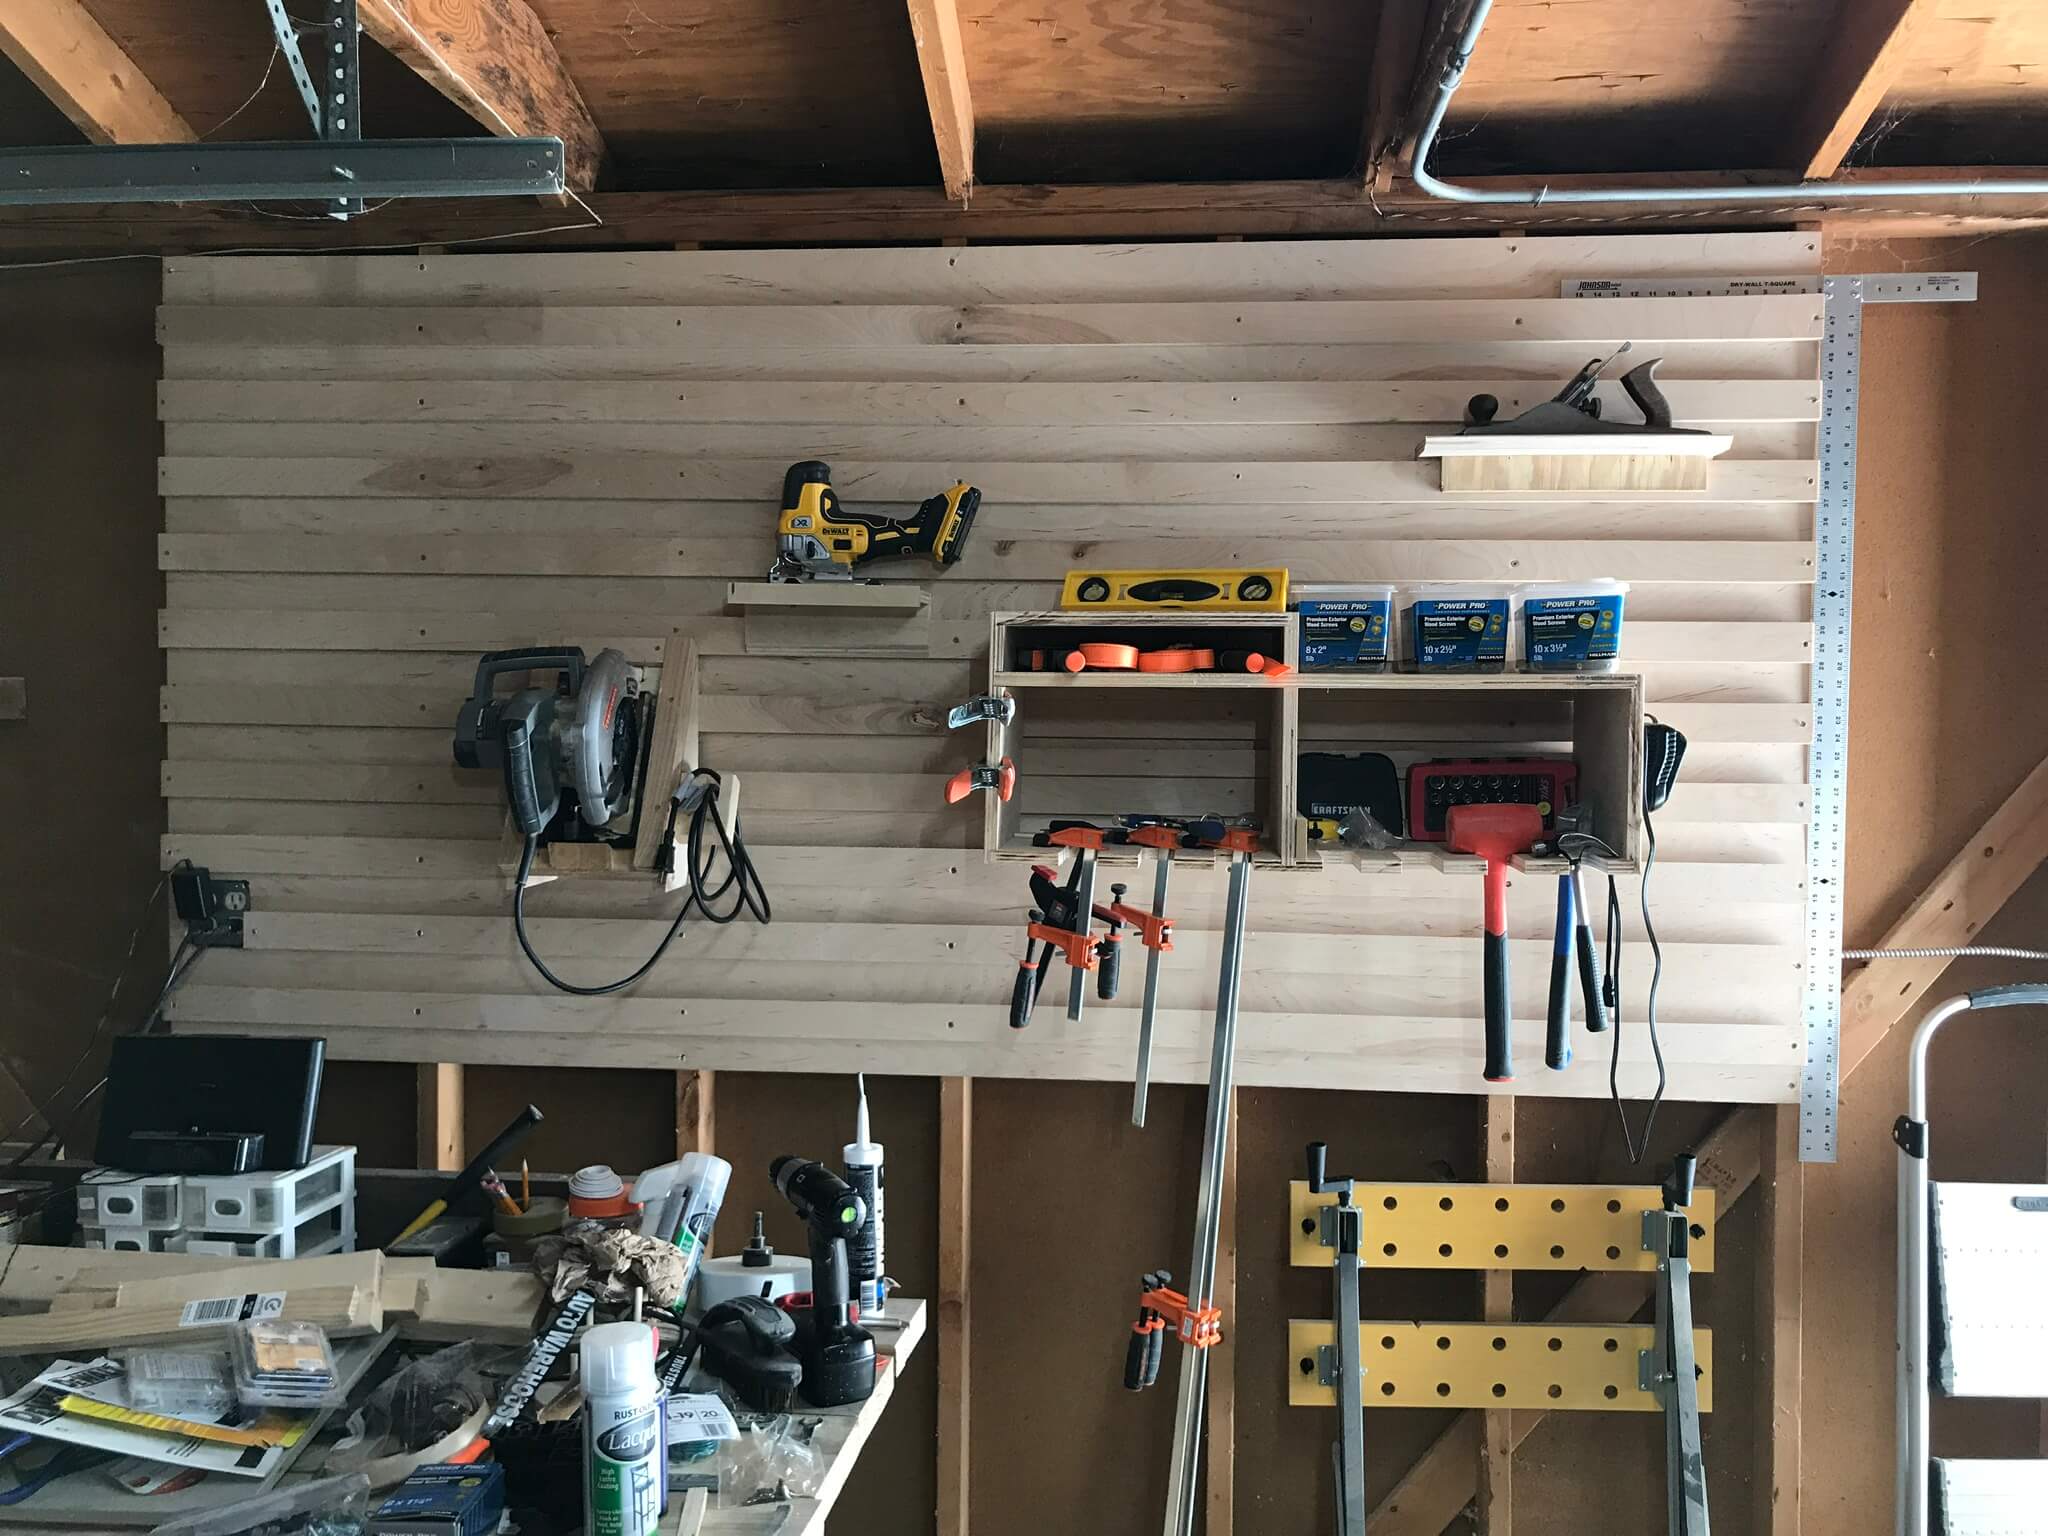
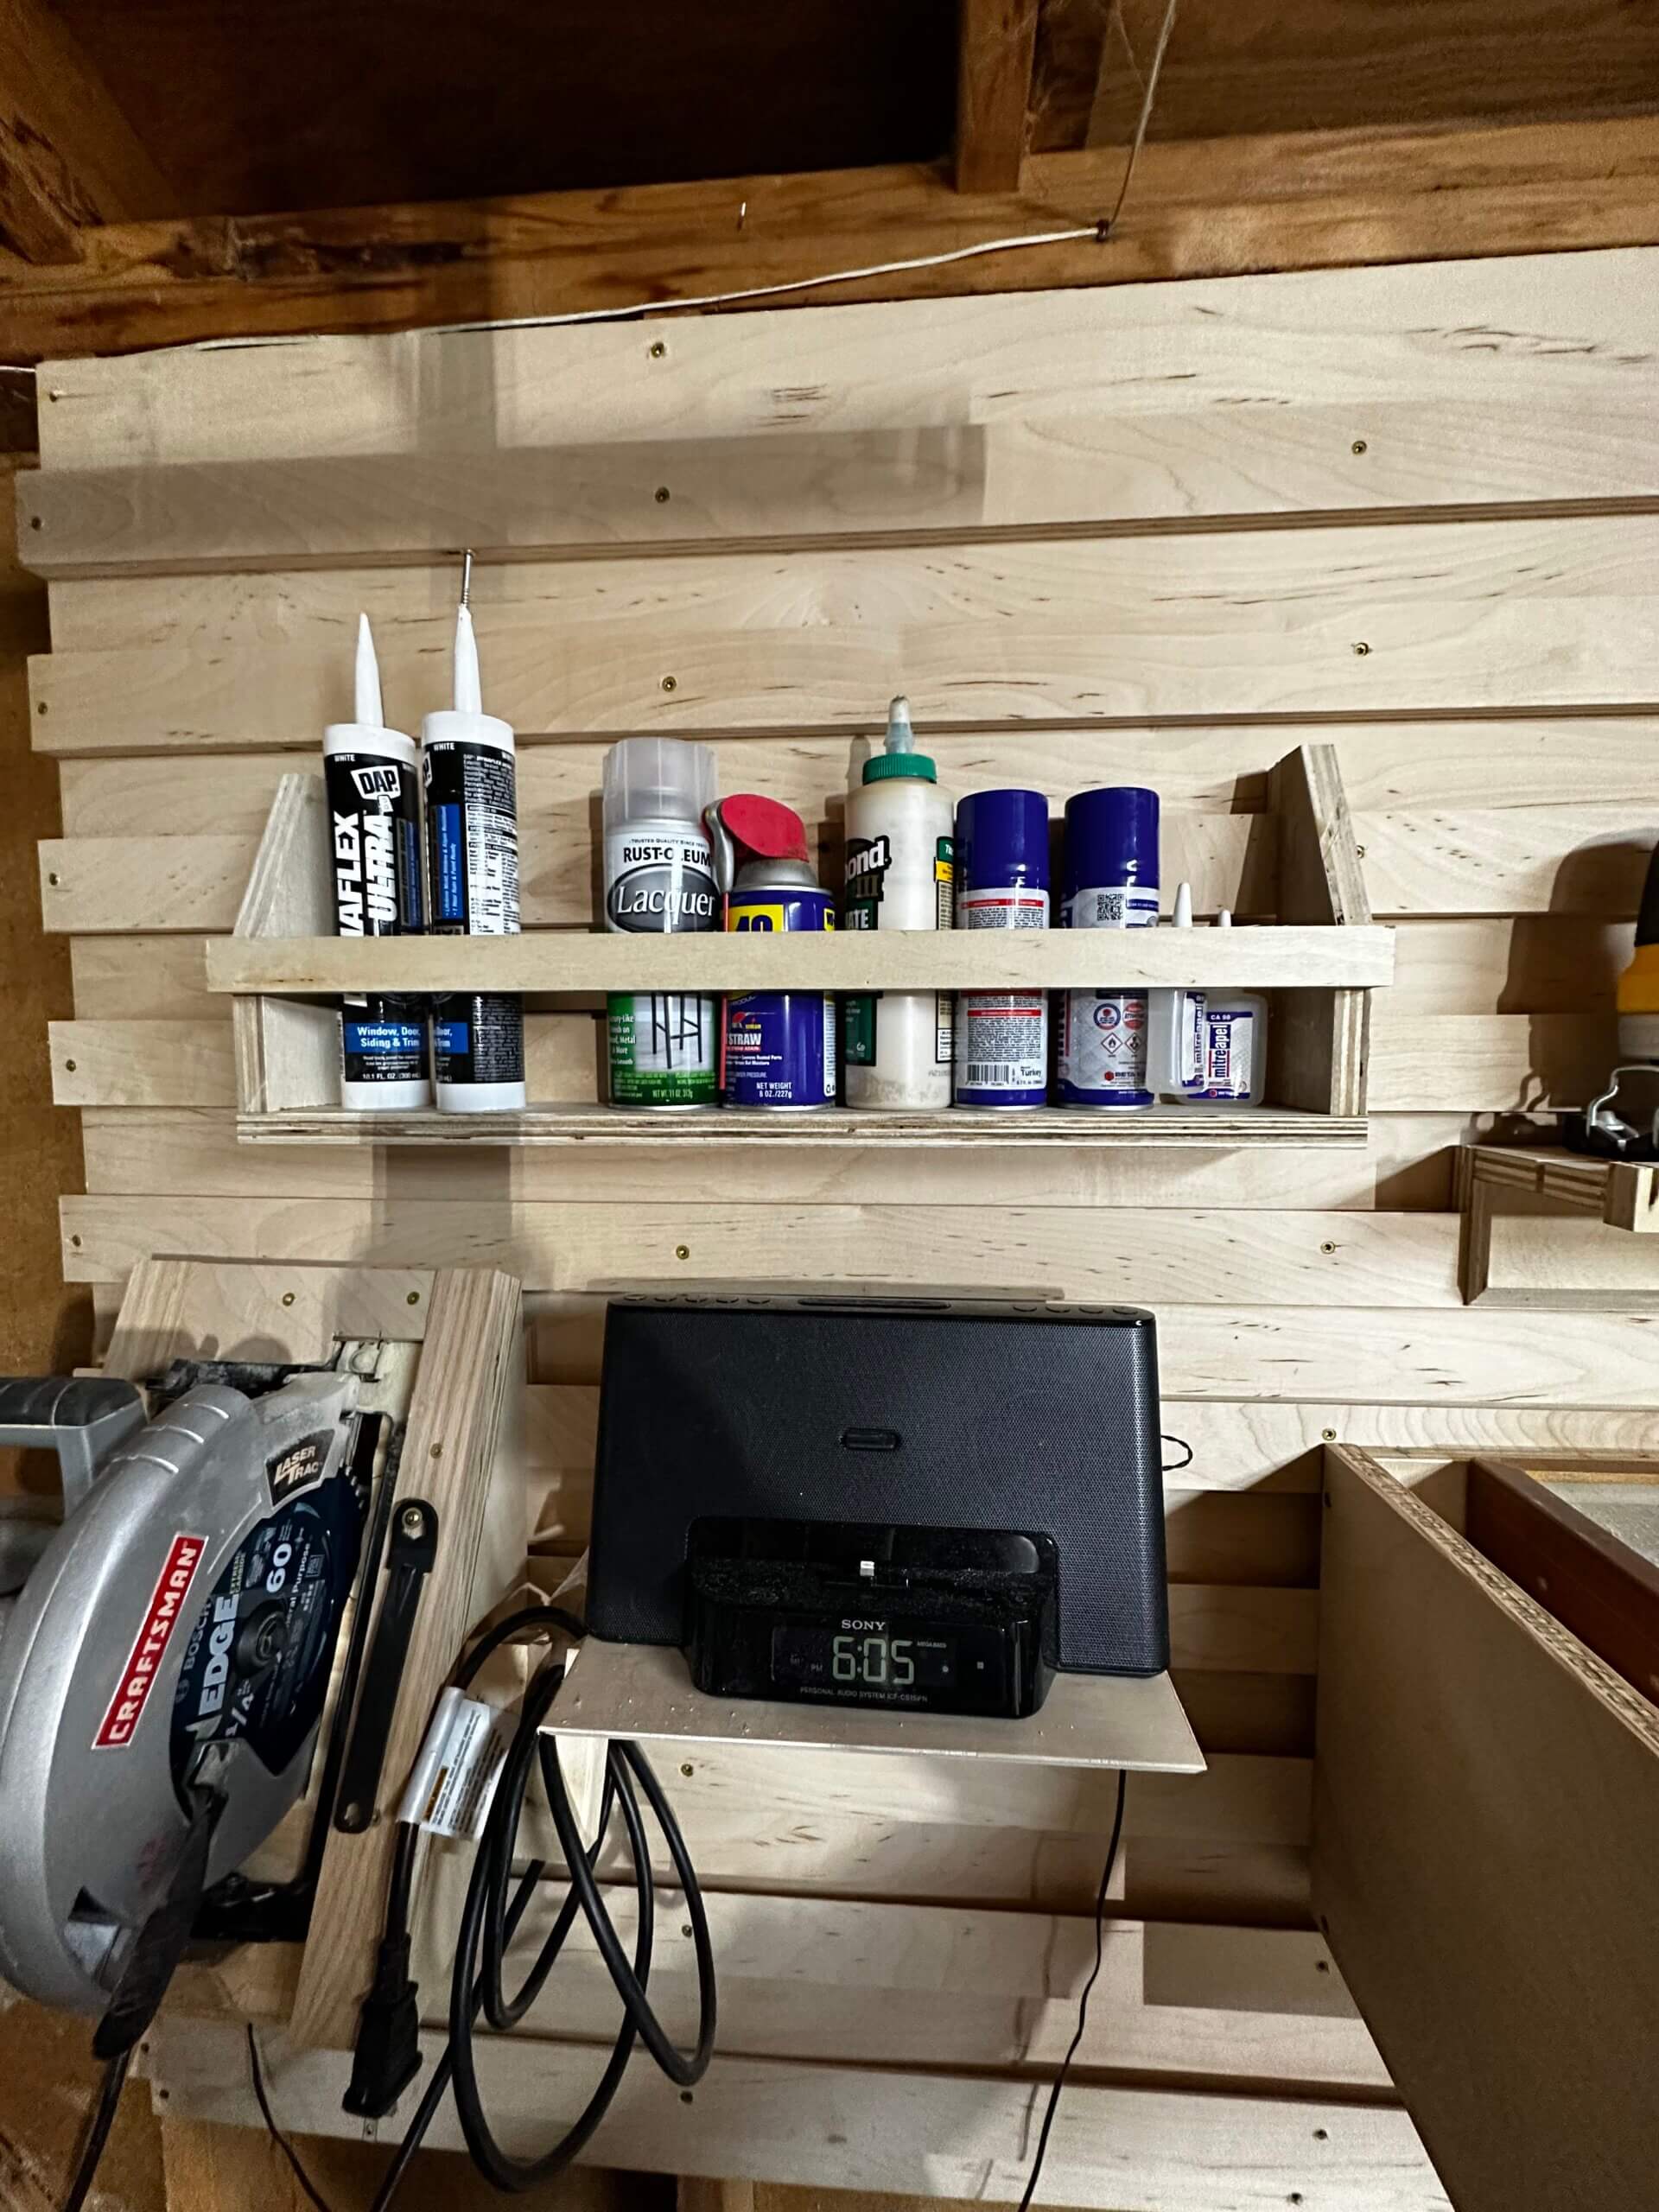
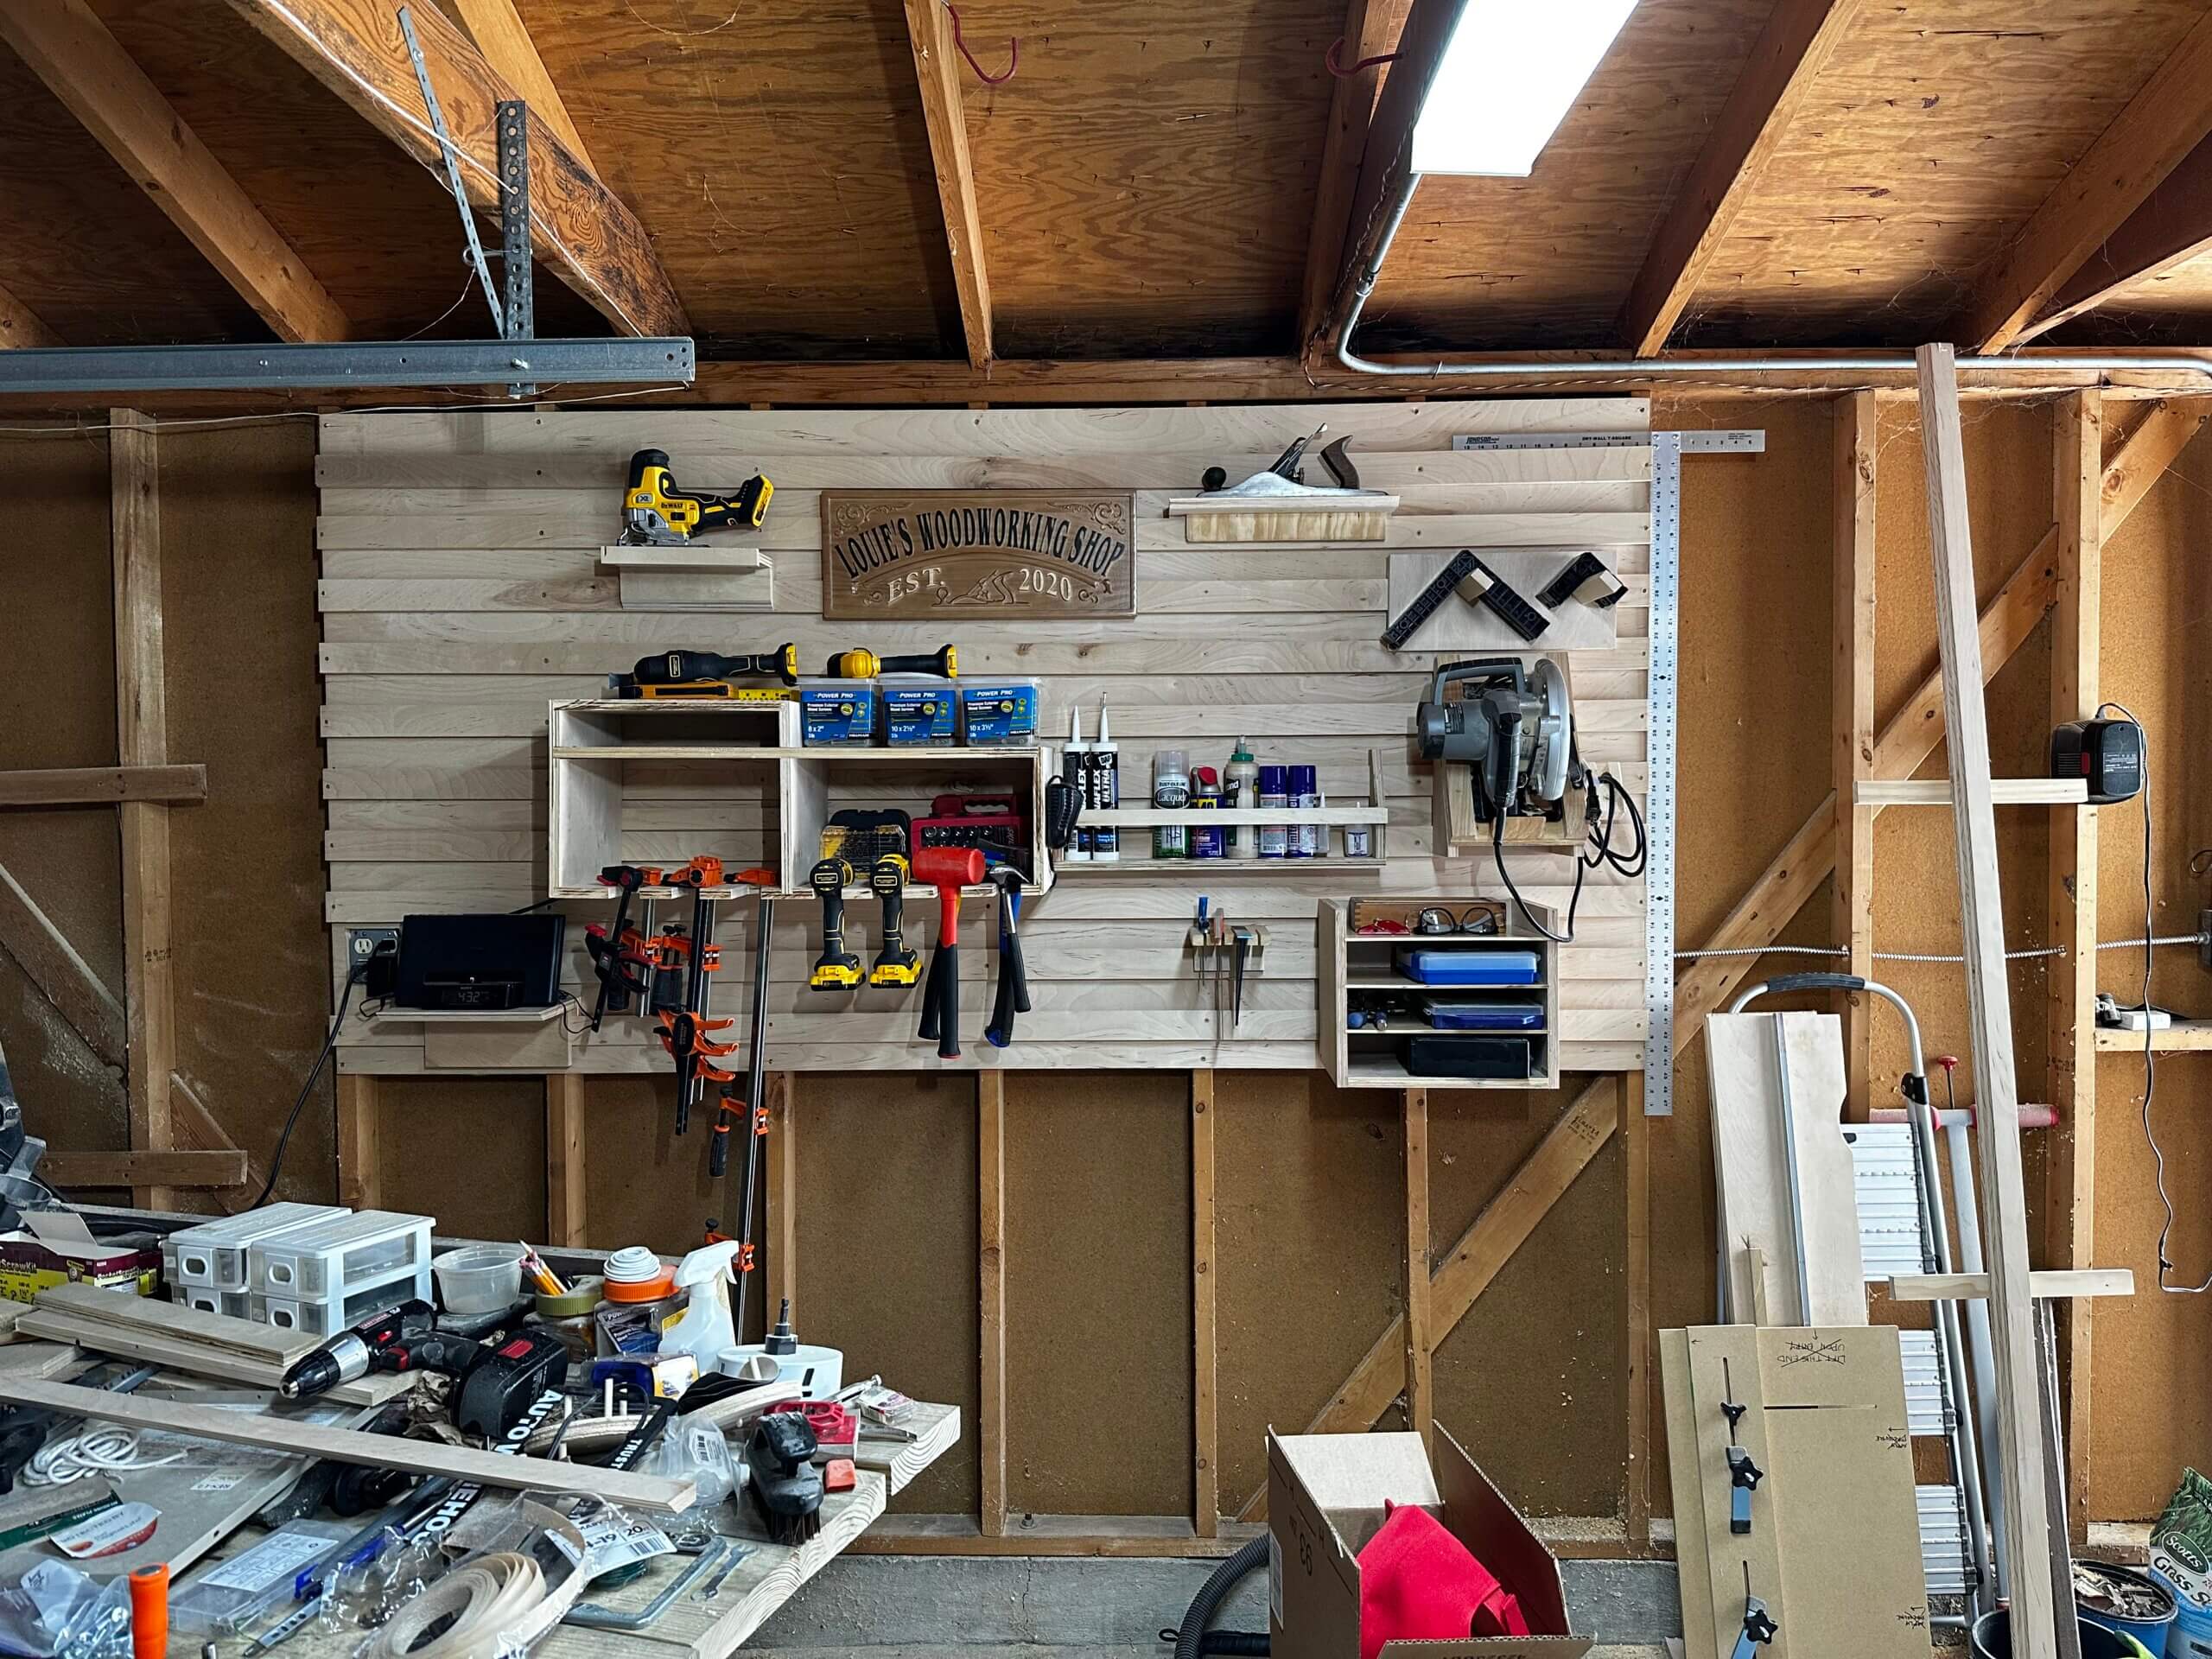
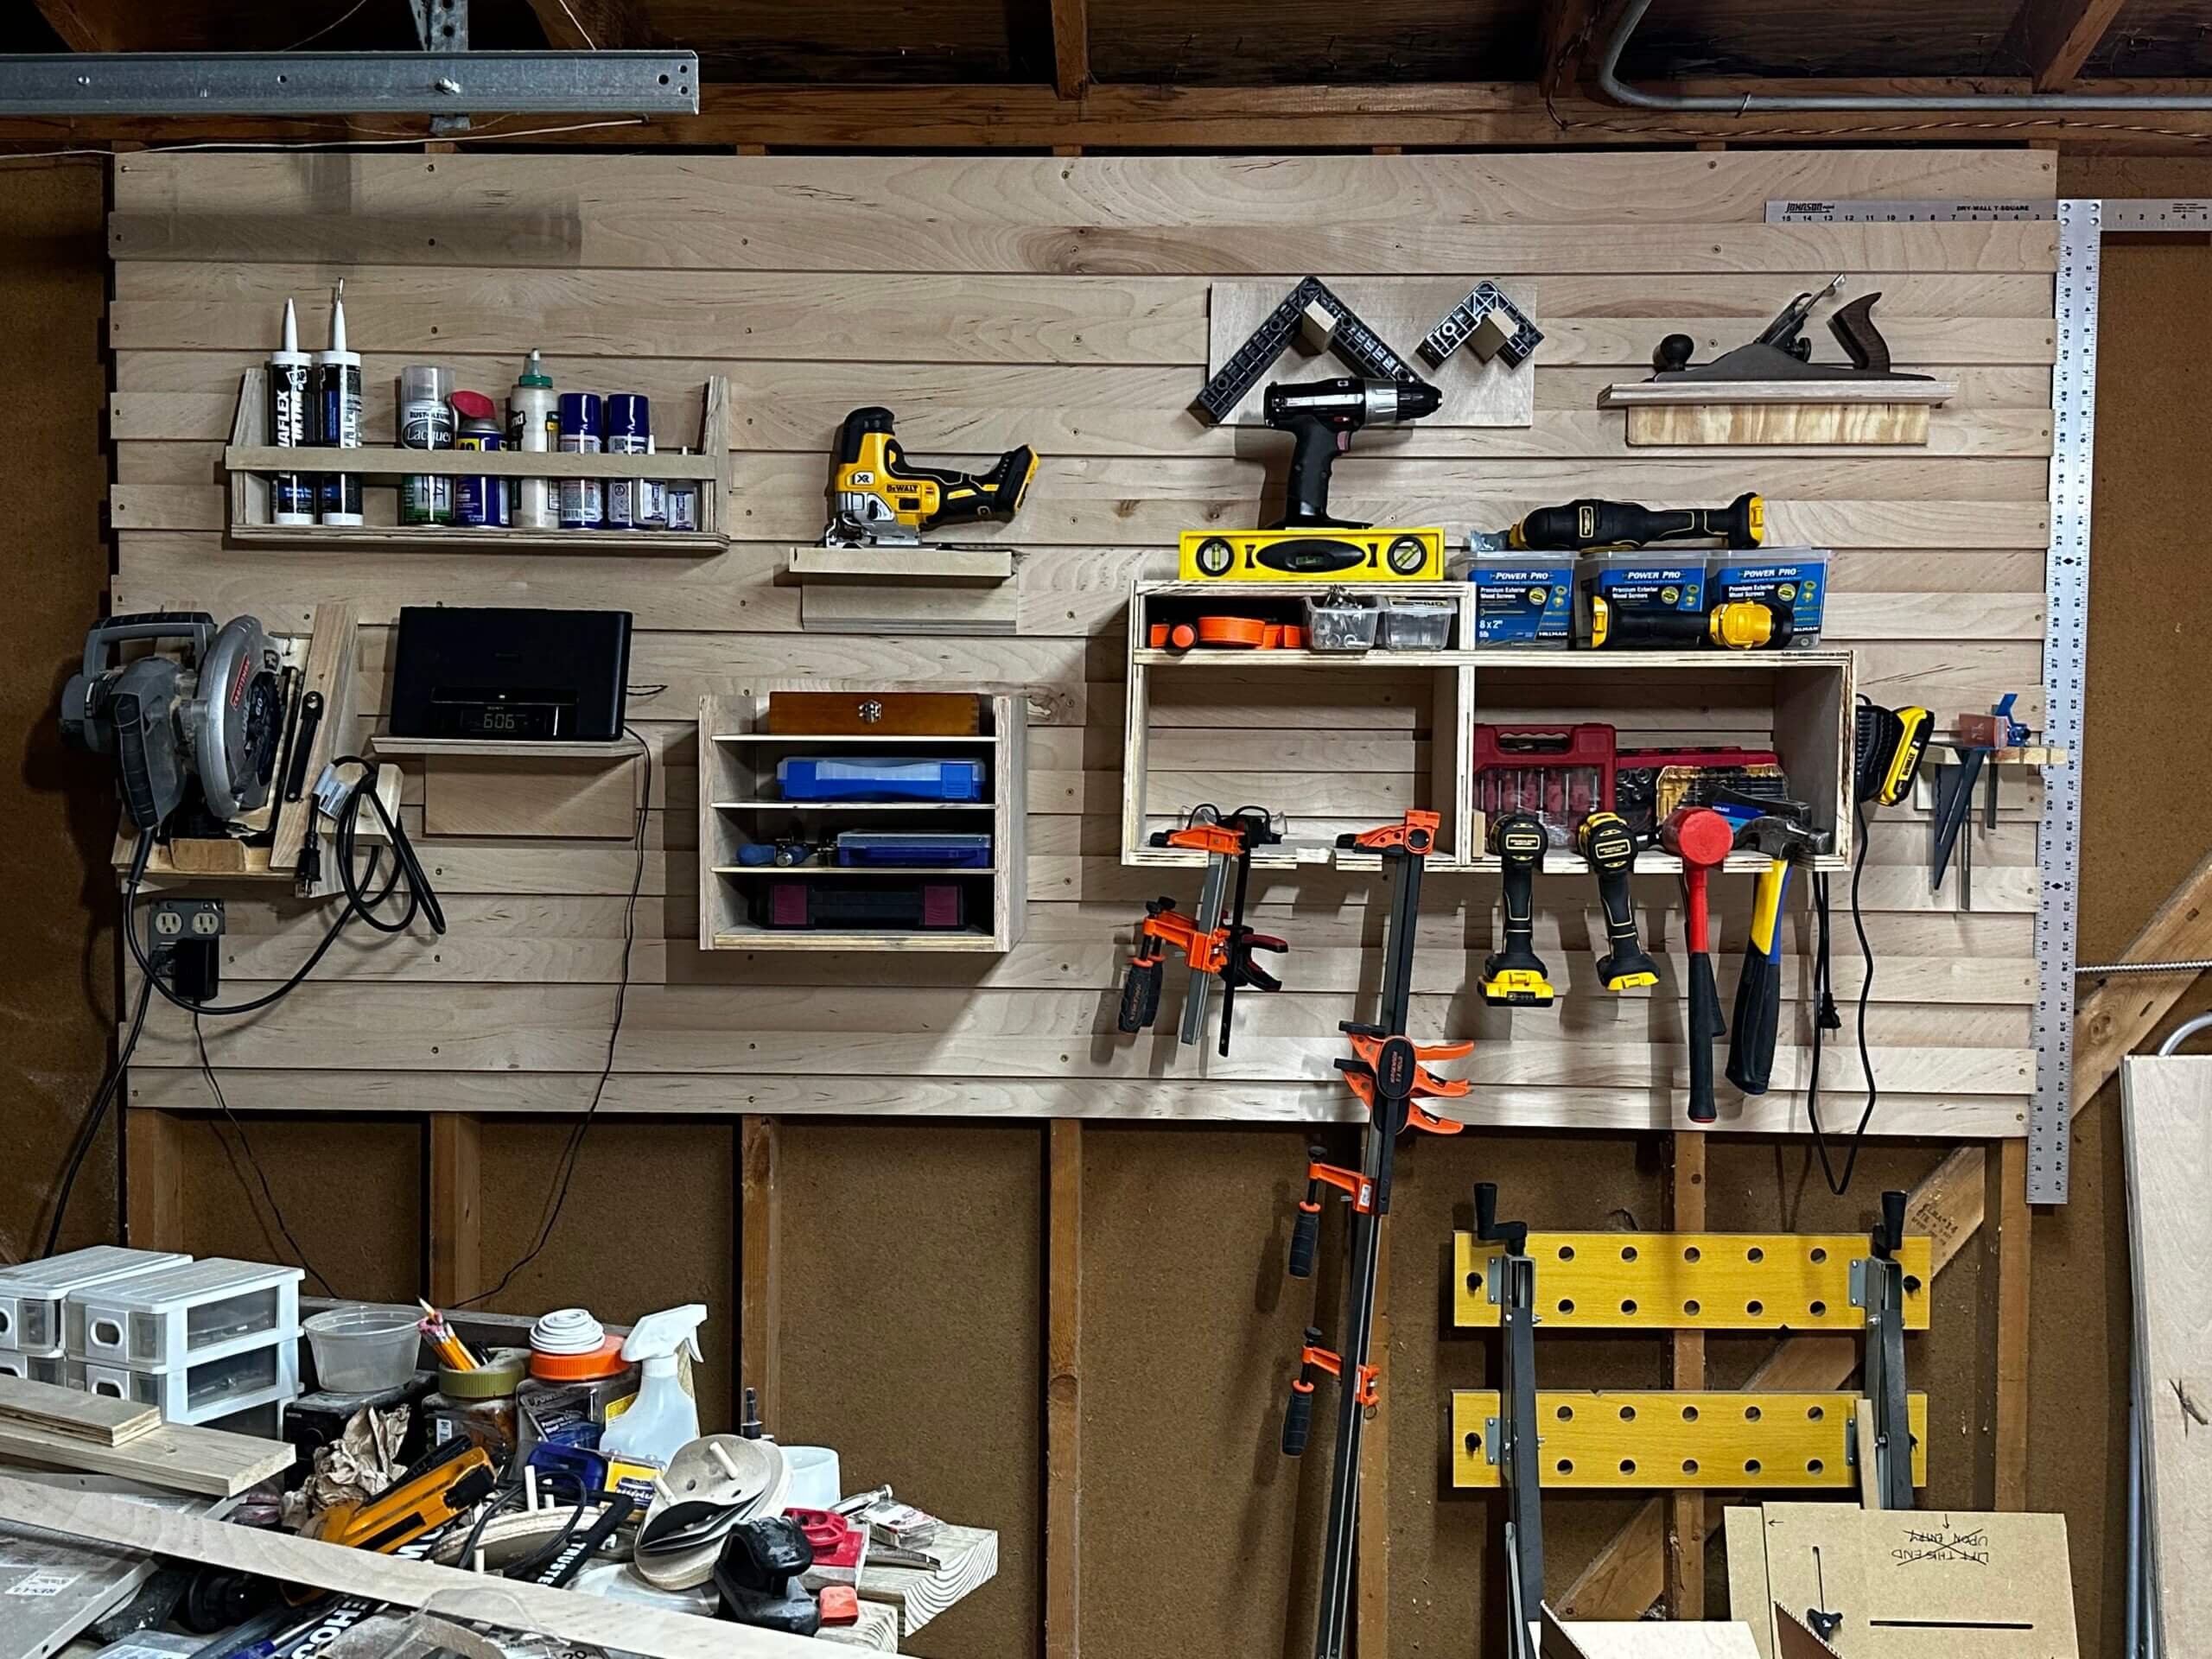
Upgrading from a peg board to this french cleat wall is a game changer. There’s so much flexibility, components can be made with scrap wood instead of having to buy metal hangers. They’re also a lot stronger and looks good too.

What is a french cleat?

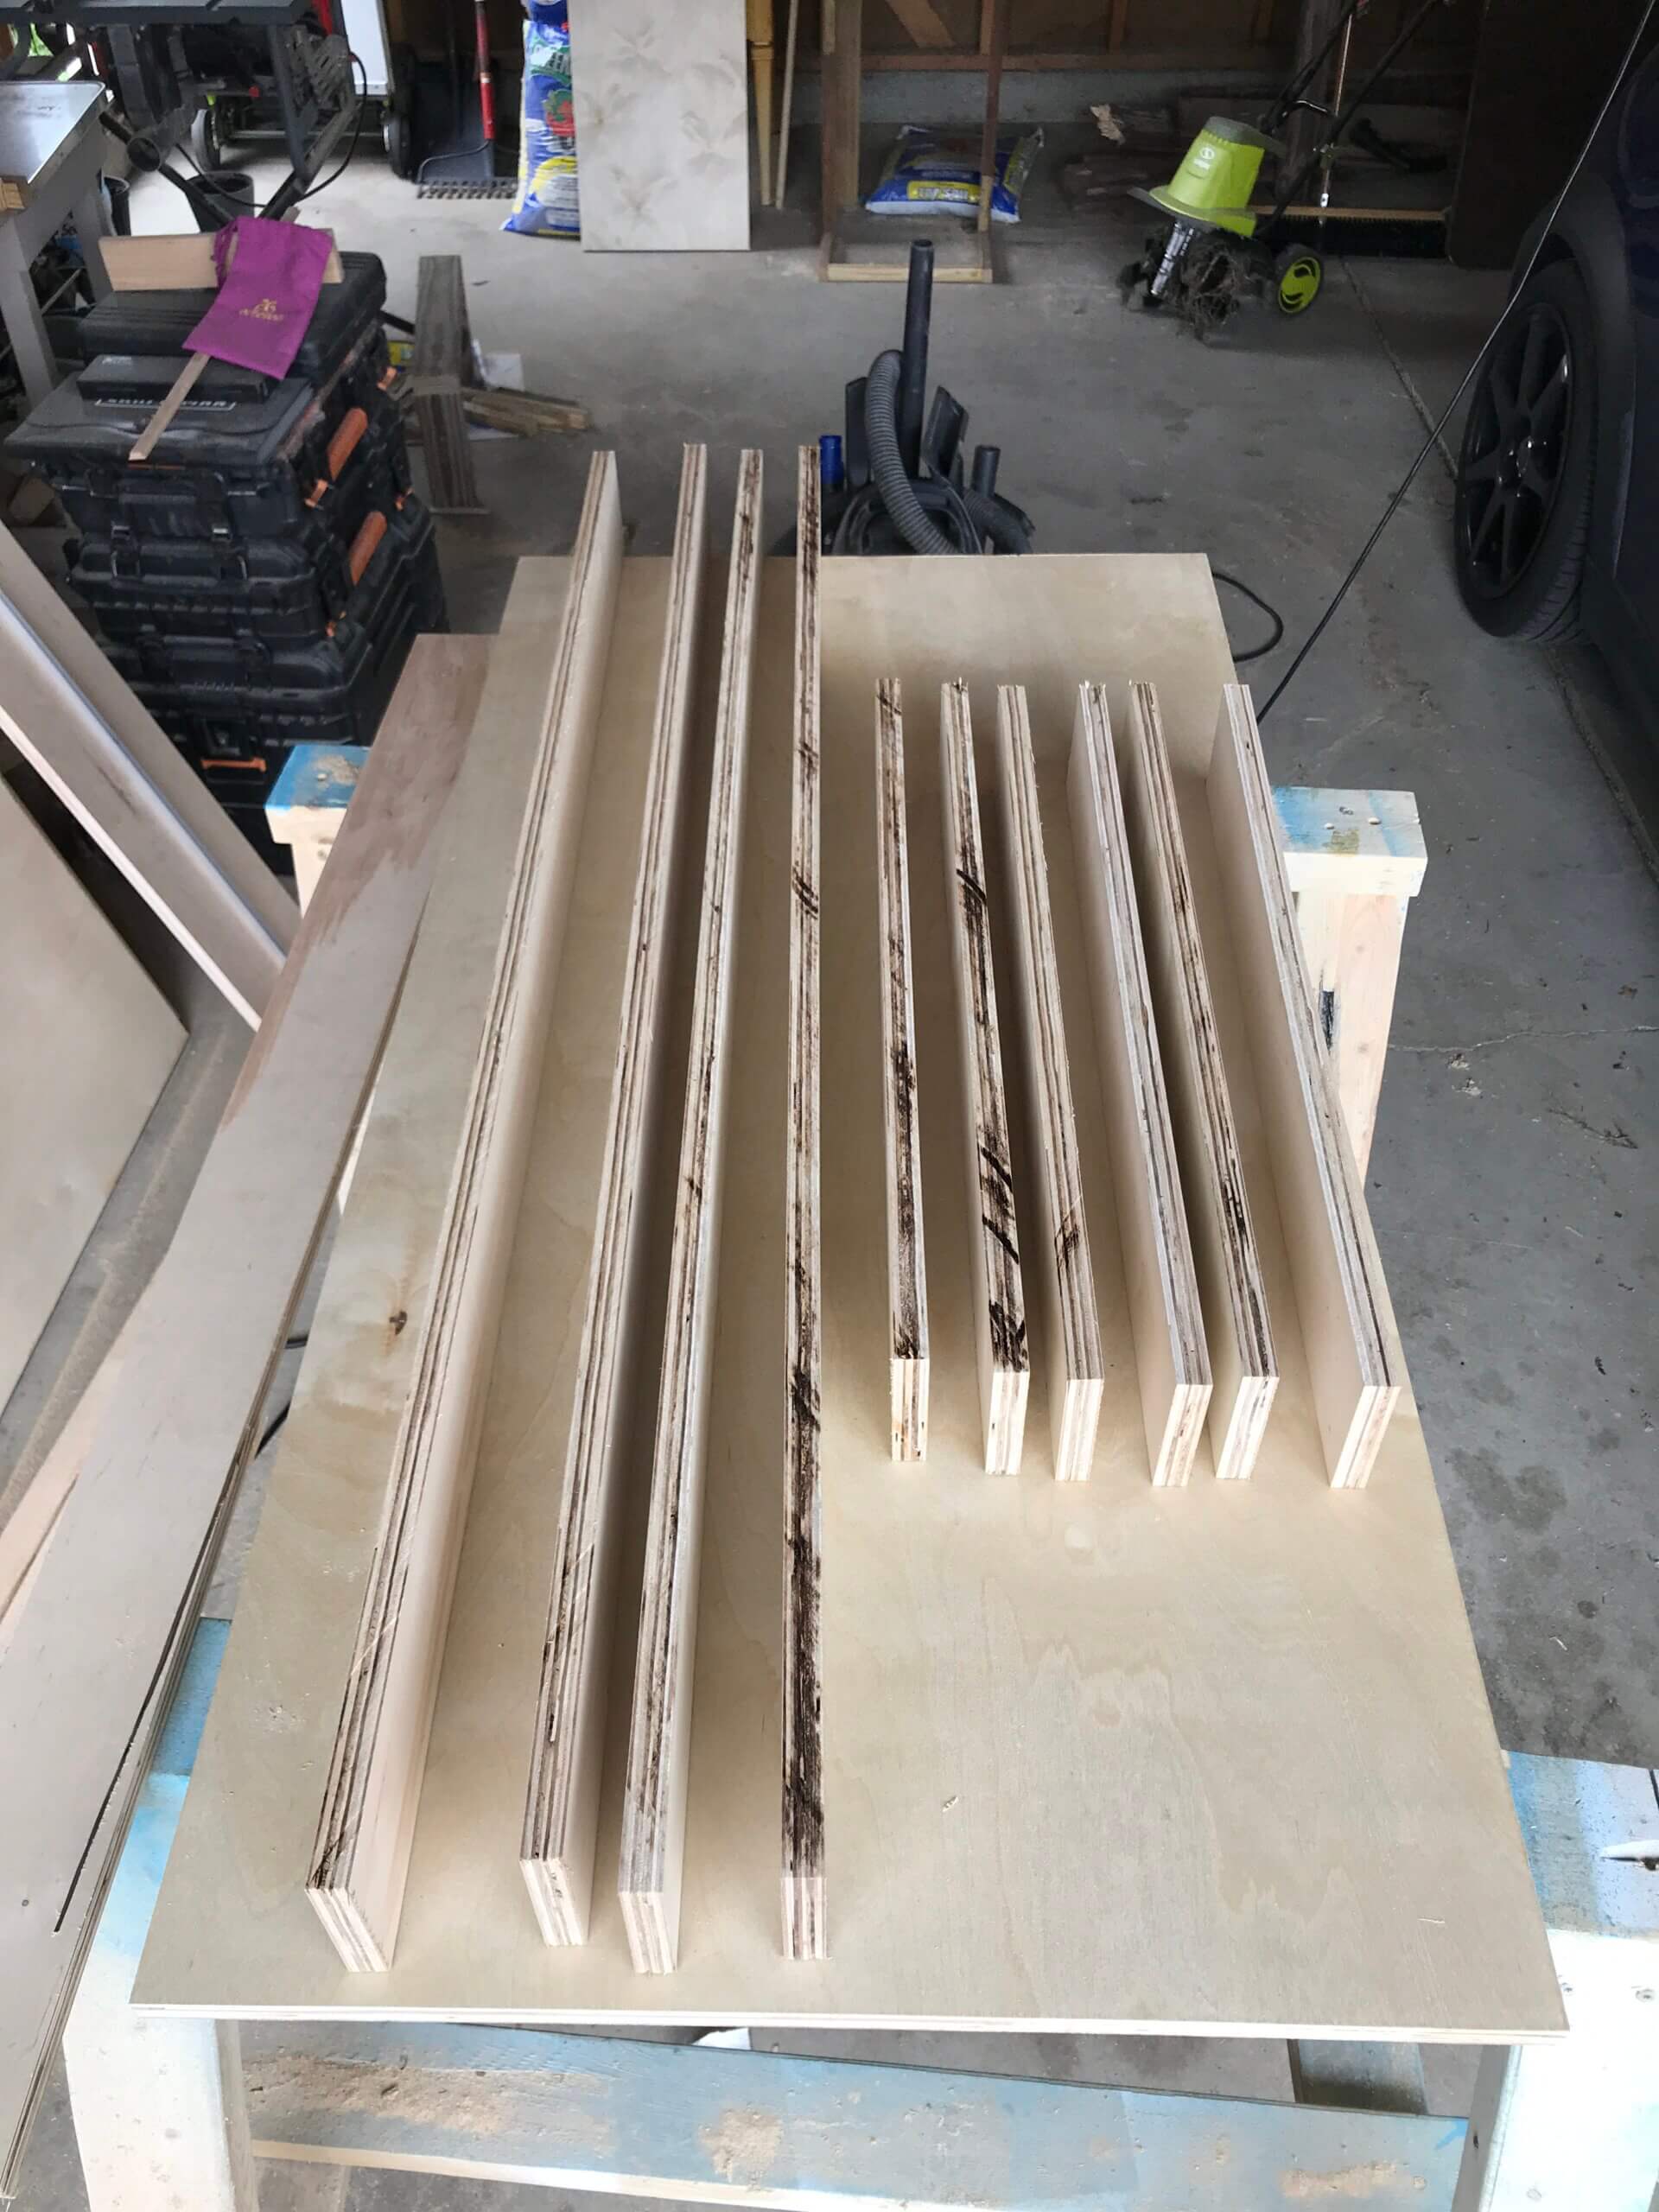
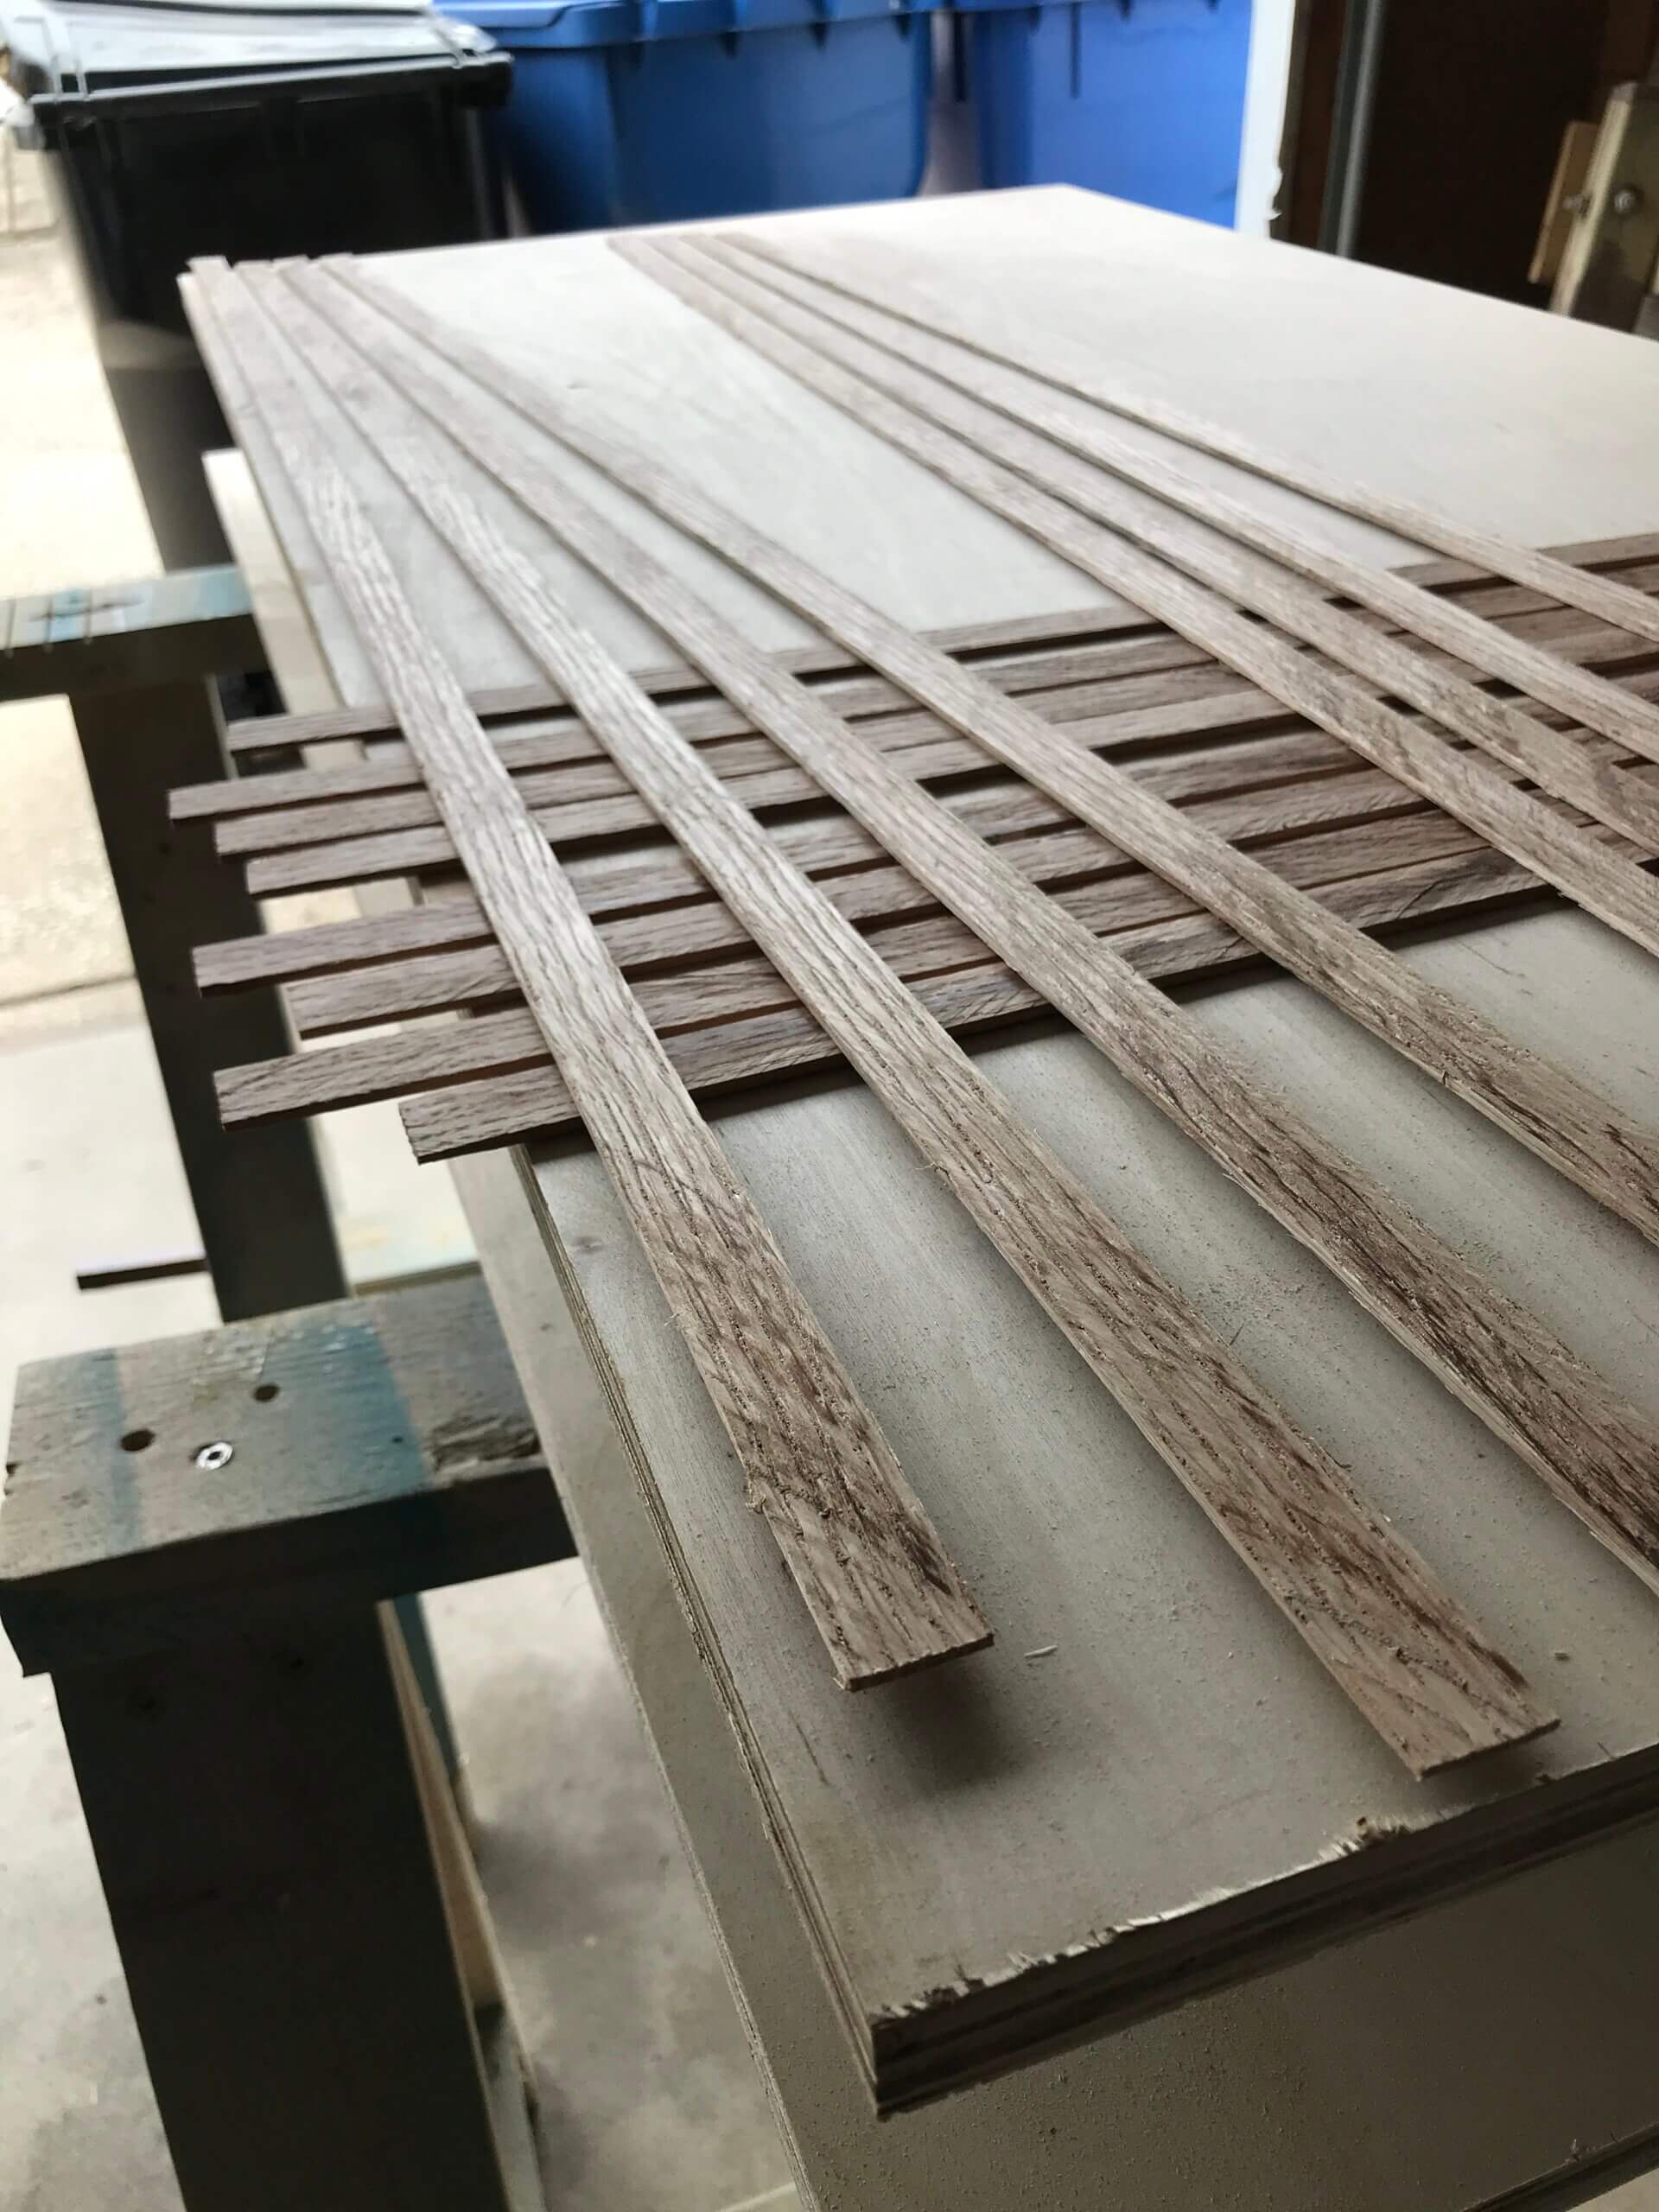
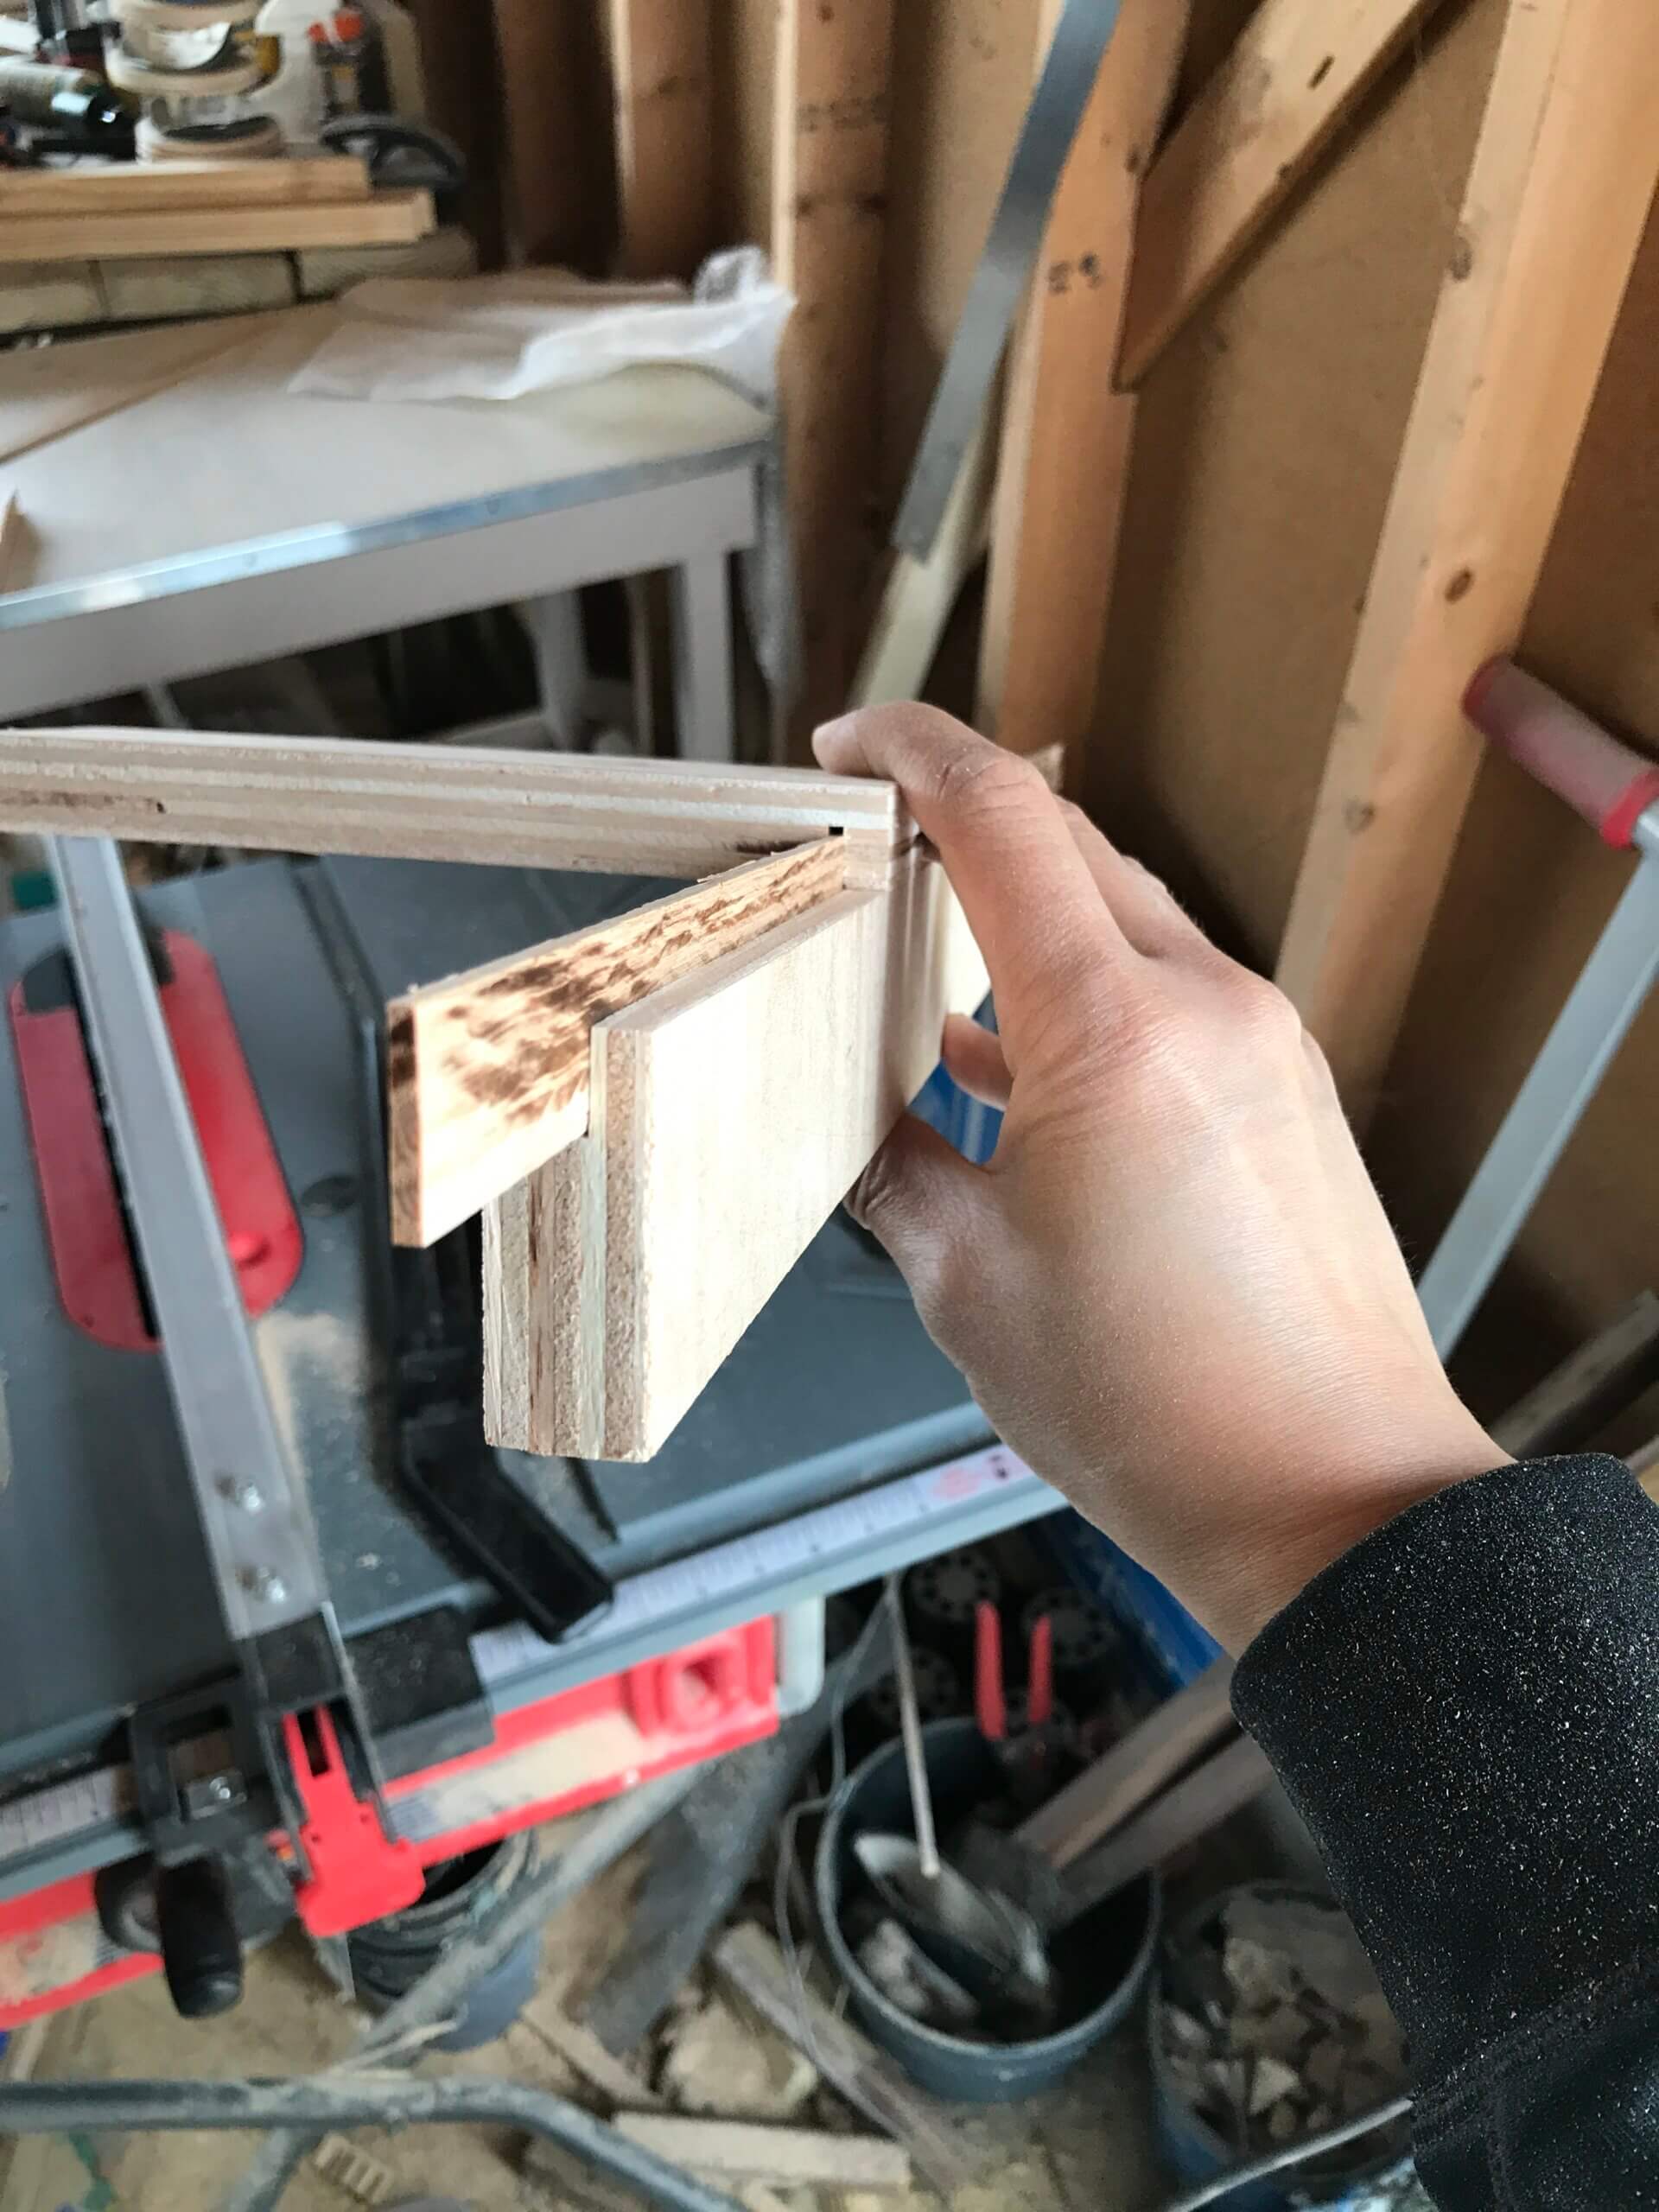
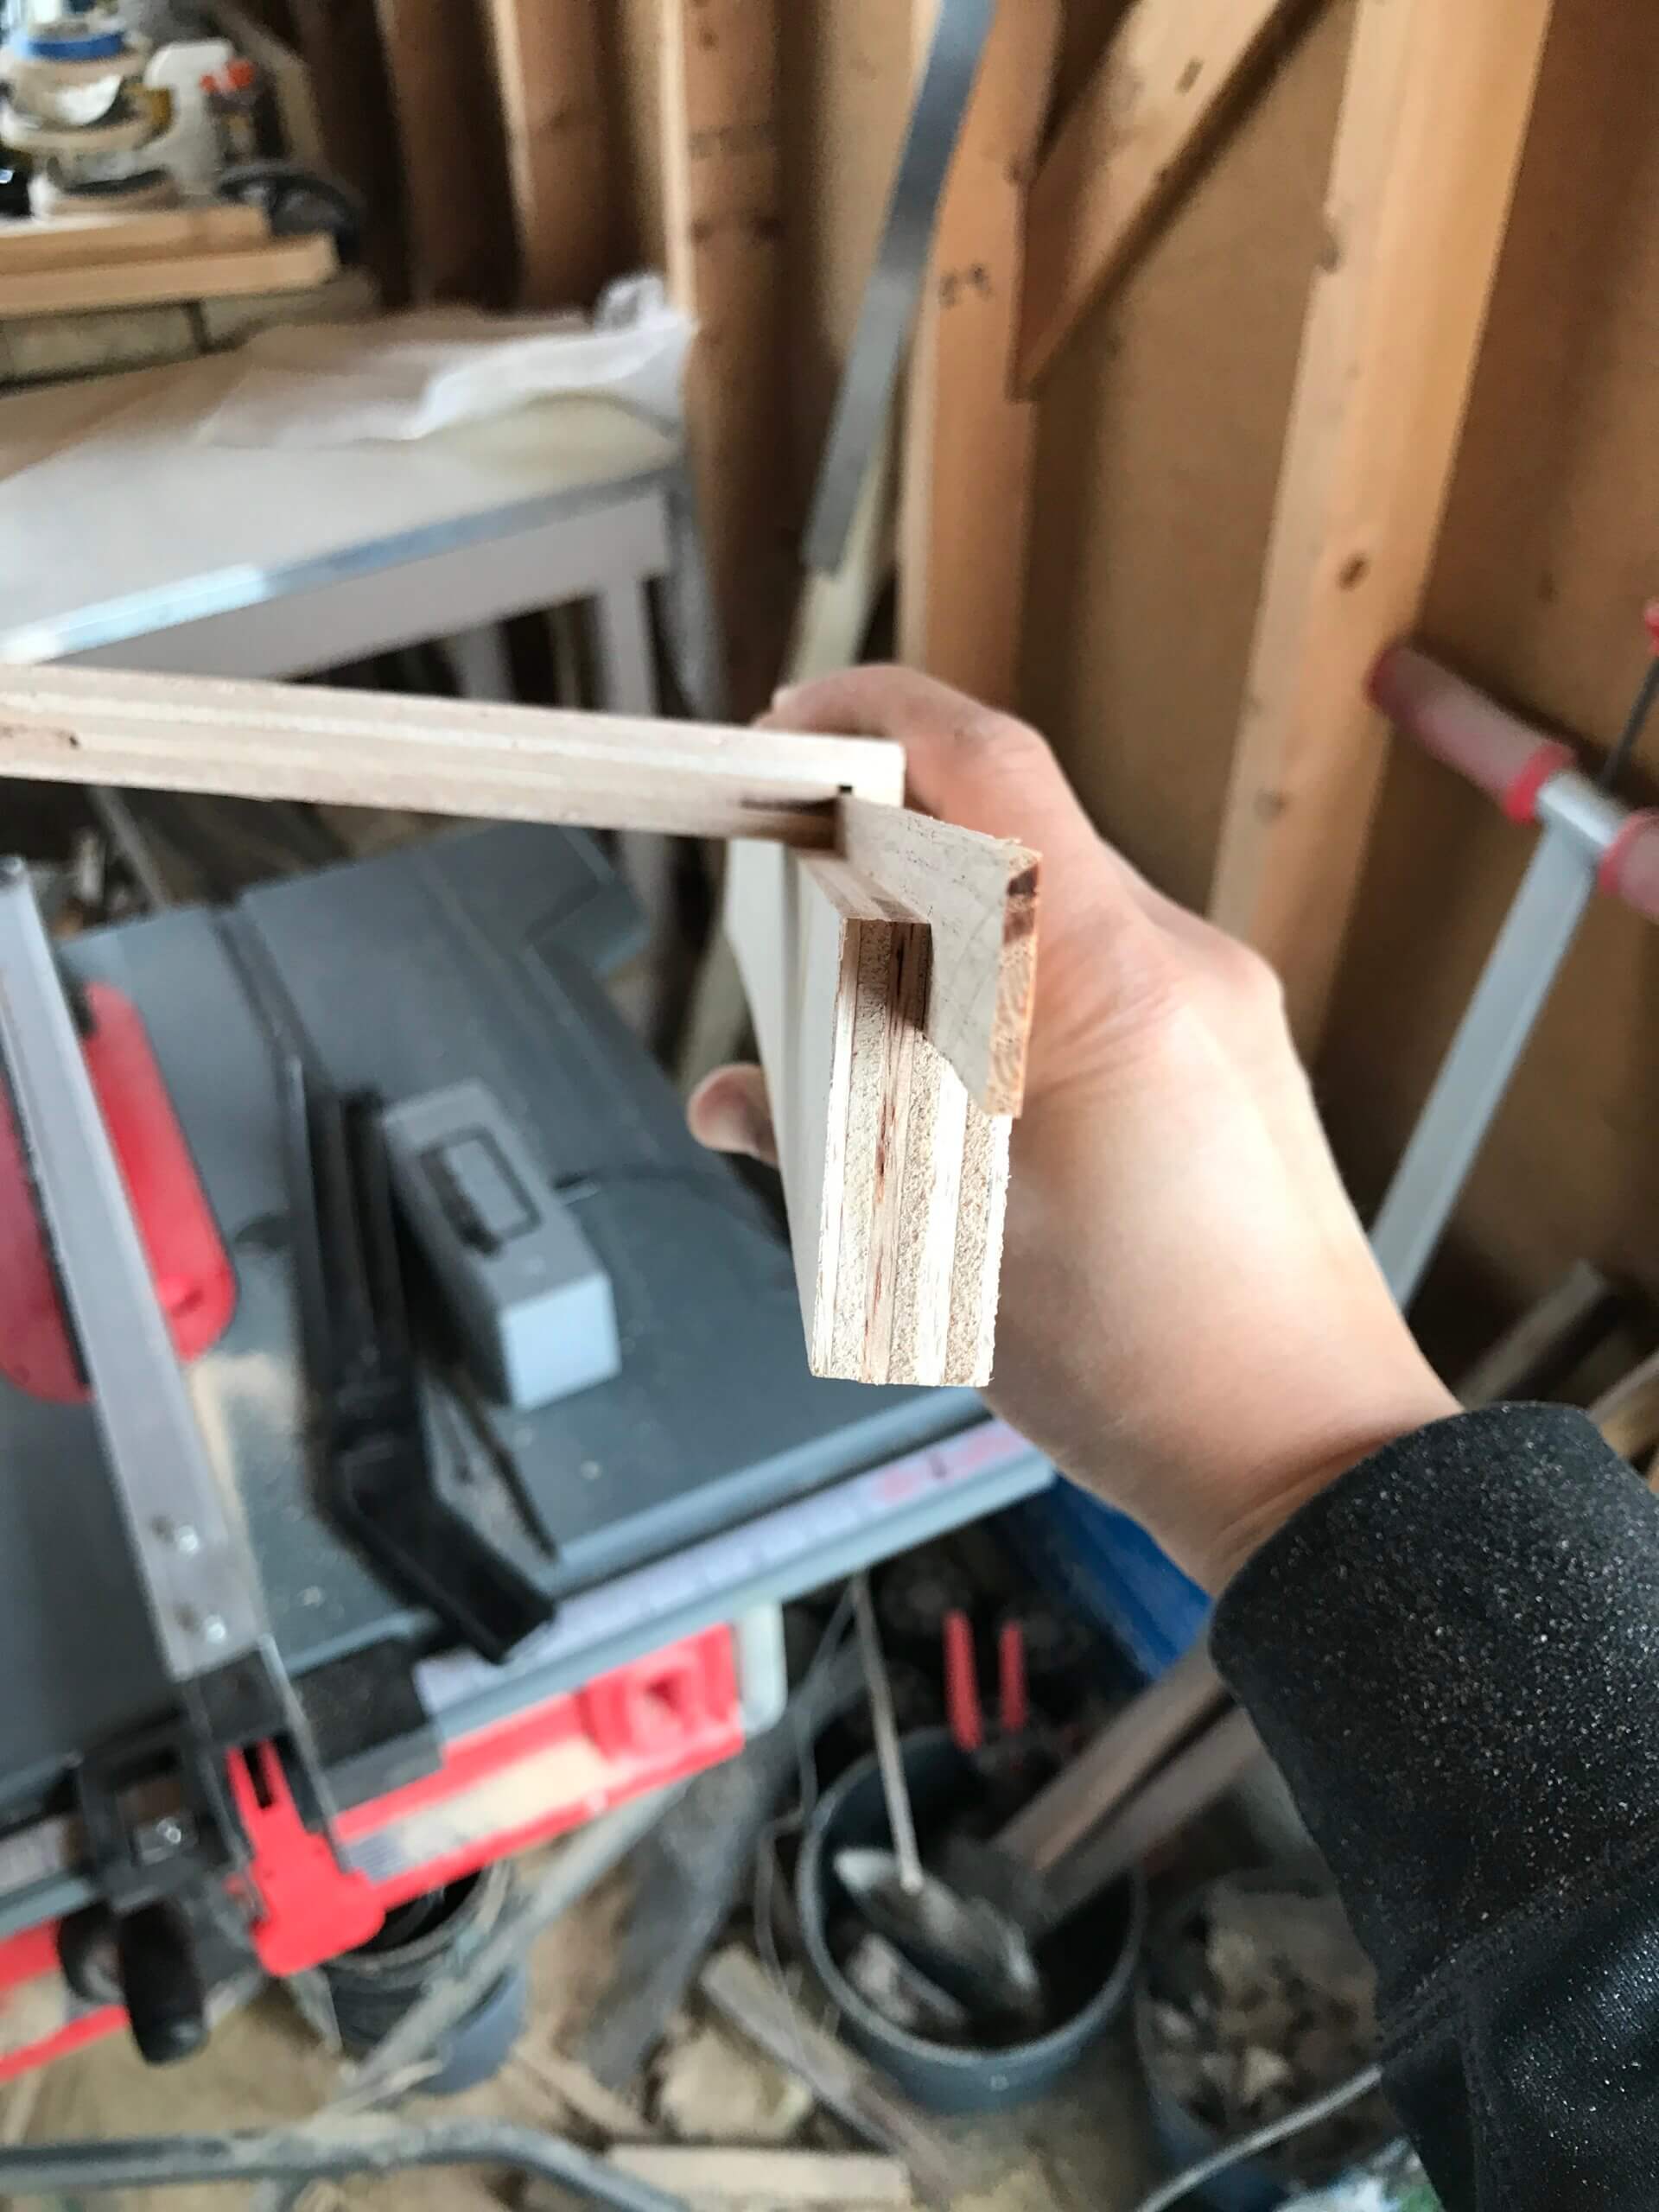
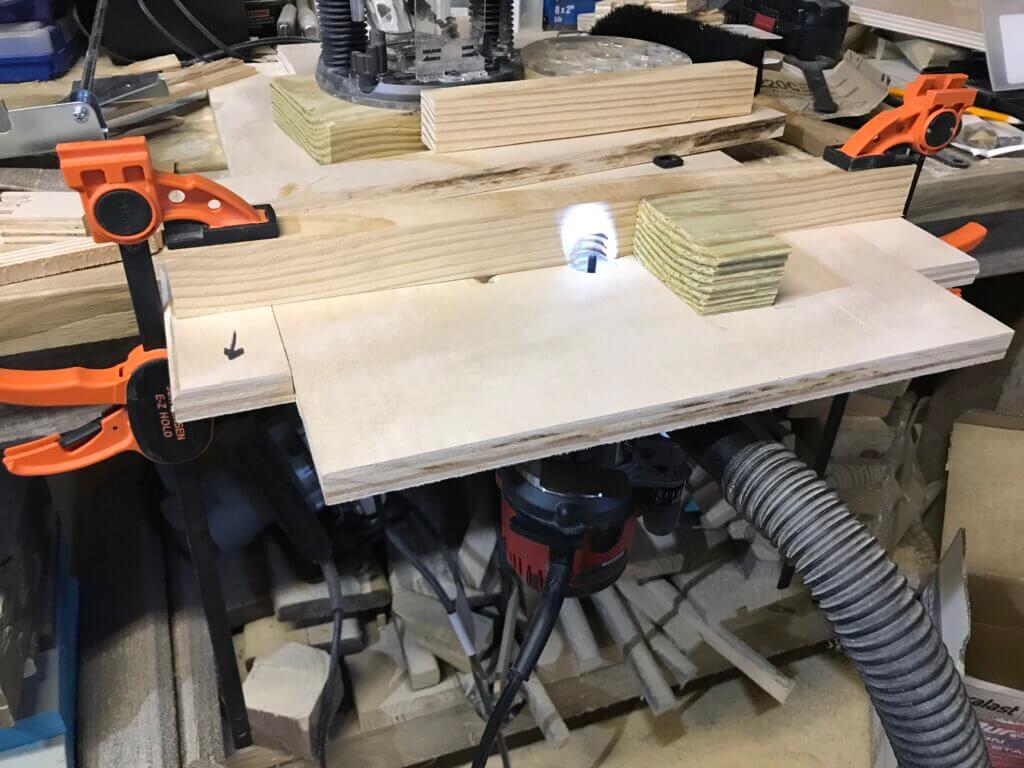
If you’re a beginner like me and you don’t know what a french cleat is, lemme google that for you. A french cleat is basically a piece of wood or anything that is mounted on the wall that can hold another piece. Usually the part that goes on the wall has a 45 degree angle that another piece can be mounted on. That other piece has an opposite angle and is attached to whatever you’re mounting on the wall.

Customization

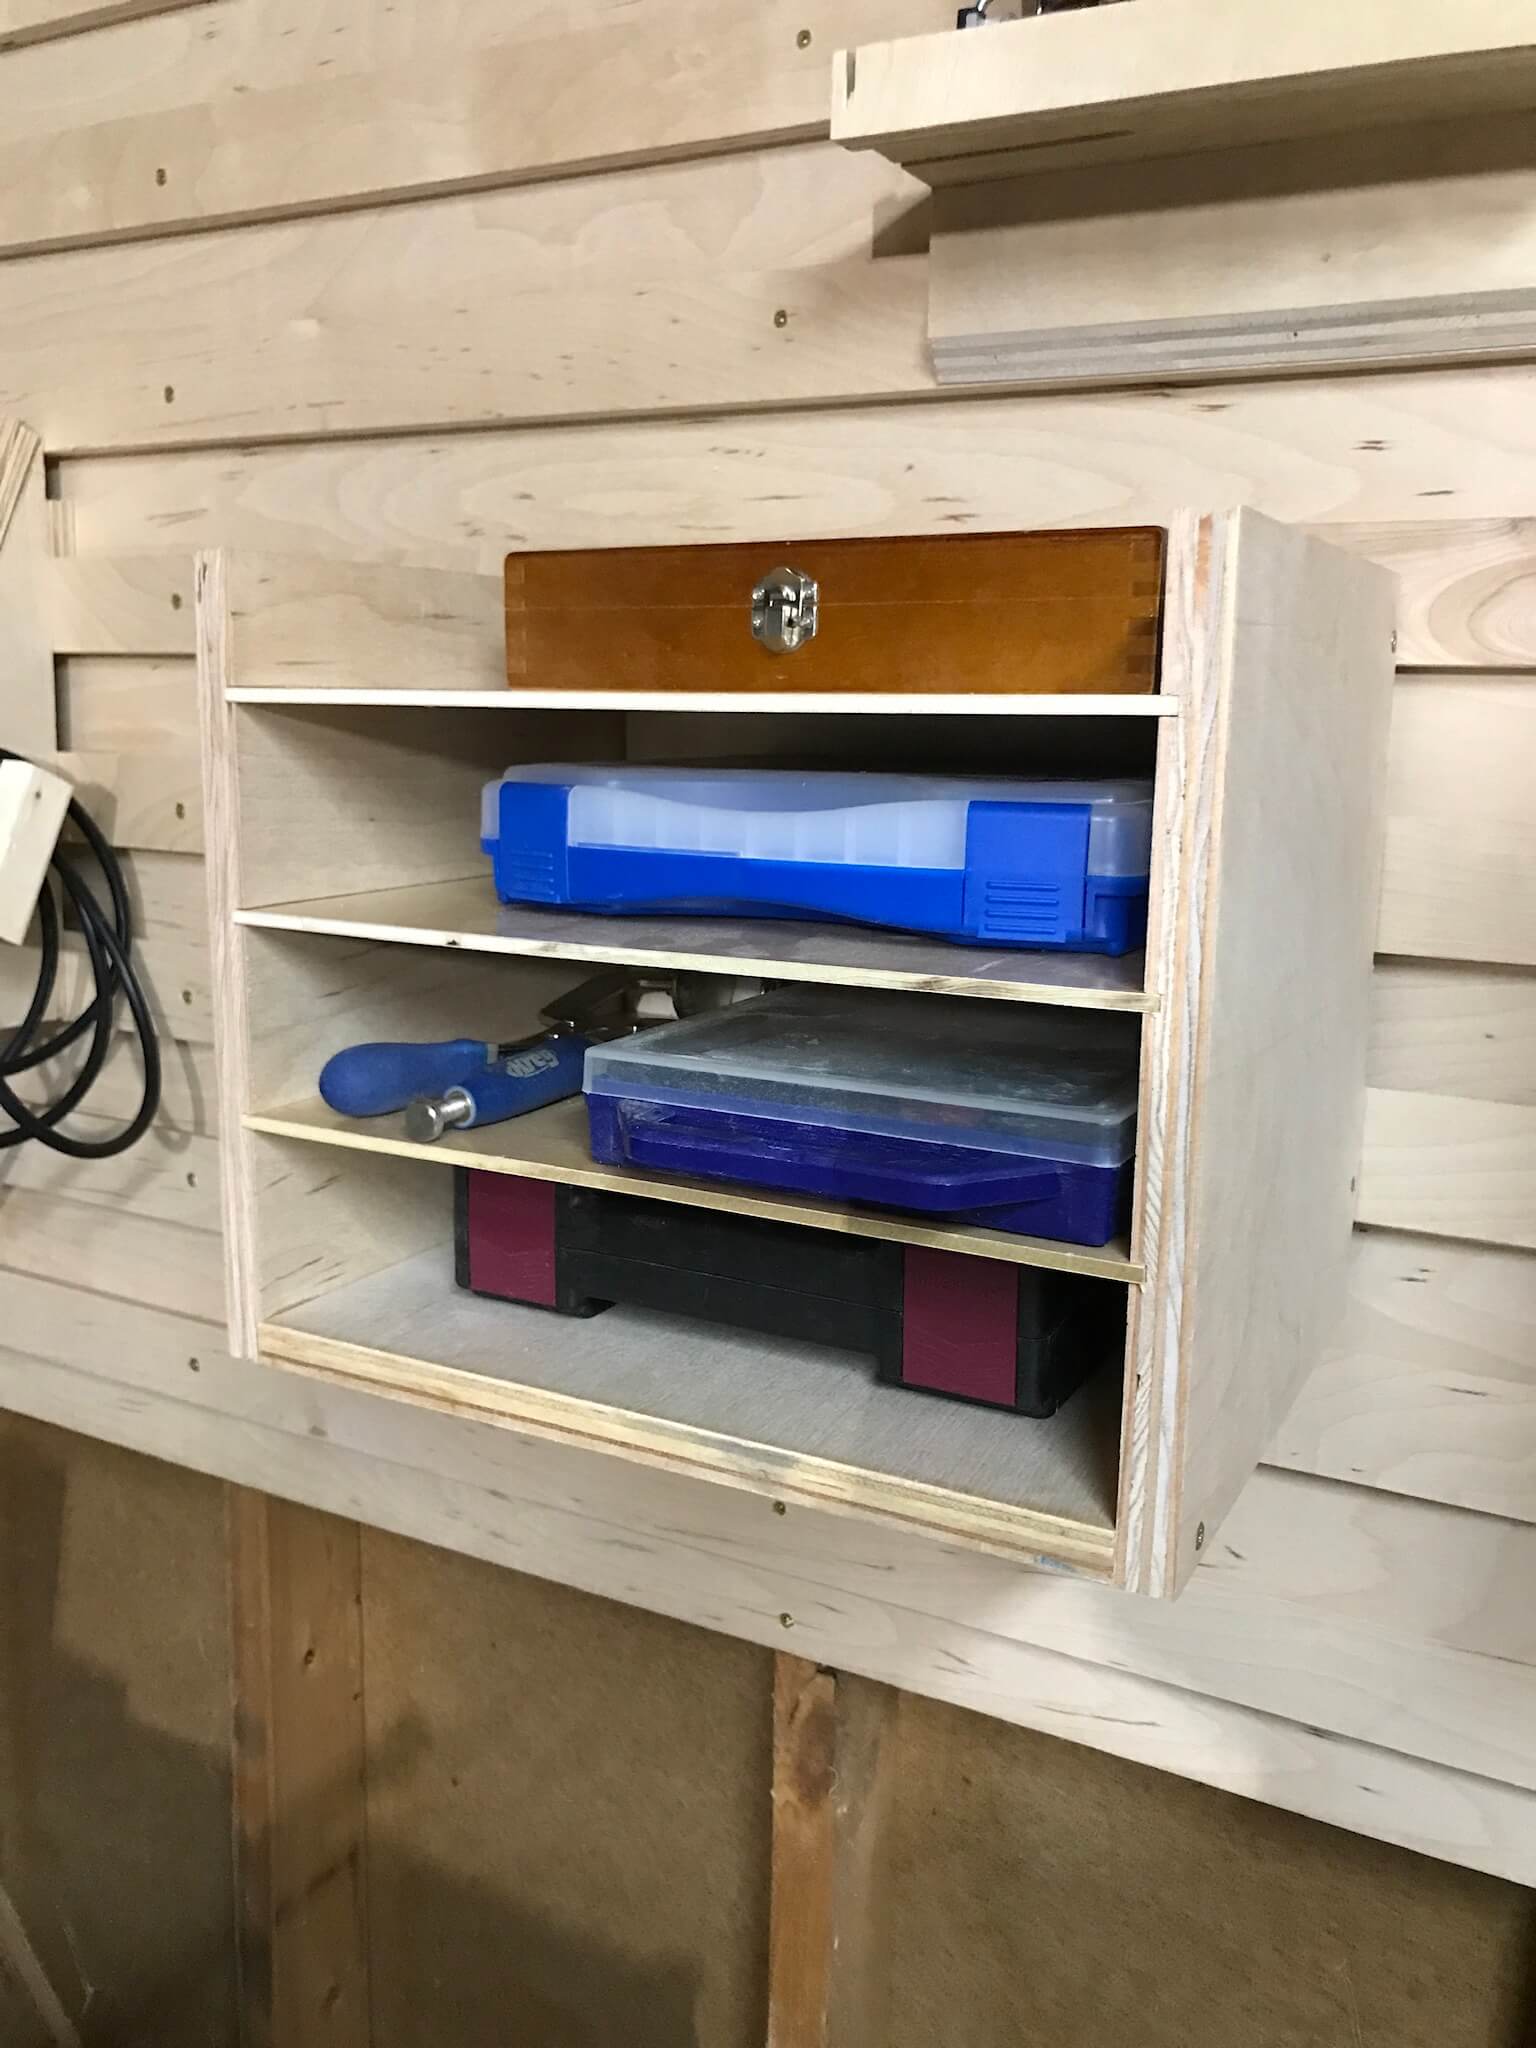
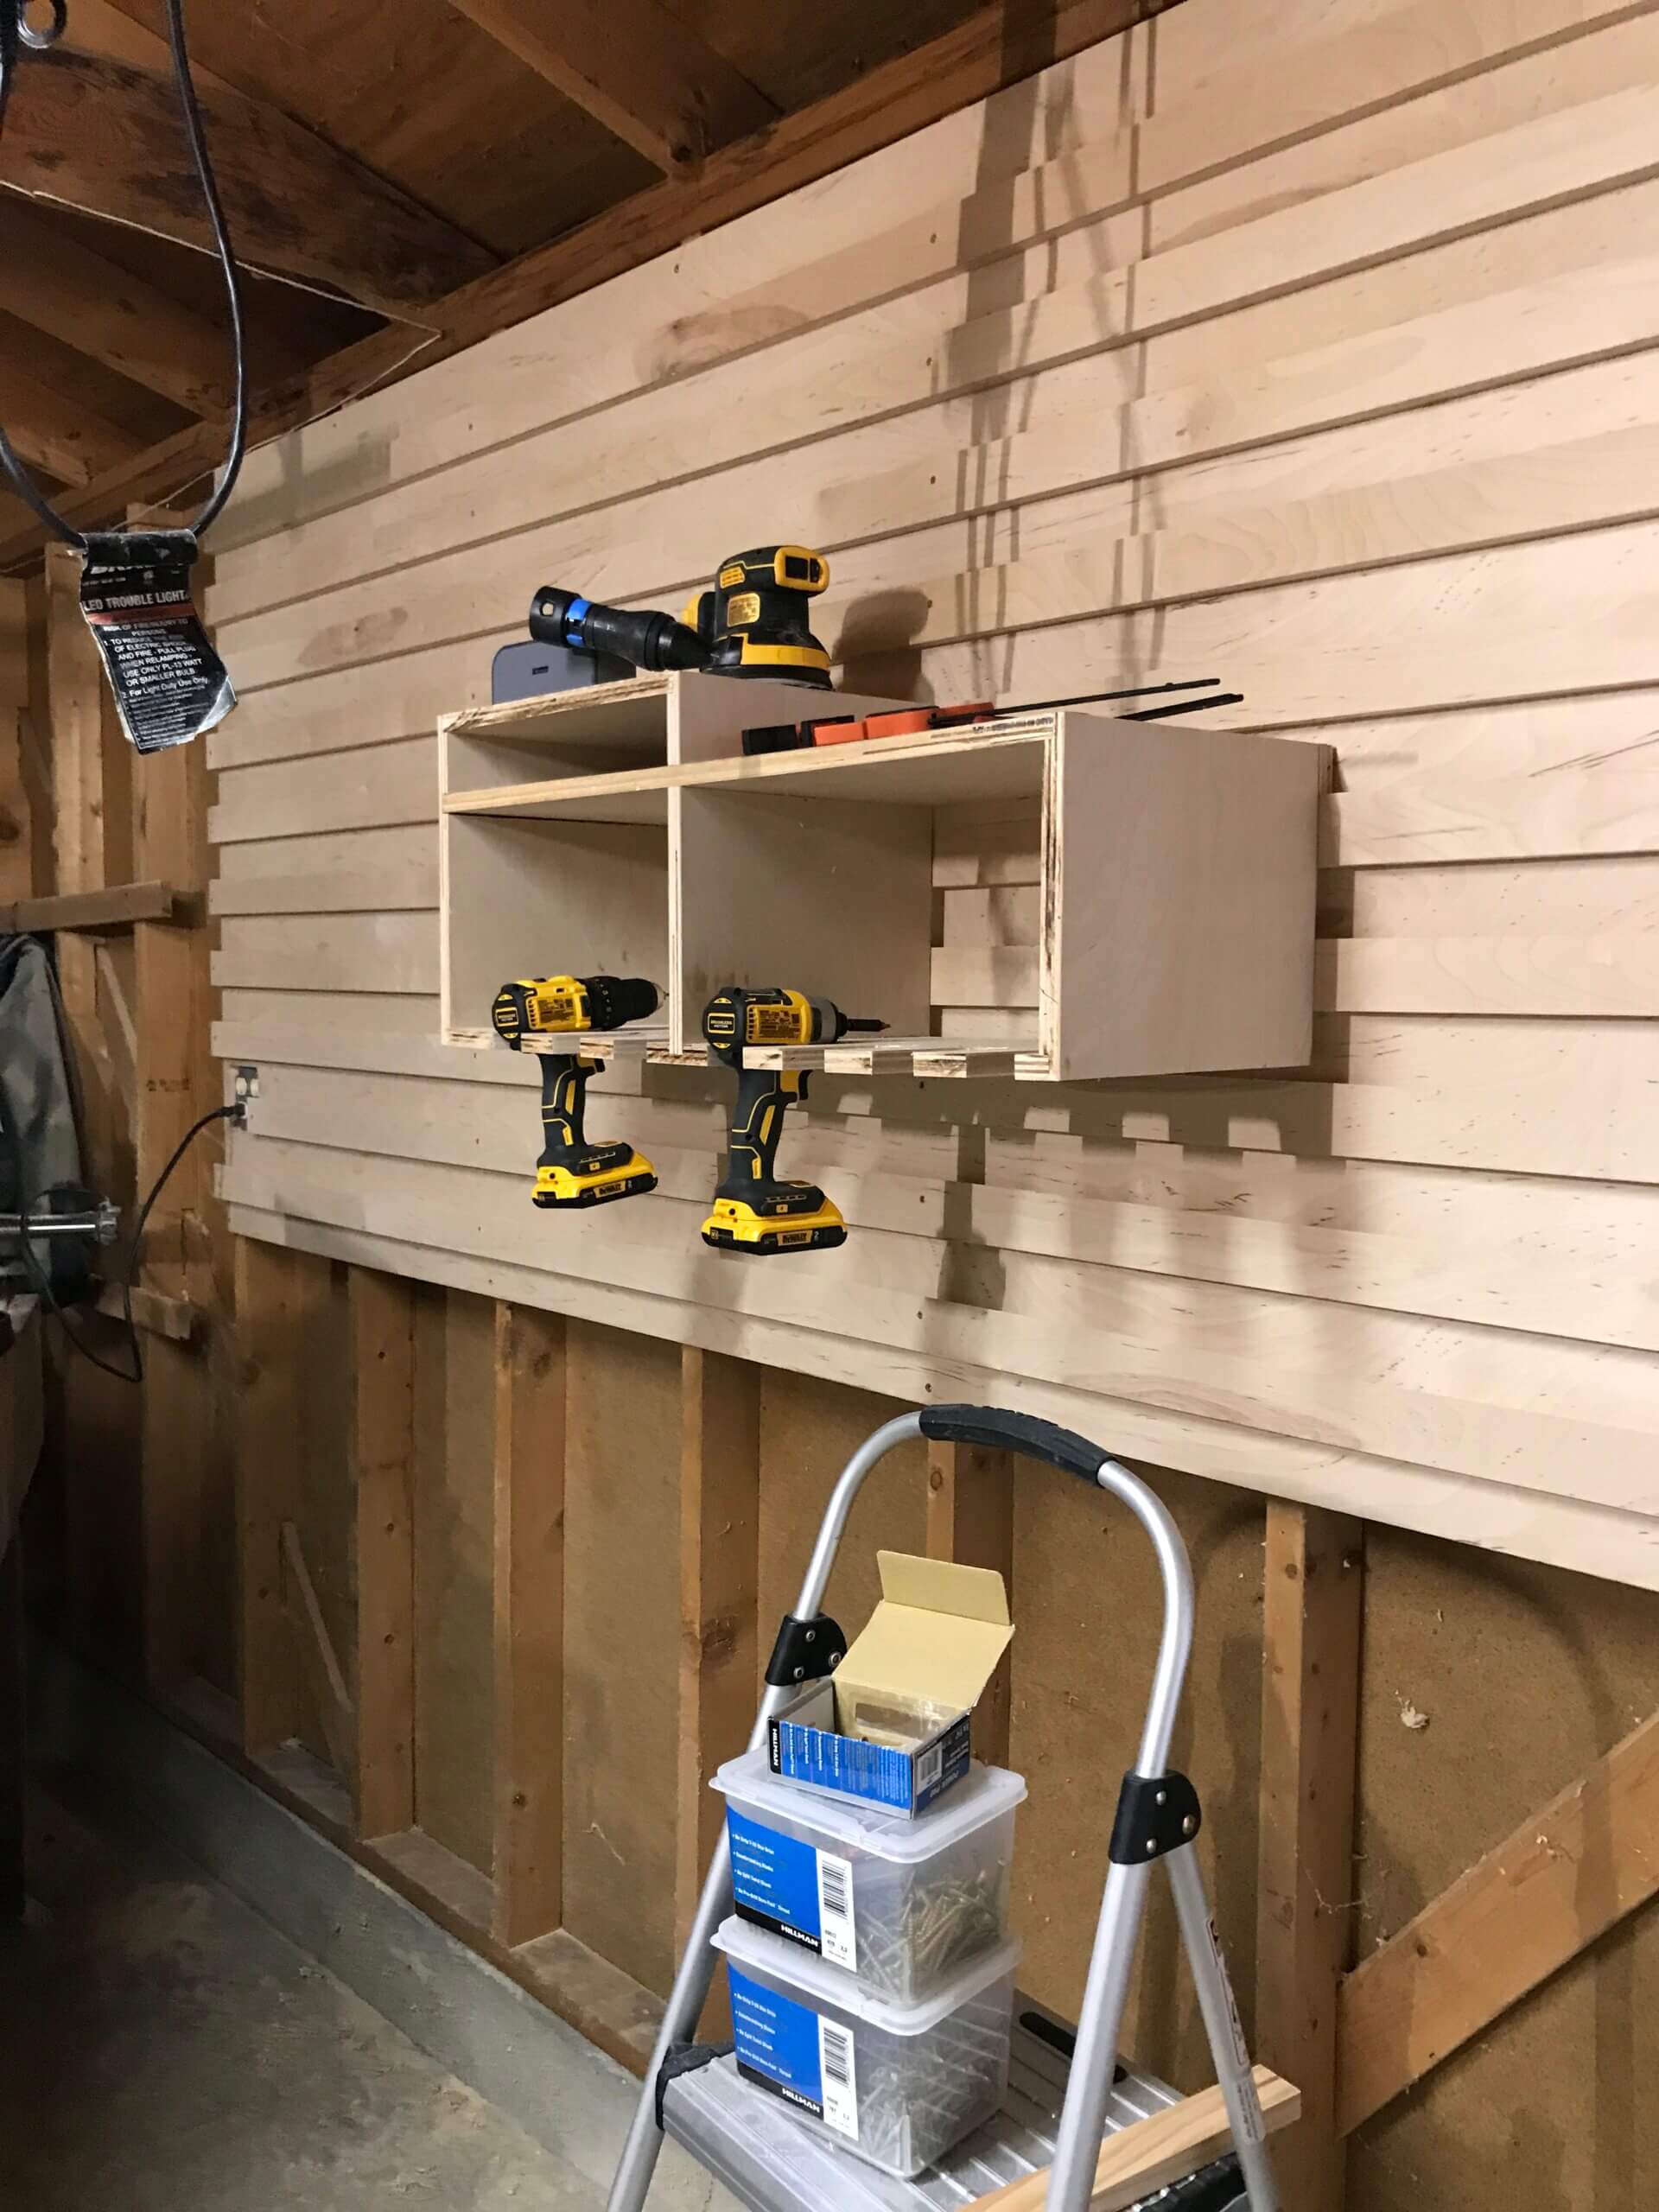
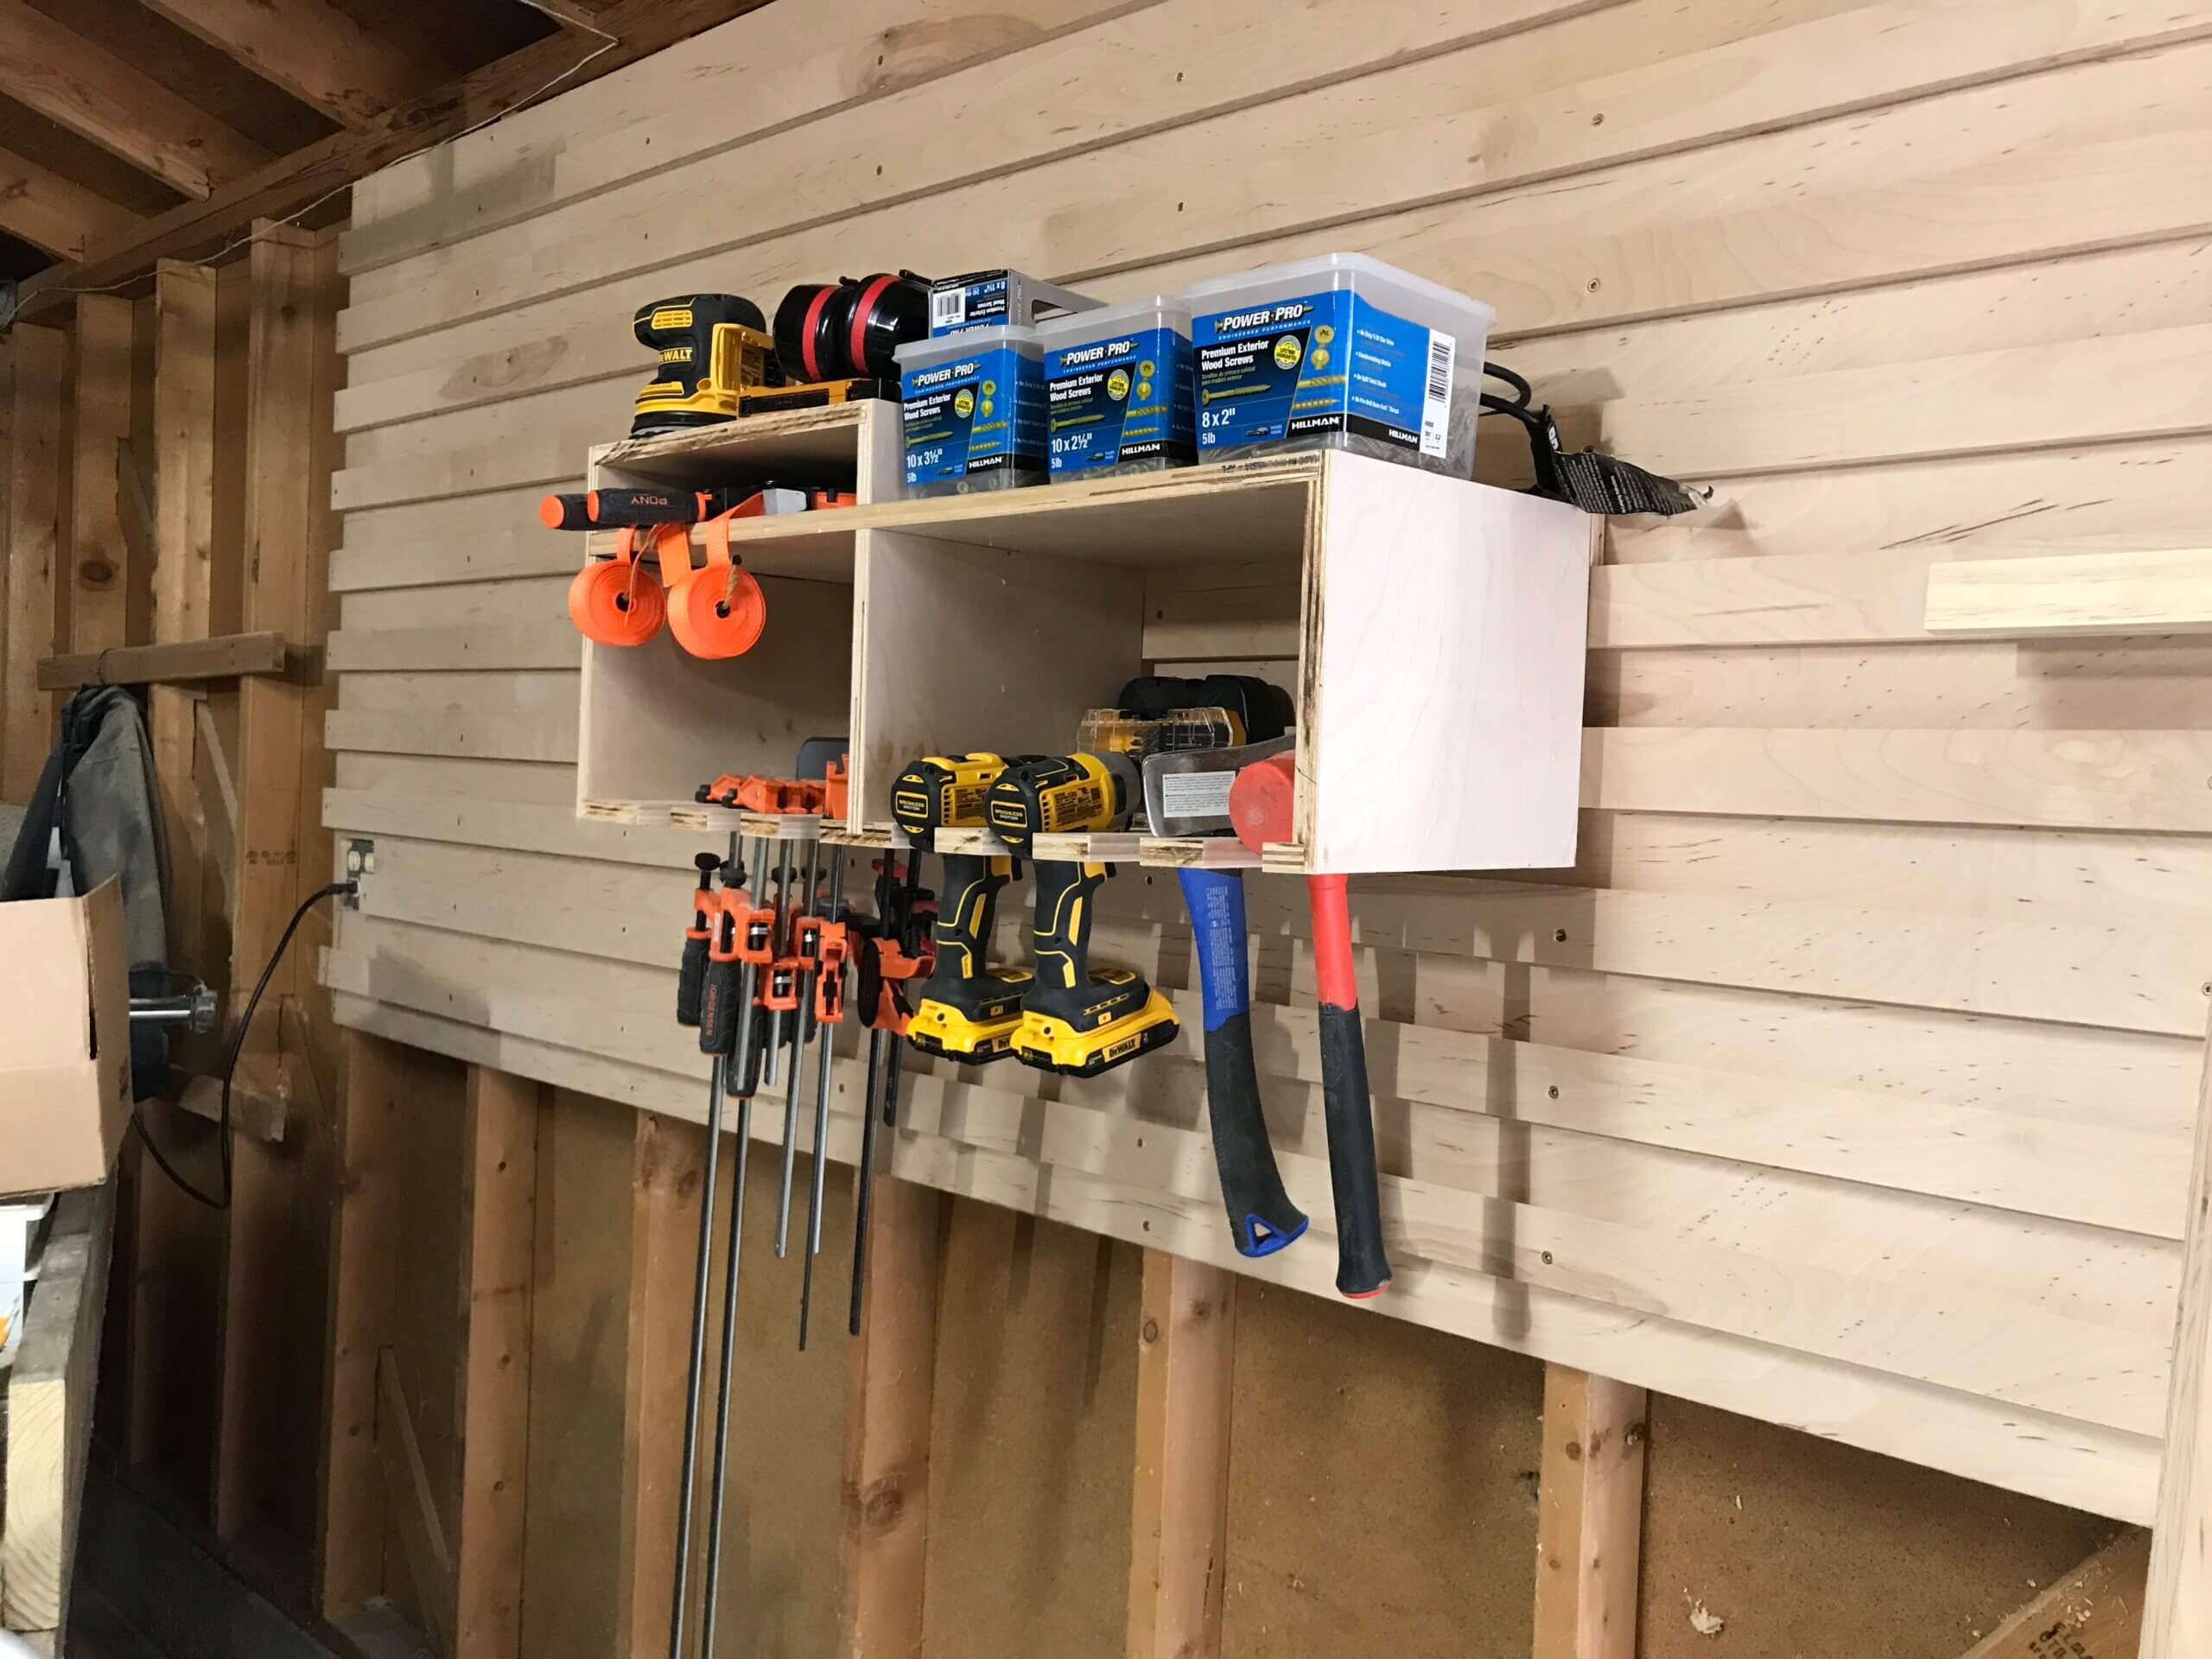
The first obvious advantage is being able to build a container or a holder that suits your specific needs. Whether you need space for your circular saw, clamps, various boxes of screws, you can have it. The only limitation here is your imagination. These things can even vary in weights, just look at how much stuff I was able to put on my first multi-tool organizer.

Ease of use

I love that I can now move anything around as I please. If I need to move things based on my current project, I can do that. Likewise, should I find the need to move anything out of the way, I can easily do that too. For example, I built a holder for my squares, if I am away from the wall and I’m finding that I need to keep referencing a square, I can choose to remove the holder and bring that closer to my work area instead of constantly losing them.

Final thoughts

Overall, I’m surprised at how easy this is to build using only one and a half sheets of plywood. I should’ve done this as my first project. If you are just starting out, I would suggest tackling this one early to get a jump on organization before your space gets out of hand like mine did.

Here’s a secret: I really want to get into building mid-century style furniture and one thing I’ve noticed is the tapered cut in a lot of furniture made in this style so I want to learn how to make that cut.


I did not intend to make this jig now, but I went into a rabbit hole of shopping for random crap on Amazon, so here we are.


I used some left over 1/2″ mdf just so there’s not too much height for the table saw top and also, to make sure that the bolts would reach. Those knobs came with the bolts and washers so I didn’t have to look for them separately. The hold downs also came with their own bolts made for t-tracks but they happen to fit in the same notches so that simplified things a bit.

On my “router table” that I made after I got my Skil router, I cut these notches using the same size bit as the bolts I’m using for the locking knobs. Then, I used another bit that’s the same size as the heads of those bolts so that it can sit flush underneath. If I remember correctly, they were 1/4″ and 1/2″ respectively.


Using it is super simple – just measure the length of the taper and line it up to the edge where the blade will go, lock down the fence and lock down the material with the hold down and glide it across the blade. File this under “I should have done this a long time ago”.

I made a waste and recycling bin cabinet for the kitchen to keep the mess out of sight and also have a larger bin for recycling. Our old recycling bin next to our tash was a small 10 gallon bin that needed to be emptied every two days. The 13 gallons is definitely a needed upgrade. (ignore the tater tot in the photo)

Experience in building

The “butcher block” top was made with two 12″ pine stair treads that were edge glued to make the full 24″ depth and then I added another 2″ pine at the back for a total of about 26 inches. I’ve always thought about this method and I was finally able to put it into practice. This way, I saved $300 by not buying a real butcher block.

The drawer slides were concealed under-mount slides that had a little bit of a learning curve but once I understood it, they really were easier than conventional slides. All the you tubers are right, I can’t go back to regular slides now.

I could have just bought a table that looks similar to this, I know this design is pretty common, but this secret compartment will make it easy to hide those pesky wires, it has space for two long surge protectors and the 14″ deep twin drawers on the front makes it easy to keep the area clear of clutter.

All my pieces cut

Using my saw guide that I made last summer, I cut all my pieces. I had the lumber shop rip 4’x8′ plywood into 2’x4′ which is the final size of the table I’m building here so that saved me some time.

Trying out splines

I was fighting through a lot of mental blocks while working on this project and the thought of having to hand drill dowel holes just made me so lazy that I decided to try something new that won’t take too much time. My journey through this hobby is driven by learning by doing so I pushed through and it seemed to pay off. During my dry fit, one of the splines were so tight that it won’t come off anymore and that gave me confidence that it will hold once I add glue.

I love when good fitting cross halving joints come together.

I have more respect for those who make furniture for a living. While I am happy with the end result, it is not an easy job. This is my first time attempting an indoor furniture. I was sick and tired of looking at the cords on and around my desk so I decided I was going to do something about it. Naturally, I went with a whole desk build with soft close drawers and large cord compartments.

I wanted to share how I made a really simple router table. I love my Skil router and have been looking for more reasons to use it on all my projects. I started out using my Skil router to round out edges, all the while knowing that I can use it for something more. It’s like being Clark Kent and having to hide its powers from the world but when paired with a red cape, Clark Kent can use all of his powers to their full potential. The router table is the router’s red cape.

A router is a handy part of any woodworker’s arsenal of tools and not just for rounding out sharp edges. When attached to a router table, a router is able to do much more and makes the tool a lot more accurate. Having a table for your router will allow to bring the material to the spinning bit, not the other way around. This is a lot safer, for one, and the cuts will be easier to keep straight. Having a dedicated table will allow for more jigs for the future too! I might even start making box joints before fall season is over. Let get at it, hero!

The surface

  1. Choose a good surface material.
    Find a medium size birch plywood or whatever you have on hand and mark one side that will be used as the surface of the table portion. Make absolutely sure that the edges are 100% square.
  2. Mark the holes.
    Use the base plate as a guide template to mark where the center hole and the screws will go.
  1. Drill the screw holes.
    You will have to either get a longer set of screws that matches the thread and head size or just drill down just enough to account for the thickness of the surface.

    My surface happens to be 3/4″ thick so I used drill bits of different sizes. Drill the first hole and test that before creating the rest to ensure you have the correct alignment the first time. You just made a two-bit hole.
  1. Mount the new surface to a workbench or table.
    Using your favorite wood screws, you can mount the plywood onto any table or workhorse to stabilize it semi-permanently. This will be the location of the router table whenever it is being used. That is my workaround to avoid having to create table legs.
  1. Make the hole bigger.
    With the surface now secured, you can start mounting the router base (I’m trying so hard not to tell dirty puns to keep this a family friendly post). If you drilled a pilot hole for the router bit, you’re a step ahead.

    Pick a router bit that will enlarge the original hole. I chose the largest bit I own from my kit which was a round over bit and slowly opened up the hole to 1/2 inch by gradually raising the router through. Whew, we both made it to the end, now just the fence is next.

The fence

  1. Find a long piece to use as a fence.
    Hopefully, the edges are 100% squared as mentioned in previous steps, it will be crucial in this step.
  1. Make an H.
    Attach shorter pieces that will keep the fence centered on the surface. I used wood glue but you can use any method you’re comfortable with that will not mess up the squareness.