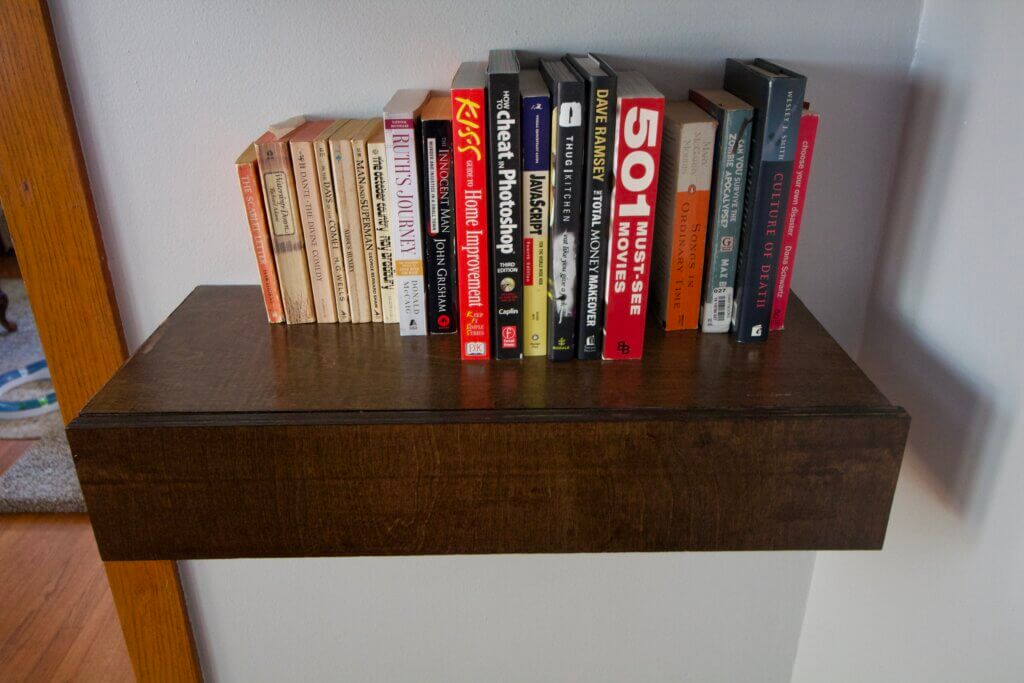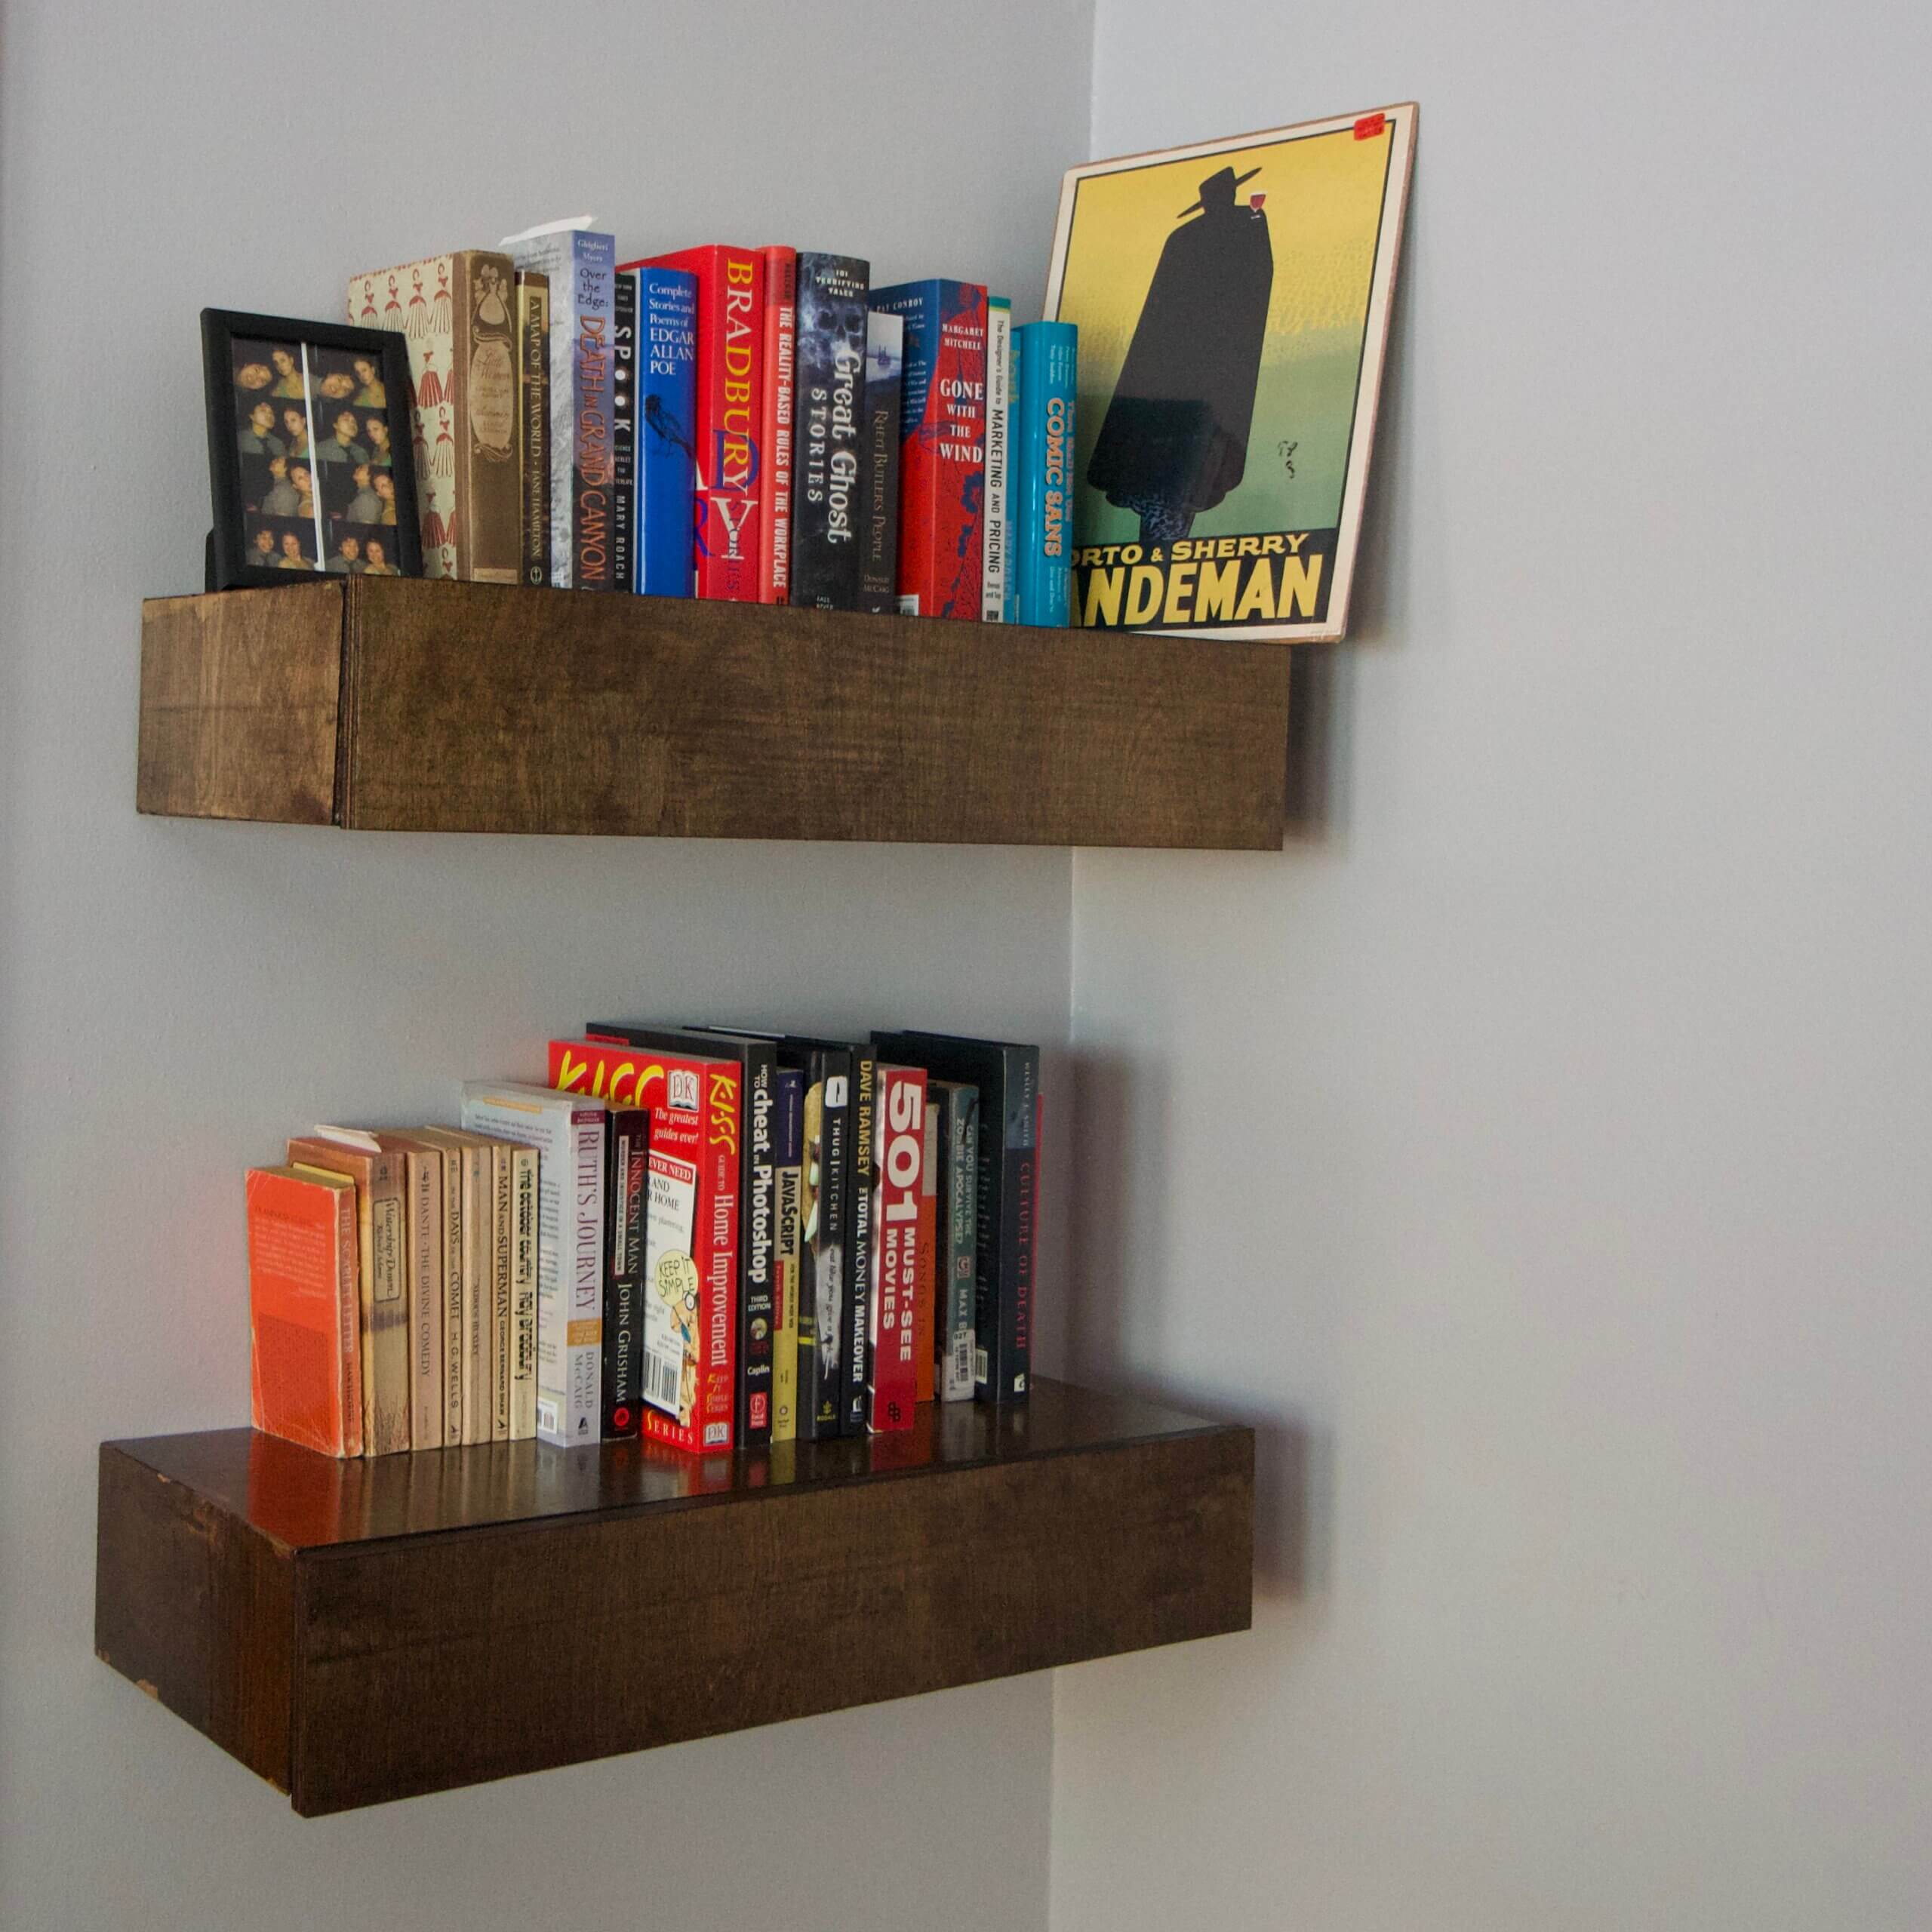
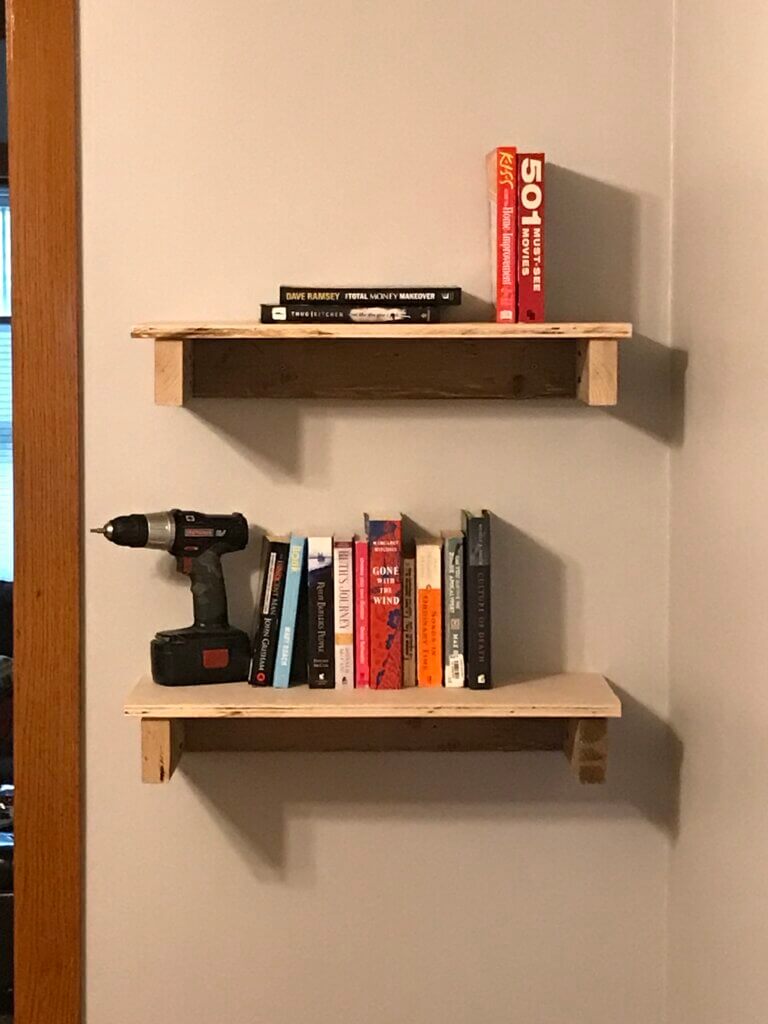
My patient wife wanted a bookcase and I didn’t think I was up for that challenge yet (yes, I was afraid to do it. I should really be listening to my own advice and put fear aside but alas, I didn’t.) so we met in the middle and compromised on shelves to start with. As I started my vision for simple shelves, I really went down the DIY rabbit hole. I hear this is something that happens a lot with DIYers. My simple shelves turned into floating shelves and that turned into floating shelves with drawers for extra junk storage.
The plan
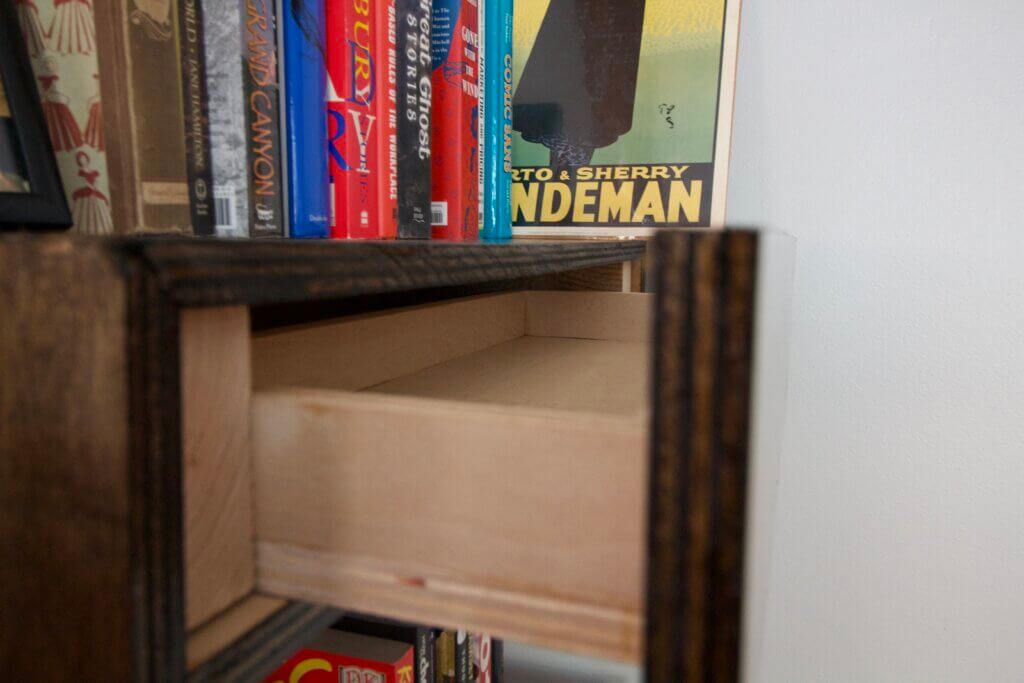
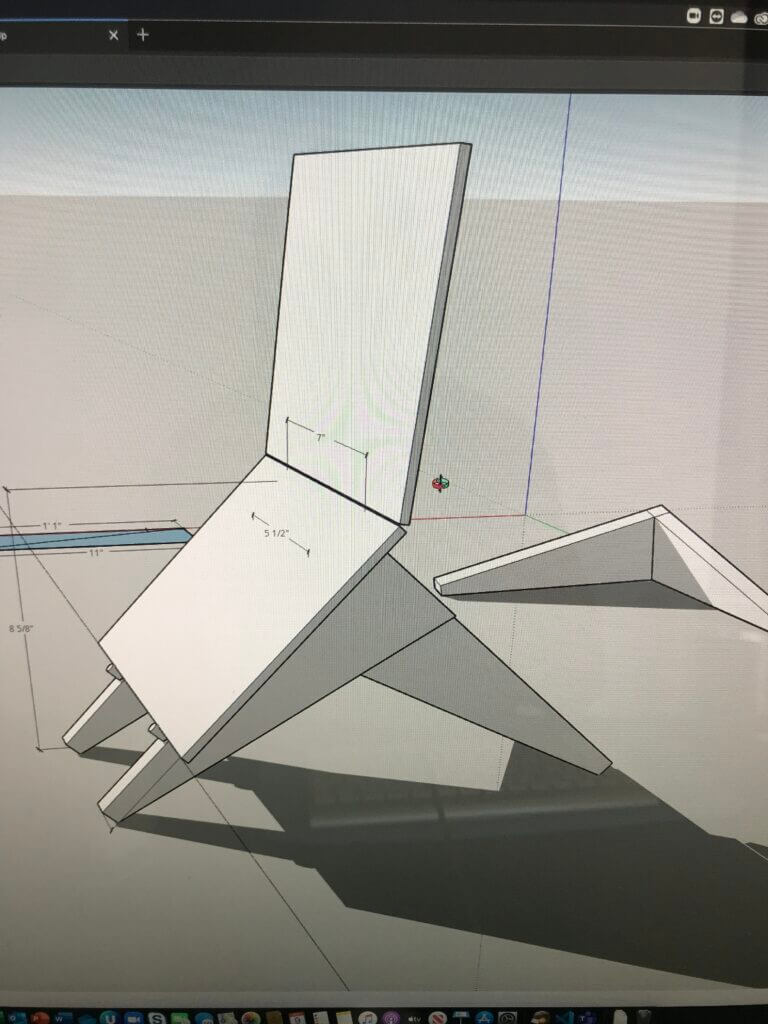
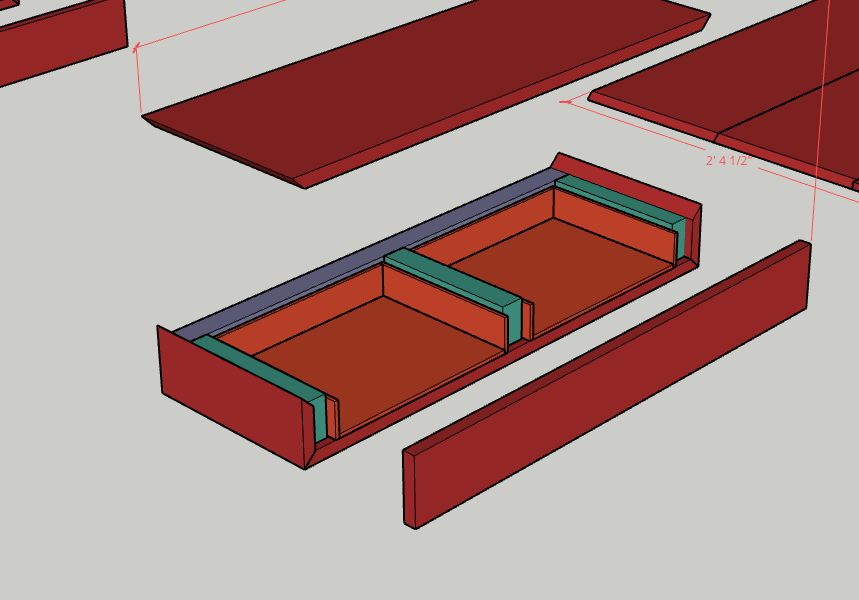
The basic design of a floating shelf uses cleats that attach to the wall to support the entire weight of the whole thing. The cleats also acts as a skeleton and which then gets hidden using a ‘sleeve’. Most designs that I’ve seen floating around online – no pun intended – has a three prong style. Because I wanted a drawer, I decided to see for myself if two prongs were enough. One, to make it lighter in weight. And two, it would make it so much easier to make a single drawer insert rather than fuzzing around with two pieces like the picture on the left.

Weight test
Before going into the build, I had to be sure that it would hold itself on the wall plus the weight of the books, this is an alternative to a bookshelf, after all. I had a pretty good experience with toggle bolts so I went with that and if you have an older home, you’re going to discover that your walls might not even have studs in the places you’d expect.
Time to build
Measuring just slightly larger than the cleats, I was able to get a comfortable fit to slide into the ‘sleeve’ or ‘outer shell’ while measuring slightly smaller for the inner drawer.

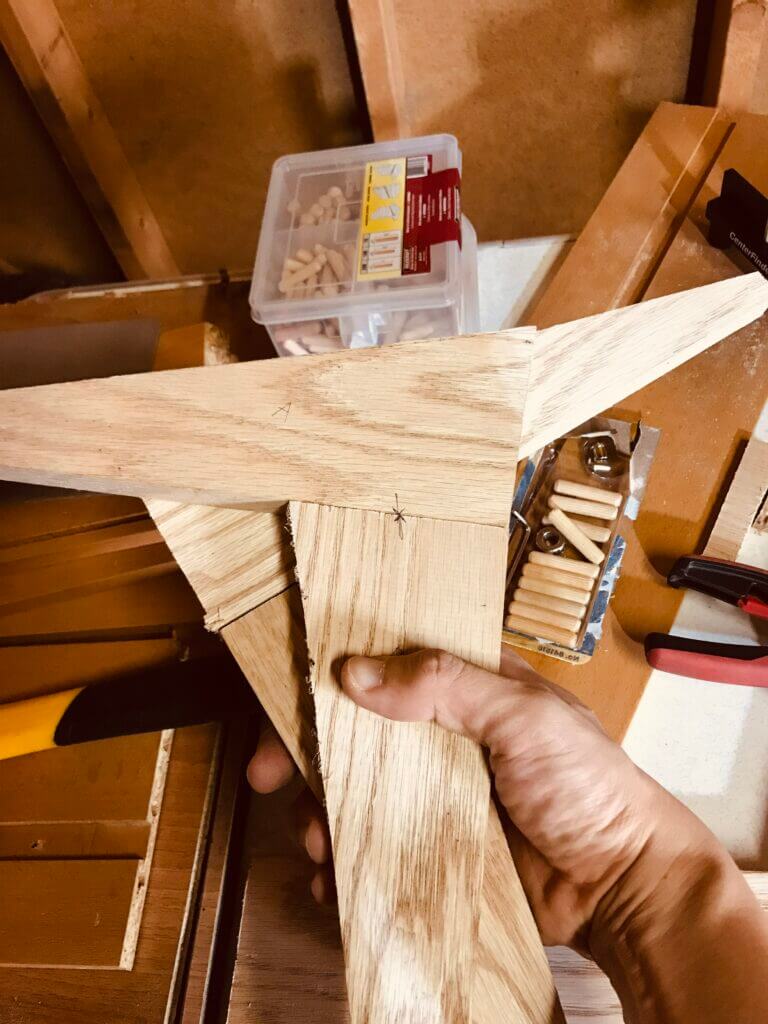
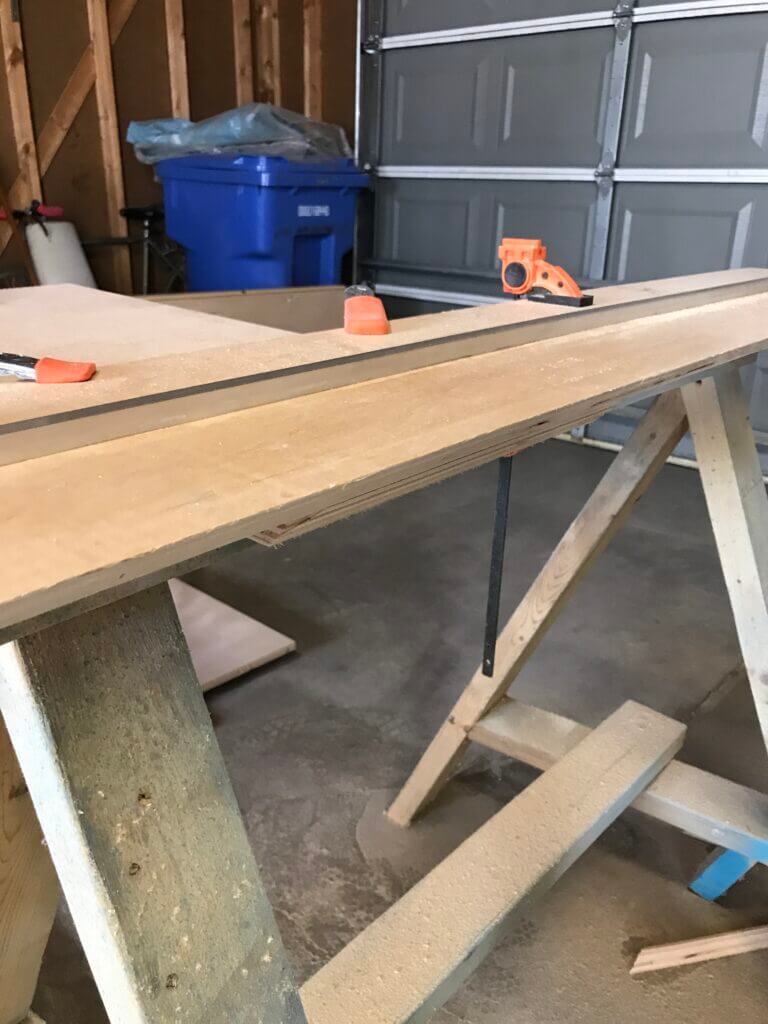
I used my new super simple saw guide from another post to help cut the beveled edges while crosscuts were done with my trusty job site table saw.
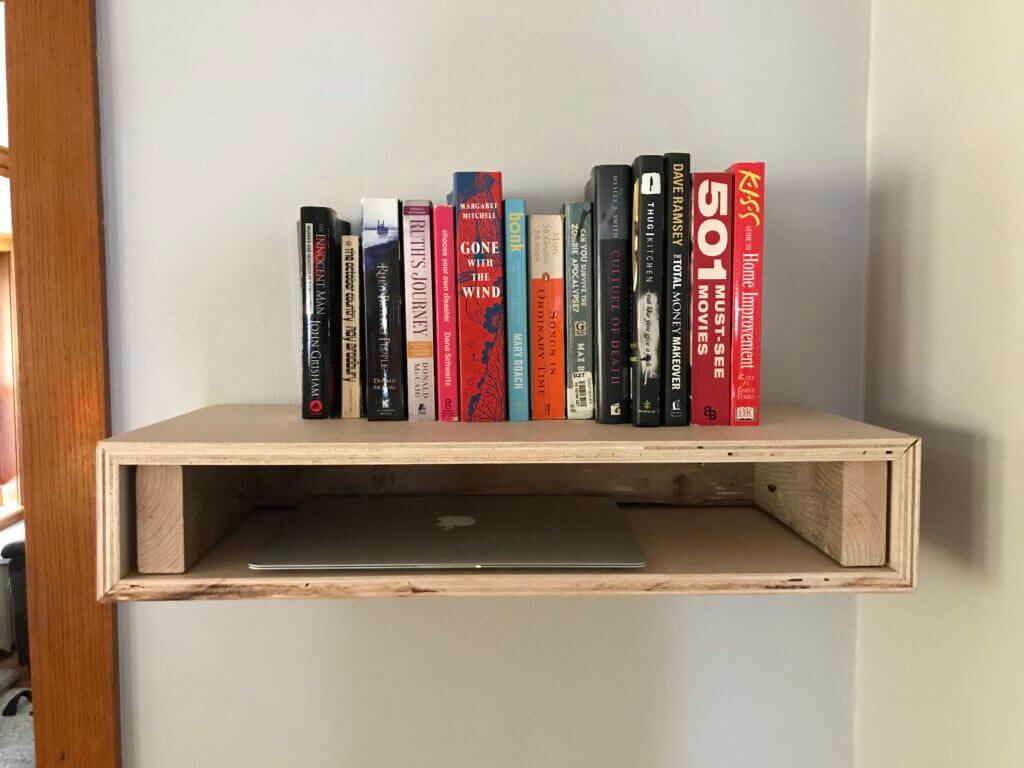
Stained it and coated with polyurethane
I went with dark walnut stain. It was my first time working with wood stain and 10/10 would do it again.