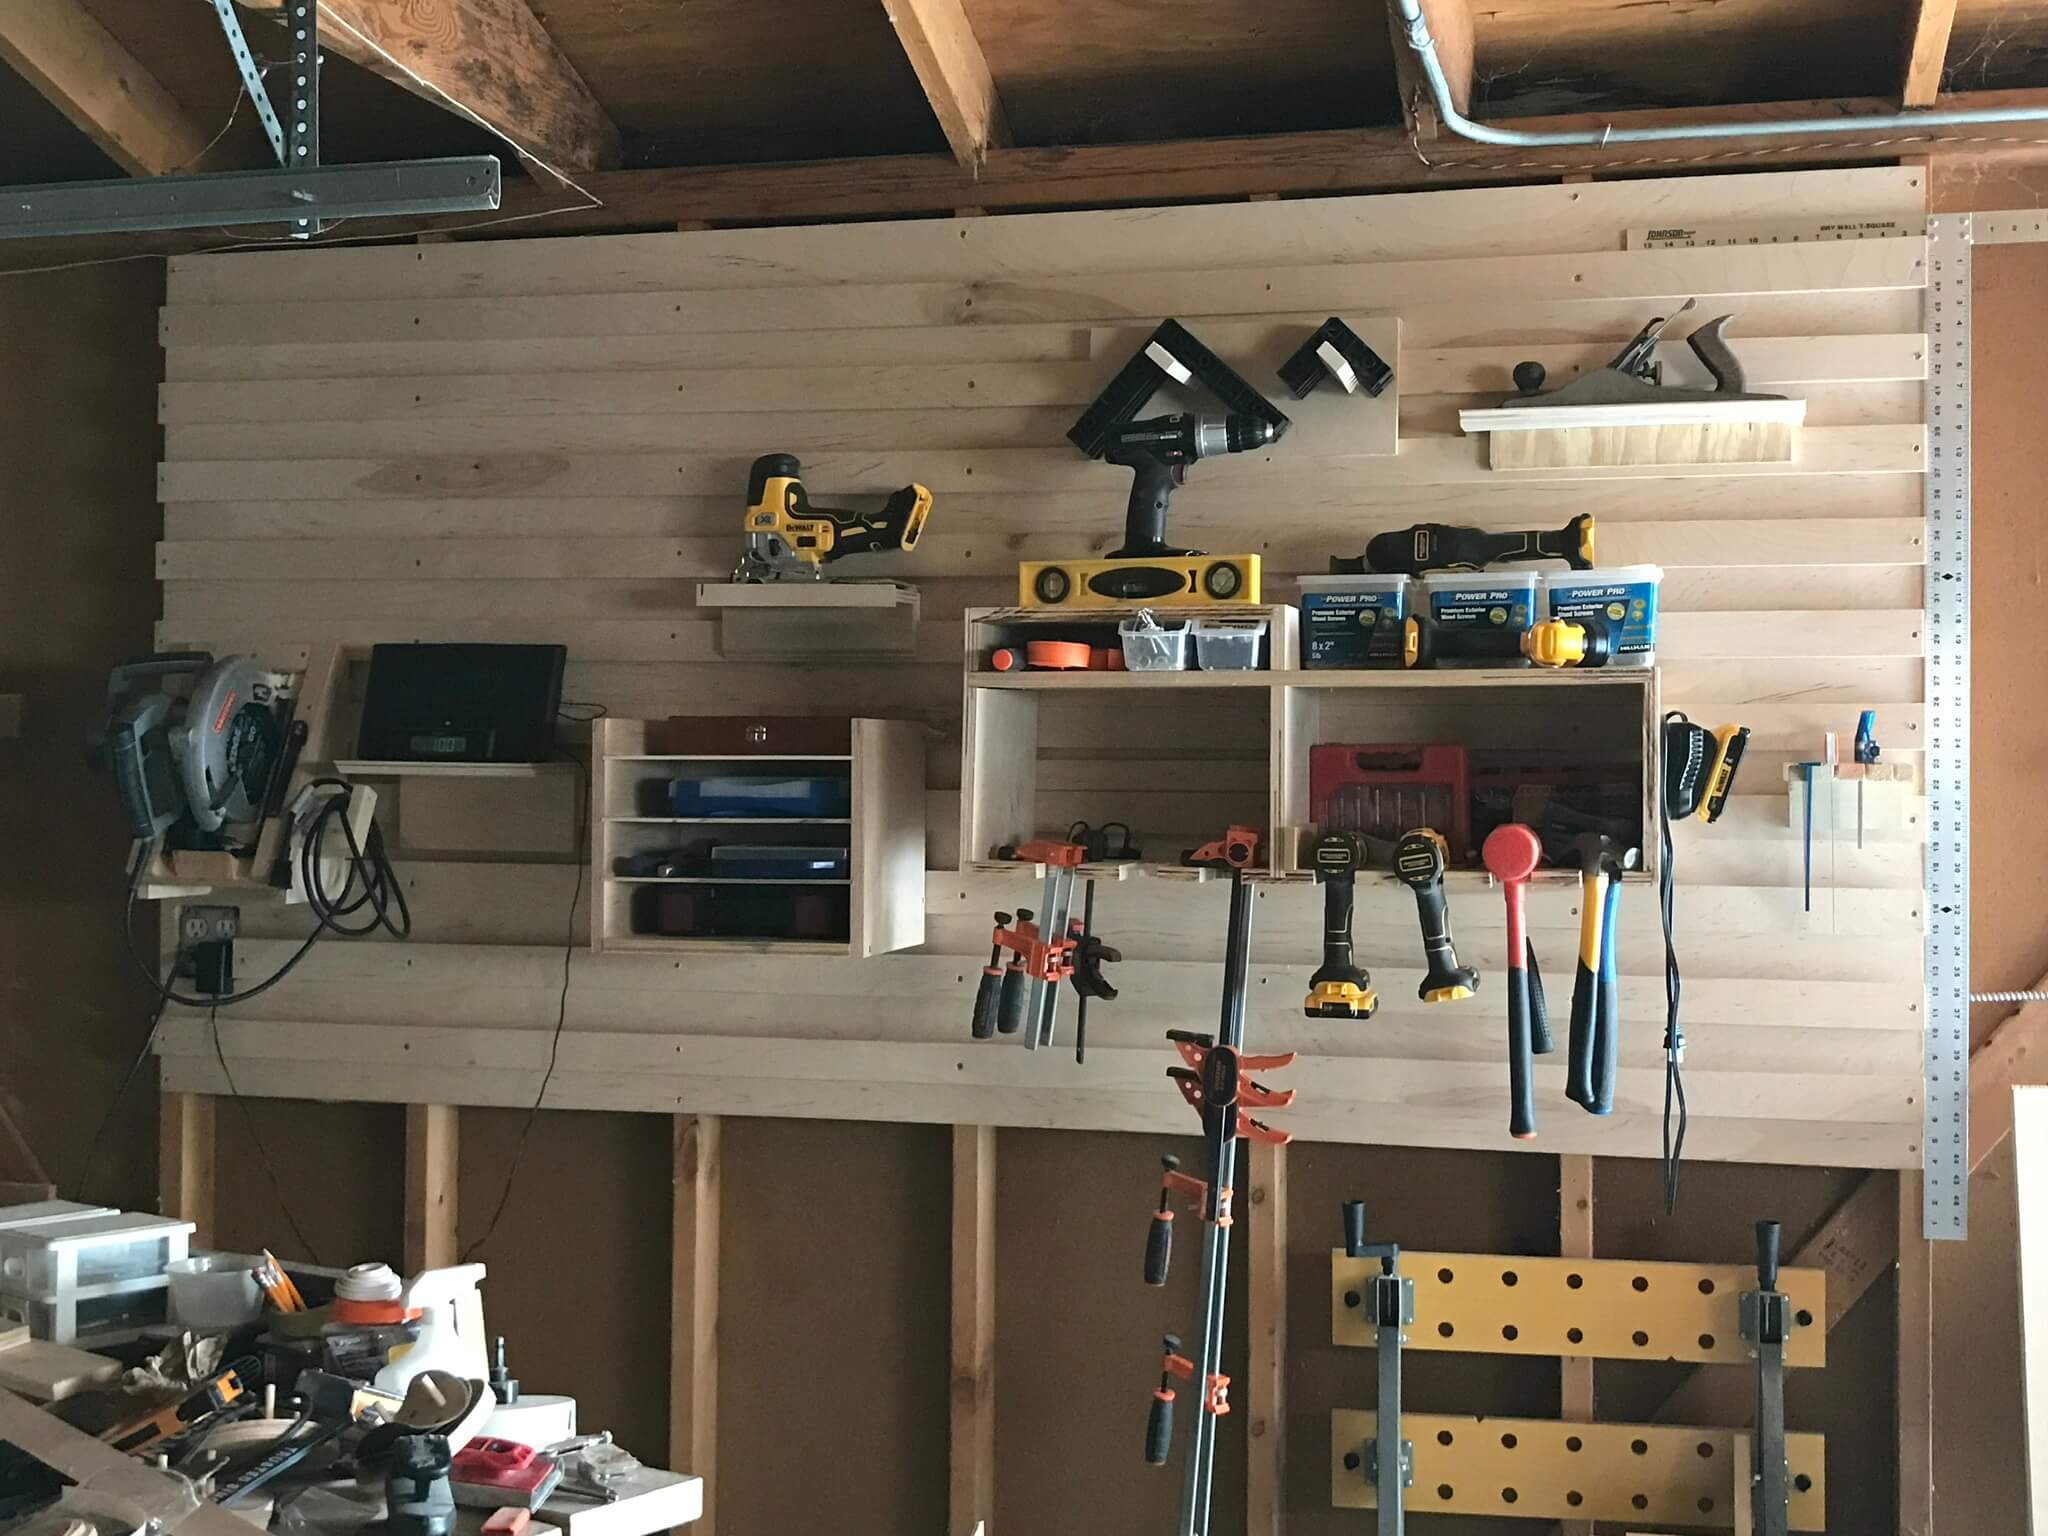
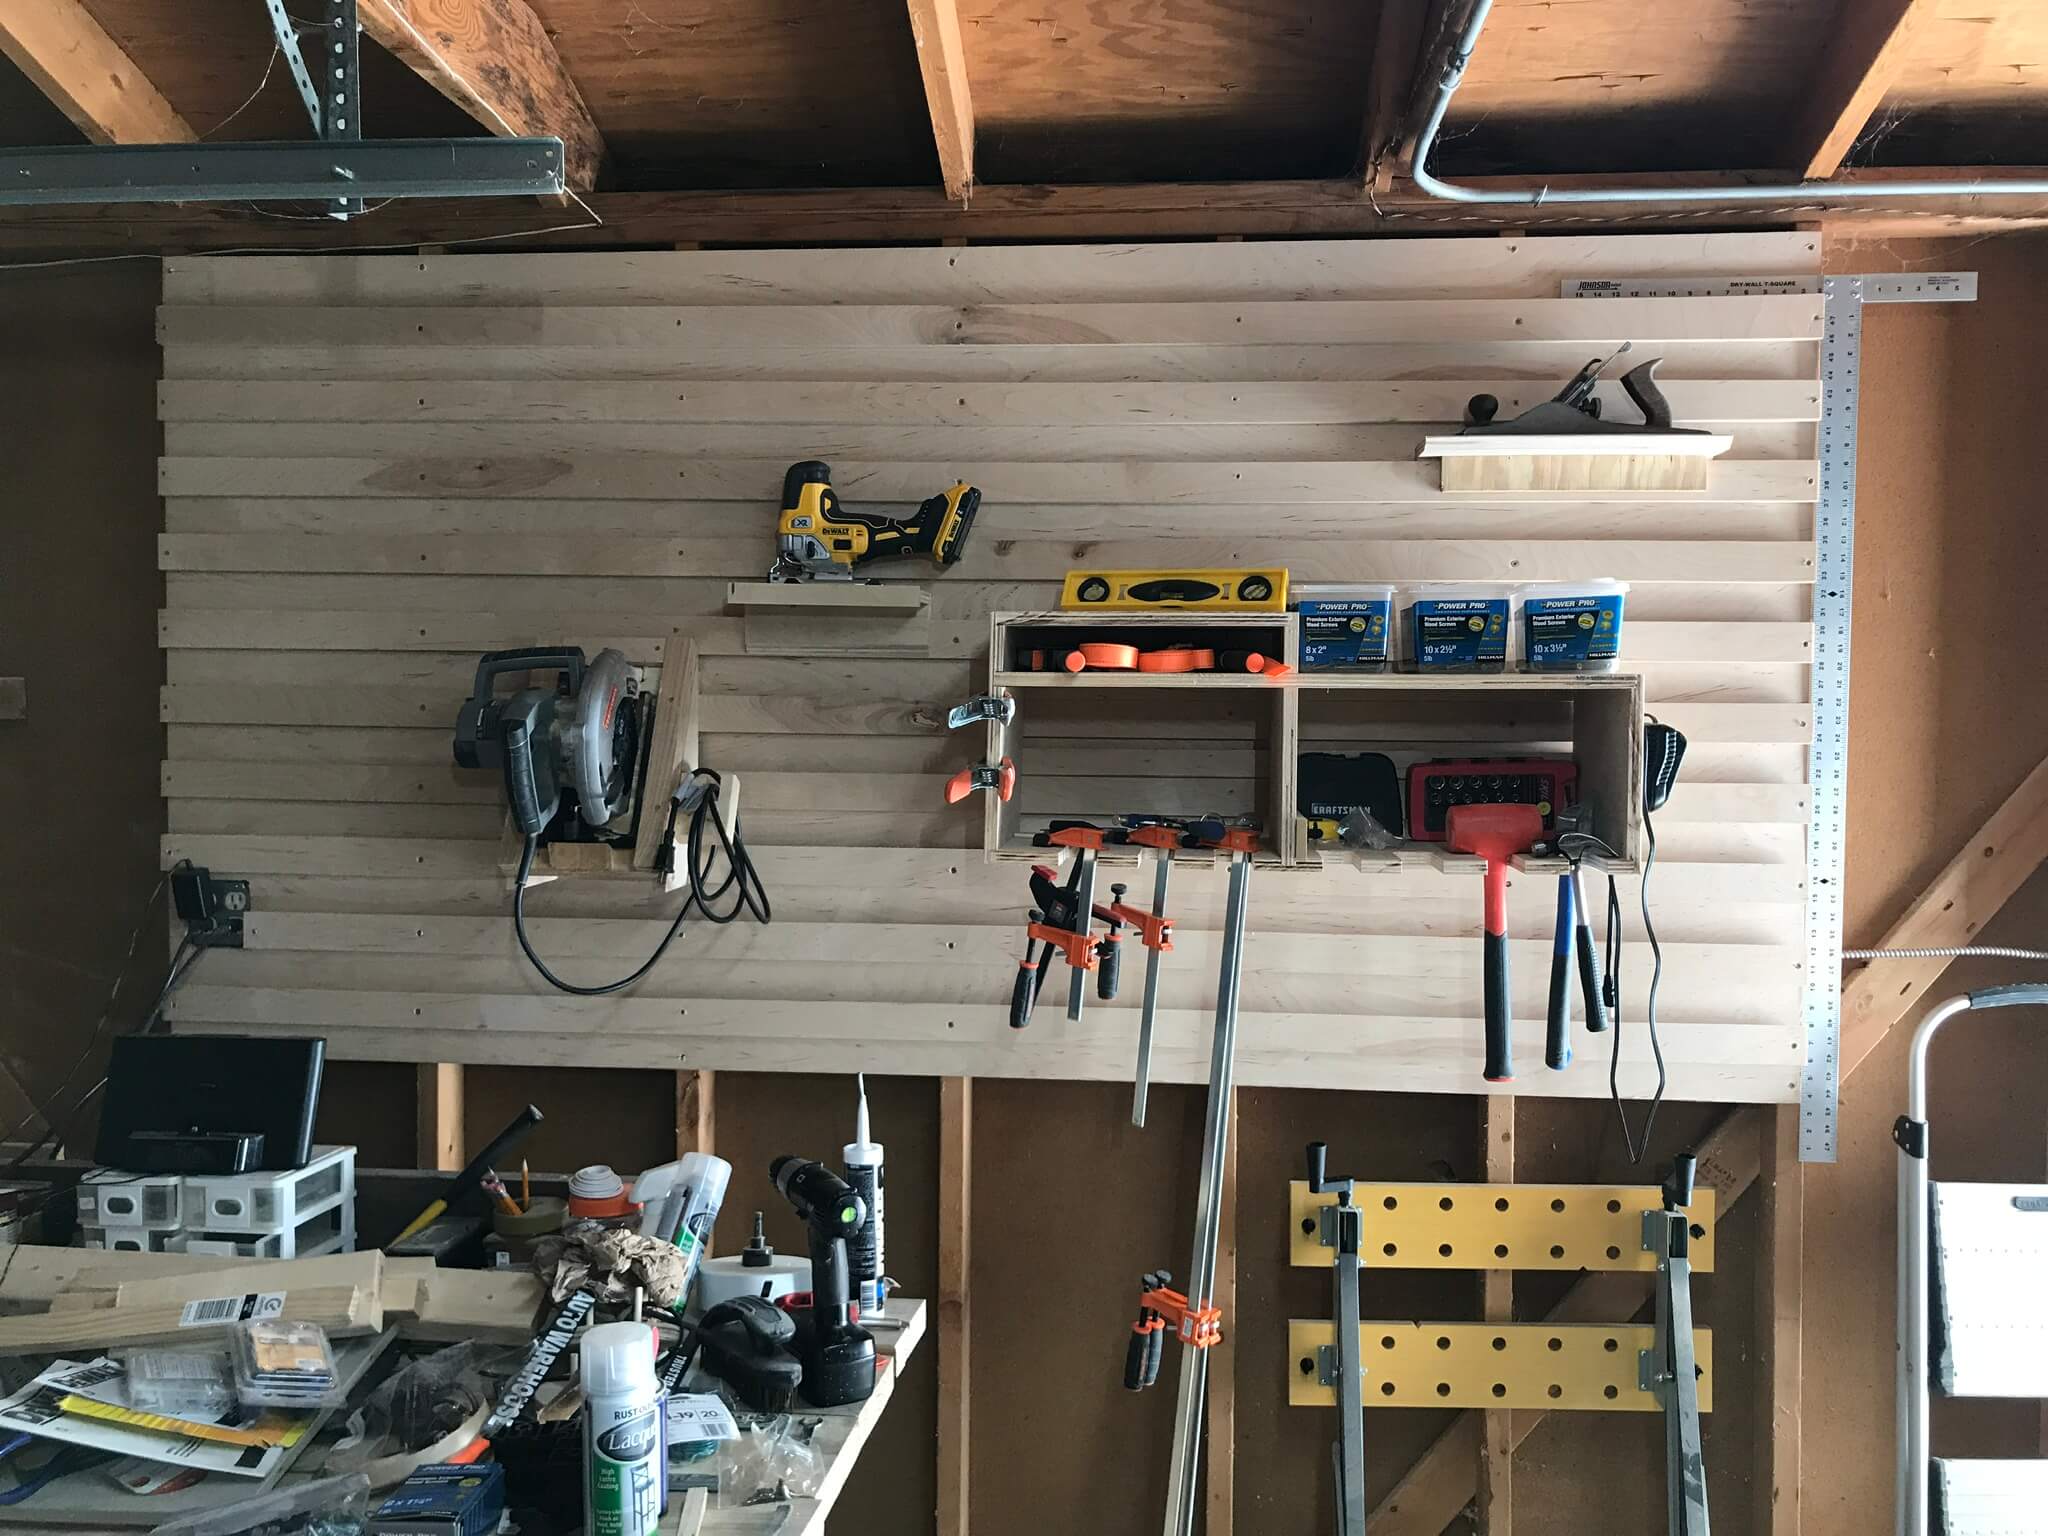
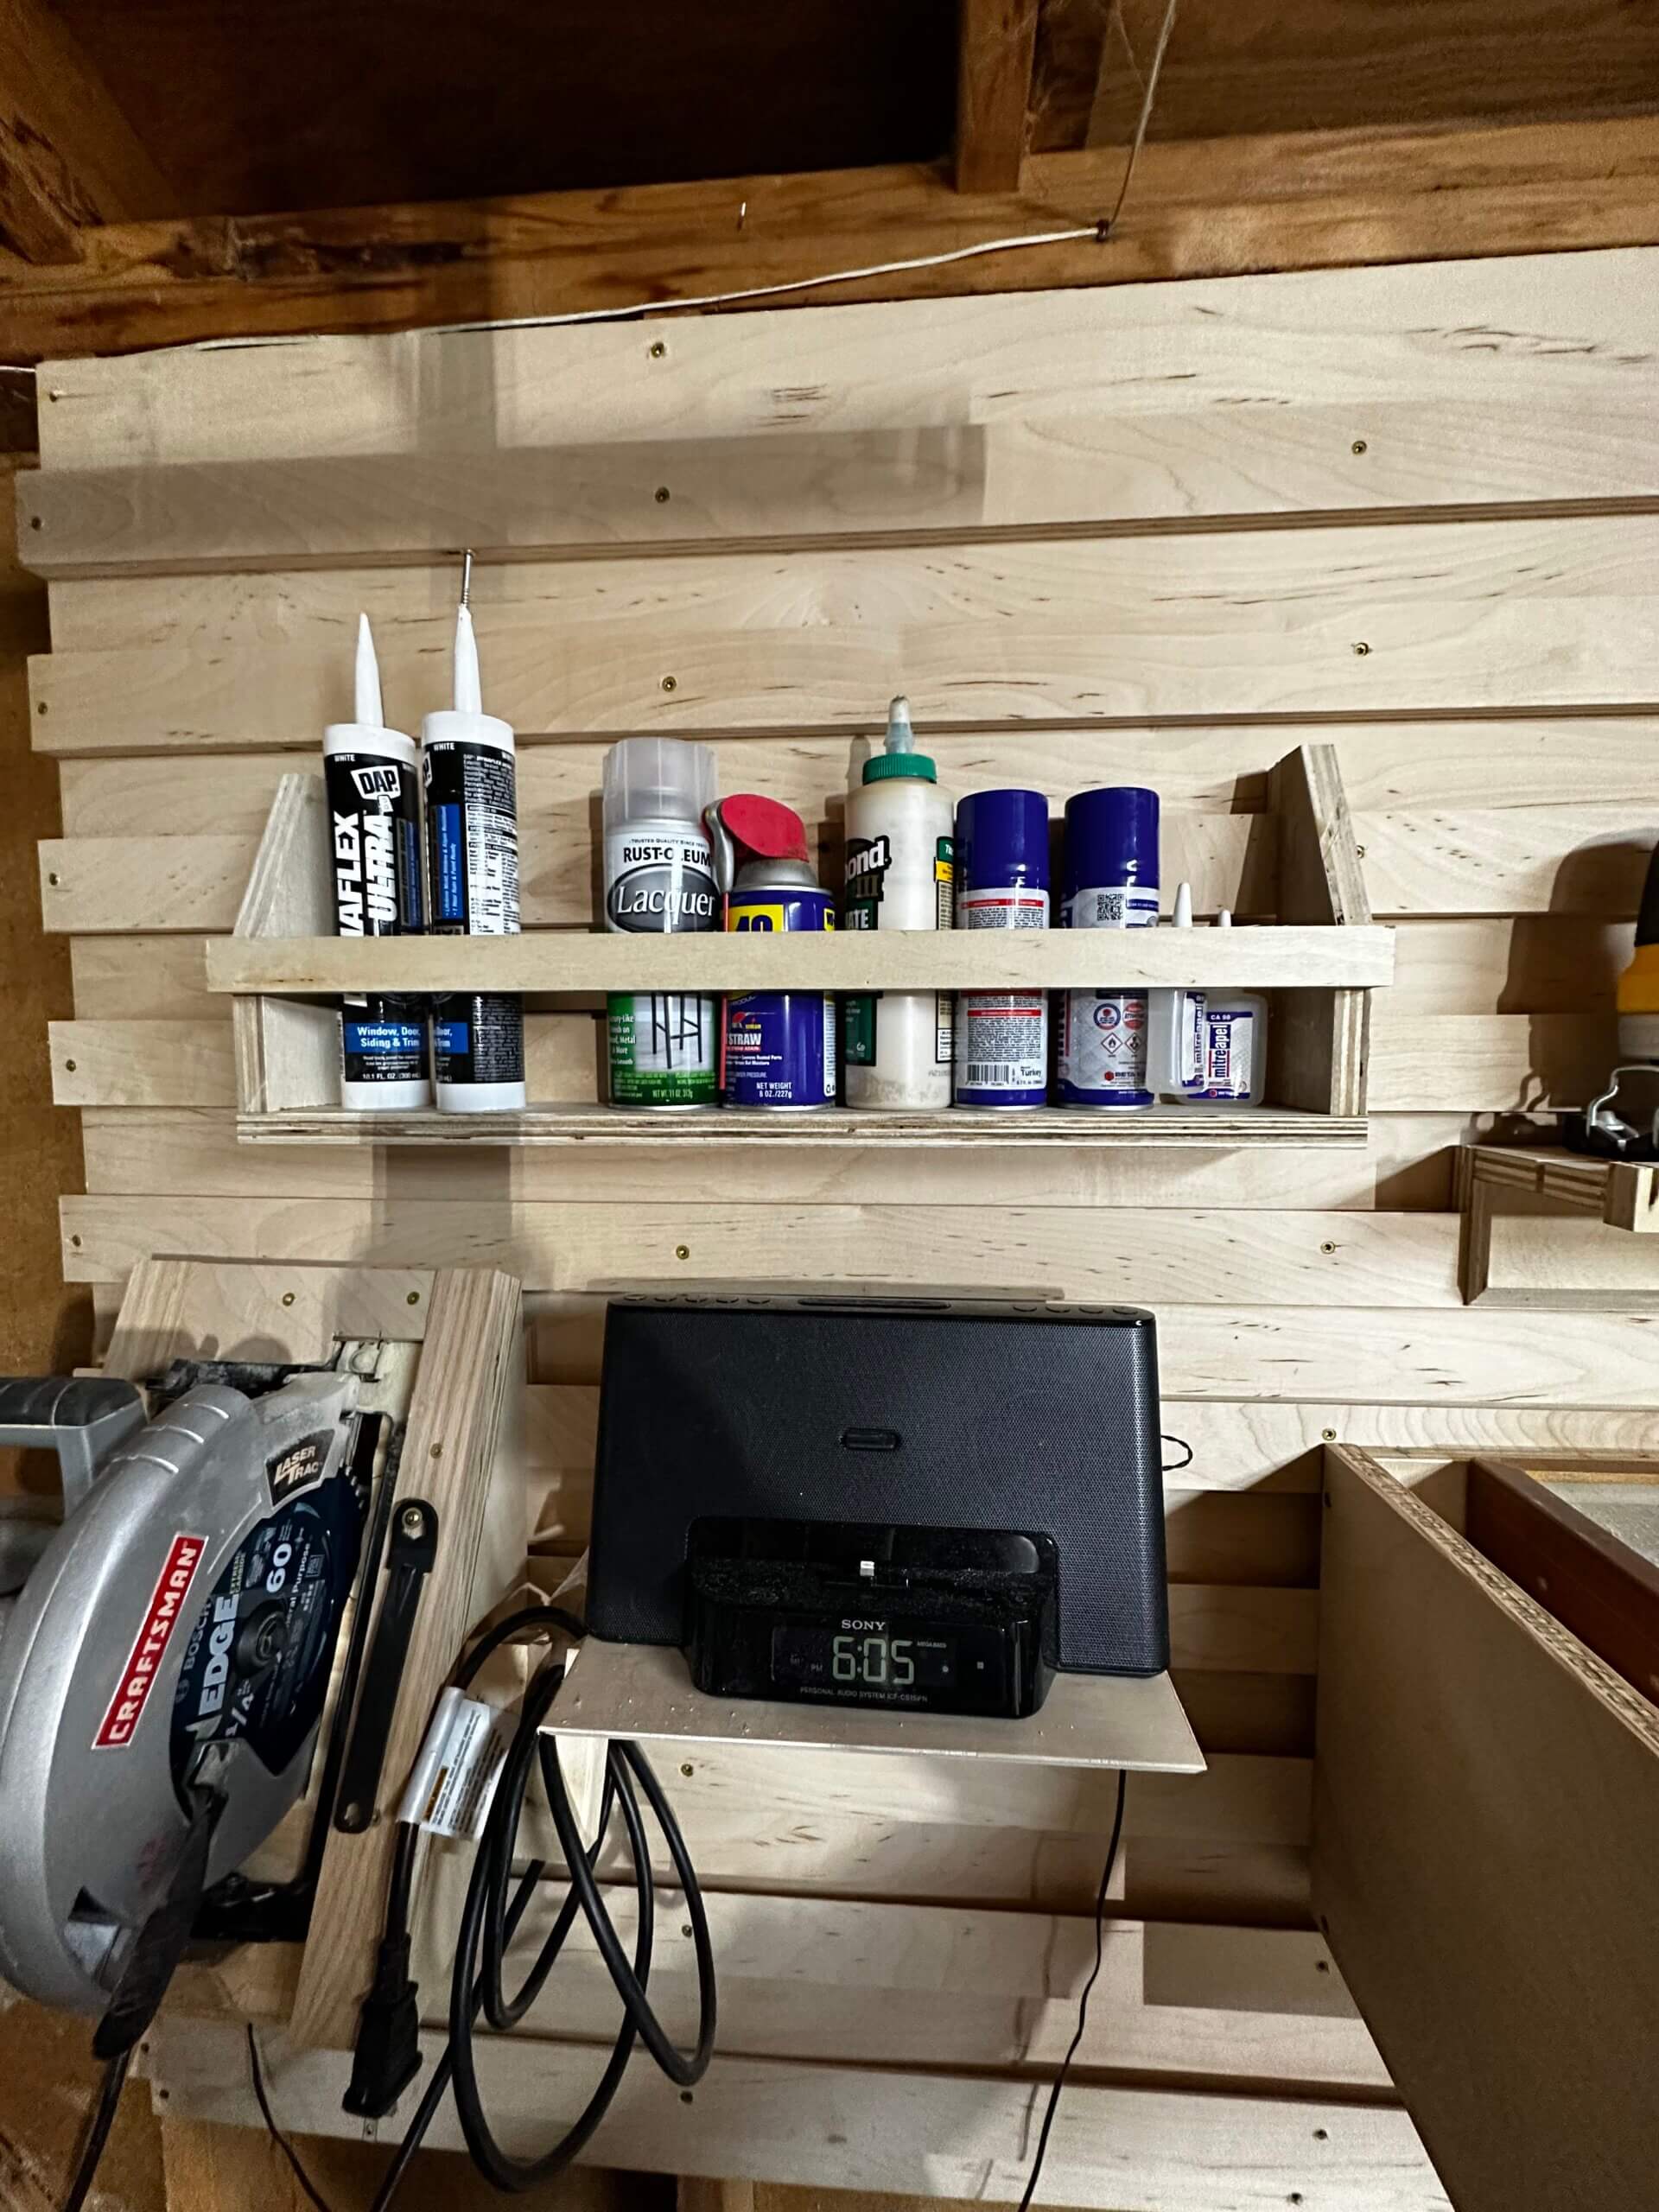
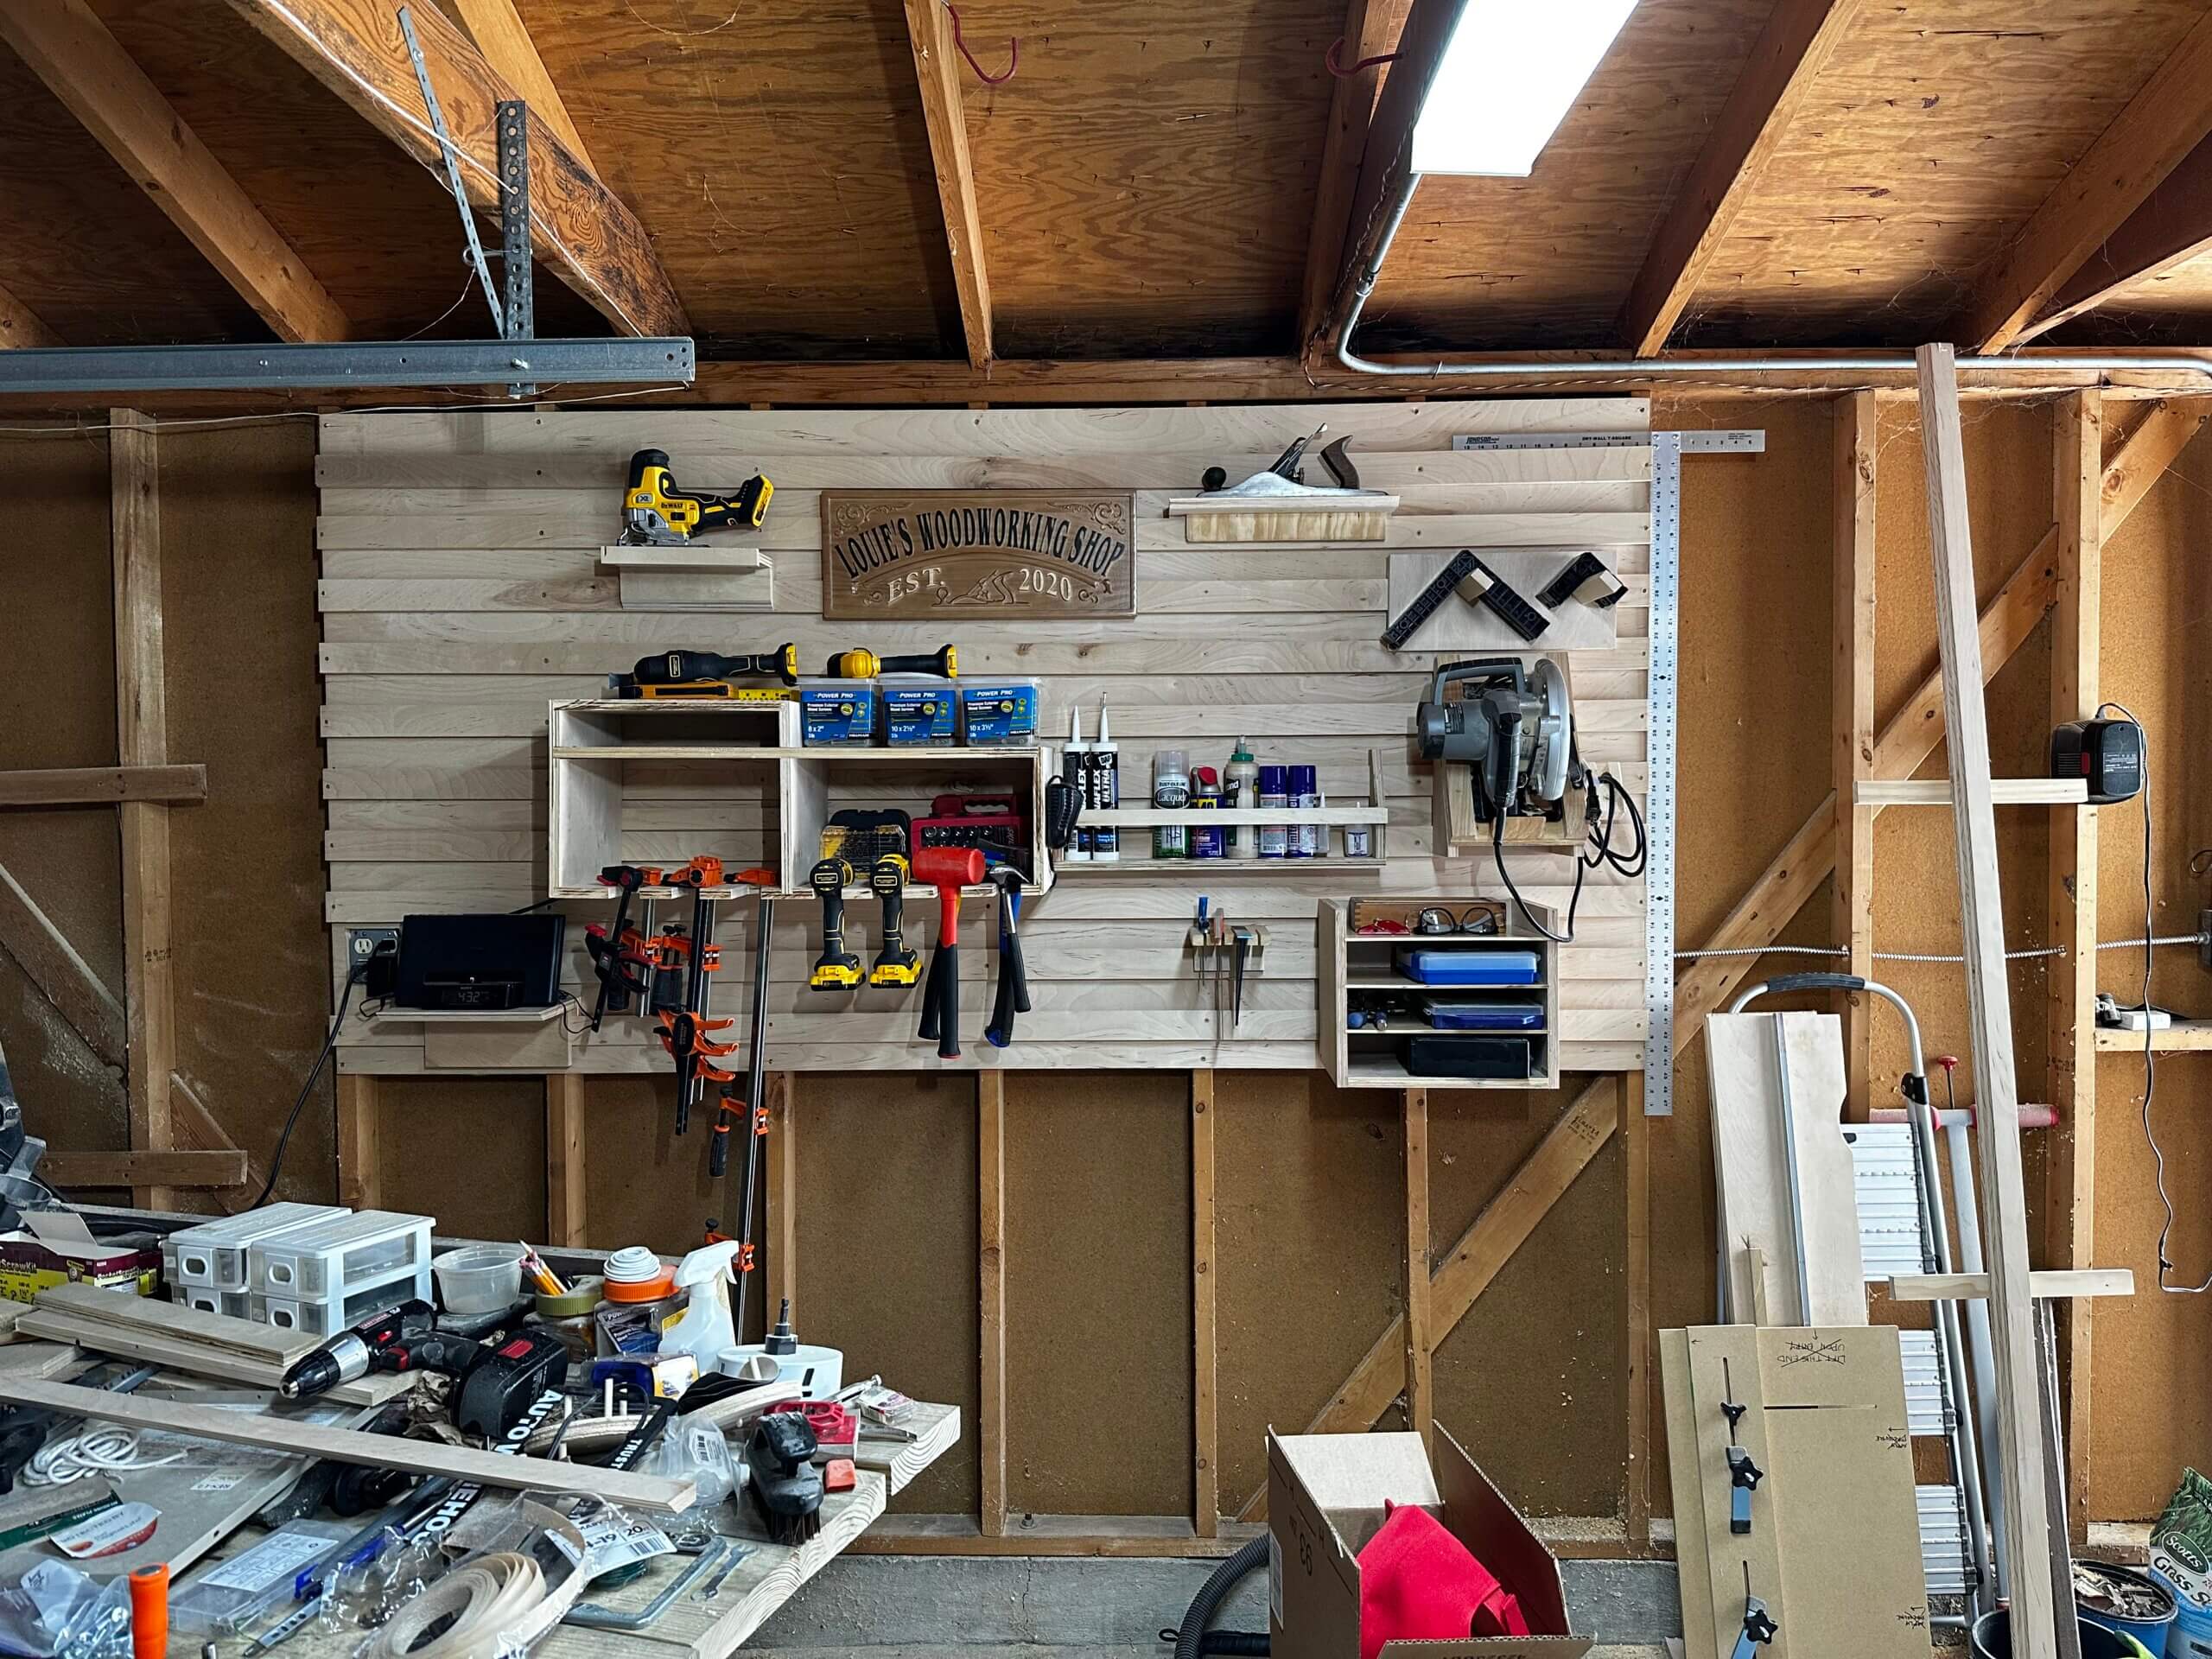
Whether you’re a seasoned artisan or just dipping your toes into the sawdust-covered waters, having a reliable set of woodworking build plans can significantly enhance your crafting experience. Here’s why incorporating build plans(like the ones on my Etsy shop) into your woodworking routine is a wise move:

Clear Guidance

Let’s face it—woodworking can be complex. Build plans provide a structured path from start to finish, offering clear instructions and diagrams to guide you through each step of the process. No more second-guessing or feeling lost in the midst of a project.

Efficiency and Accuracy

Time is of the essence in any workshop. Build plans eliminate guesswork by providing precise measurements in cut lists, ensuring that every piece fits together like a puzzle. This efficiency not only saves time but also minimizes material wastage and costly mistakes.

Skill Development

Woodworking is as much about honing your skills as it is about creating beautiful pieces. Build plans offer opportunities to learn new techniques with projects of varying complexity. Whether you’re mastering joinery or experimenting with intricate designs, build plans provide a structured platform for skill development.

Confidence Booster

There’s something undeniably gratifying about bringing a woodworking project to fruition. Build plans instill confidence by offering a roadmap to success, empowering you to tackle projects that might otherwise seem daunting. With a solid plan in hand, you can approach each project with clarity and assurance.

Customization Options

While build plans provide a framework, they also leave room for personalization and creativity. Whether you want to add unique embellishments or modify dimensions to suit your space, build plans serve as a solid foundation where you can unleash your creativity and make each project your own.

Community Support

Woodworking is a communal endeavor, with enthusiasts eager to share knowledge, advice, and inspiration. By utilizing build plans, you become part of a broader community of craftsmen and women, where you can seek guidance, share your progress, and celebrate successes together.

Using woodworking build plans offer a multitude of benefits, from providing clear guidance and enhancing efficiency to fostering skill development and community engagement. Whether you’re a hobbyist or a seasoned professional, integrating build plans into your woodworking practice can elevate your craft and enrich your overall experience in the workshop.

Ready to get started? I have a few DIY plans available in my shop here!

I love to make cutting boards now. There is something almost therapeutic about the process of making flat boards out of various types of wood and making a pattern out of the natural look of each. I gotta say, when I first started to make cutting boards, I took it for granted. I thought that making these boards would be boring and easy (and easy money – HA!). Like most, I hardly thought about wood types, combinations, sizes, finishes and waxes, but it really is an art. There is a lot that goes along with it. For example, did you know that pine wood can make your food taste bitter? Apparently, not all woodworkers know this and it’s apparent when you browse through Etsy – yikes!

I can imagine that cutting boards started out as a necessity in the kitchen and a solution for wood shops to use leftover scraps that otherwise would’ve been wasted. These days, it’s common to see handmade cutting boards in craft fairs, farmer’s markets and every online marketplace. Lately there’s been a charcuterie board trend, which I can assume is french for cutting board for show, not cutting. I have a friend who is younger and more hip (not that I’m not young and hip) who introduced me to the term ‘charcuterie’ board. Rather than judging the millennial, I decided to just give it a shot and make one. After all, how hard could it be?

It turns out, decisions need to be made. The hard decisions crept up after finally deciding on the right combination of wood for the right look. Pine can make food taste bitter, what else can make food taste weird? The corners have to be rounded but by how much? Should edges be rounded too or beveled? How big should the whole thing be? Okay, maybe those aren’t exactly hard decisions. That’s fair, those choices aren’t that critical but one thing might be: Wood finish.

I did pick a brand I really like based in Ozark, MO but not before I’ve tried others. Walrus Oil, A company with not only great product but also great ethos. While I personally decided Walrus Oil will now be my one and only wood finish, there’s no shortage of choices out there. I personally don’t like to wear a mask and be in a well ventilated area just to apply wood finish on something that will eventually touch food, but that’s just me. Plus, they’re a small business in the Midwest! I have to support that.

Let me know what you think of these boards. I have a long way to go before I can run a booth at an arts and crafts fair, but knowing all the details is good a start. You’ll find no pine in these boards.

Everyone has to start somewhere and I am doing it with these coasters as my first sale item, because if not now, when?

As I continue to dive deeper in the world of woodworking, I’ve noticed a few patterns especially around the holidays. Every woodworker starts to make coasters, cutting boards and chess boards. These items are fairly easy to make in bulk and make nice gifts or if you’re trying to turn your hobby into a business, it can be easy to deliver to clients. And that’s where I am at today.

To test the market, I have opened an Etsy shop with just my coasters – something I know I can produce and deliver quickly with great degree of consistency. I am making these in small batches, since I’m a one man shop, to keep the quality top notch.

Check out the store here!

Upgrading from a peg board to this french cleat wall is a game changer. There’s so much flexibility, components can be made with scrap wood instead of having to buy metal hangers. They’re also a lot stronger and looks good too.

What is a french cleat?

If you’re a beginner like me and you don’t know what a french cleat is, lemme google that for you. A french cleat is basically a piece of wood or anything that is mounted on the wall that can hold another piece. Usually the part that goes on the wall has a 45 degree angle that another piece can be mounted on. That other piece has an opposite angle and is attached to whatever you’re mounting on the wall.

Customization

The first obvious advantage is being able to build a container or a holder that suits your specific needs. Whether you need space for your circular saw, clamps, various boxes of screws, you can have it. The only limitation here is your imagination. These things can even vary in weights, just look at how much stuff I was able to put on my first multi-tool organizer.

Ease of use

I love that I can now move anything around as I please. If I need to move things based on my current project, I can do that. Likewise, should I find the need to move anything out of the way, I can easily do that too. For example, I built a holder for my squares, if I am away from the wall and I’m finding that I need to keep referencing a square, I can choose to remove the holder and bring that closer to my work area instead of constantly losing them.

Final thoughts

Overall, I’m surprised at how easy this is to build using only one and a half sheets of plywood. I should’ve done this as my first project. If you are just starting out, I would suggest tackling this one early to get a jump on organization before your space gets out of hand like mine did.

Here’s a secret: I really want to get into building mid-century style furniture and one thing I’ve noticed is the tapered cut in a lot of furniture made in this style so I want to learn how to make that cut.


I did not intend to make this jig now, but I went into a rabbit hole of shopping for random crap on Amazon, so here we are.


I used some left over 1/2″ mdf just so there’s not too much height for the table saw top and also, to make sure that the bolts would reach. Those knobs came with the bolts and washers so I didn’t have to look for them separately. The hold downs also came with their own bolts made for t-tracks but they happen to fit in the same notches so that simplified things a bit.

On my “router table” that I made after I got my Skil router, I cut these notches using the same size bit as the bolts I’m using for the locking knobs. Then, I used another bit that’s the same size as the heads of those bolts so that it can sit flush underneath. If I remember correctly, they were 1/4″ and 1/2″ respectively.


Using it is super simple – just measure the length of the taper and line it up to the edge where the blade will go, lock down the fence and lock down the material with the hold down and glide it across the blade. File this under “I should have done this a long time ago”.